
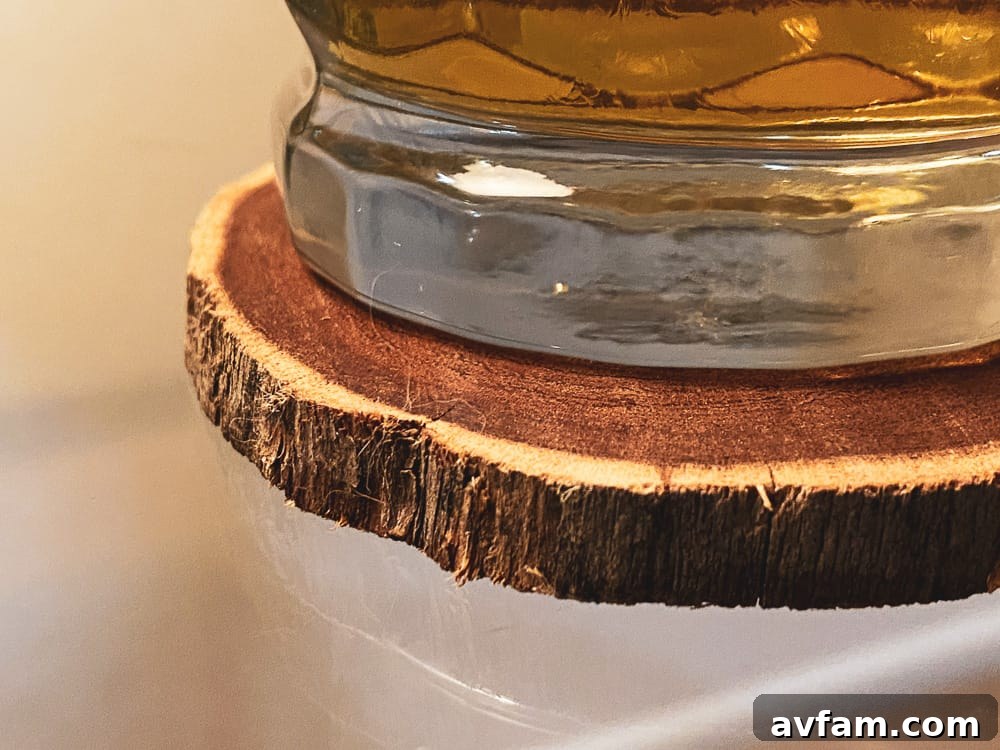
Every year, as the holiday season concludes, many of us face the same question: what to do with the magnificent Christmas tree that brought so much joy? Instead of sending it to the landfill, why not embark on a creative and sustainable project that not only reduces waste but also results in beautiful, functional pieces for your home? Crafting personalized wood coasters and charming wood ornaments from your old tree is not only an eco-friendly choice but also a deeply rewarding DIY endeavor. This guide will walk you through transforming discarded branches and tree trunks into unique items that will protect your furniture and add a rustic touch to your decor, making them perfect for your home or as thoughtful, handmade gifts.

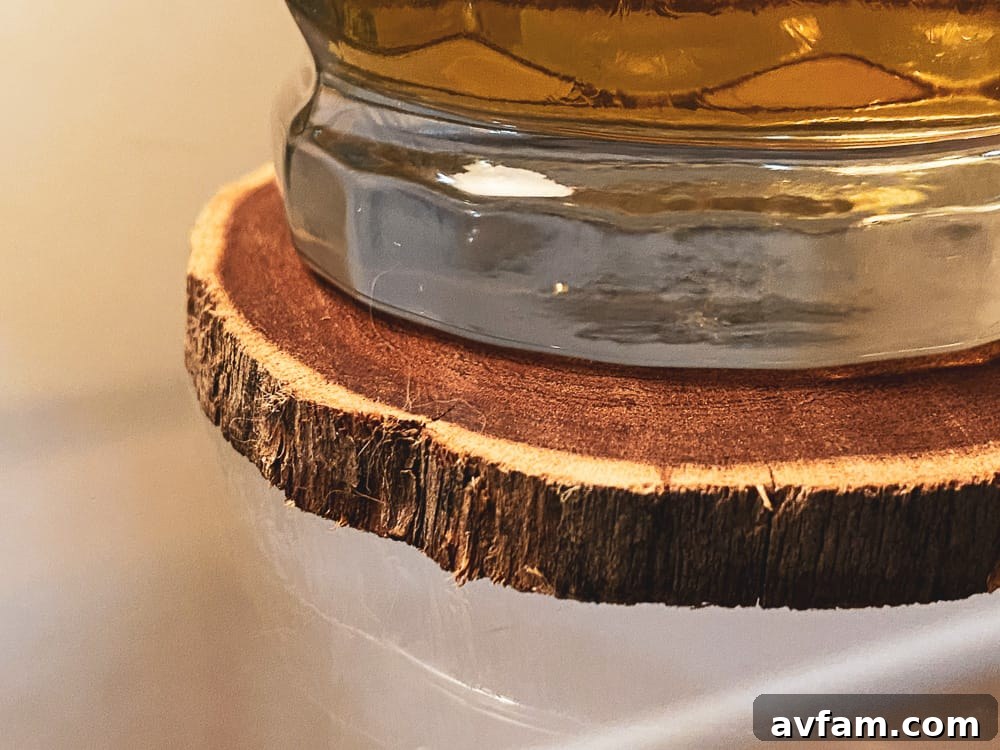
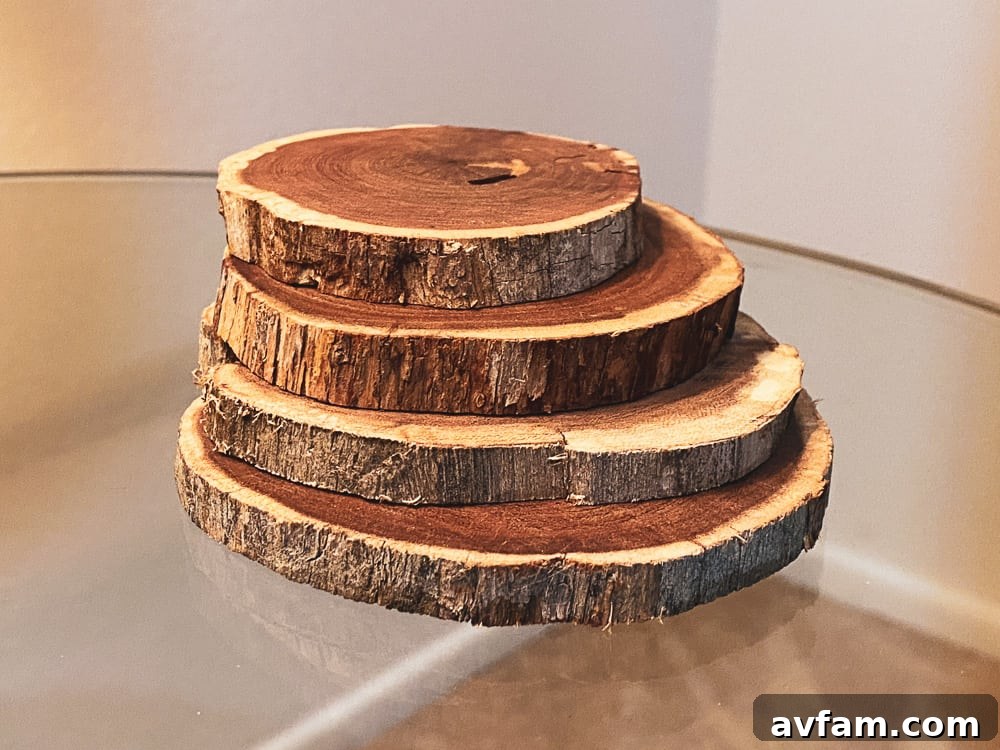
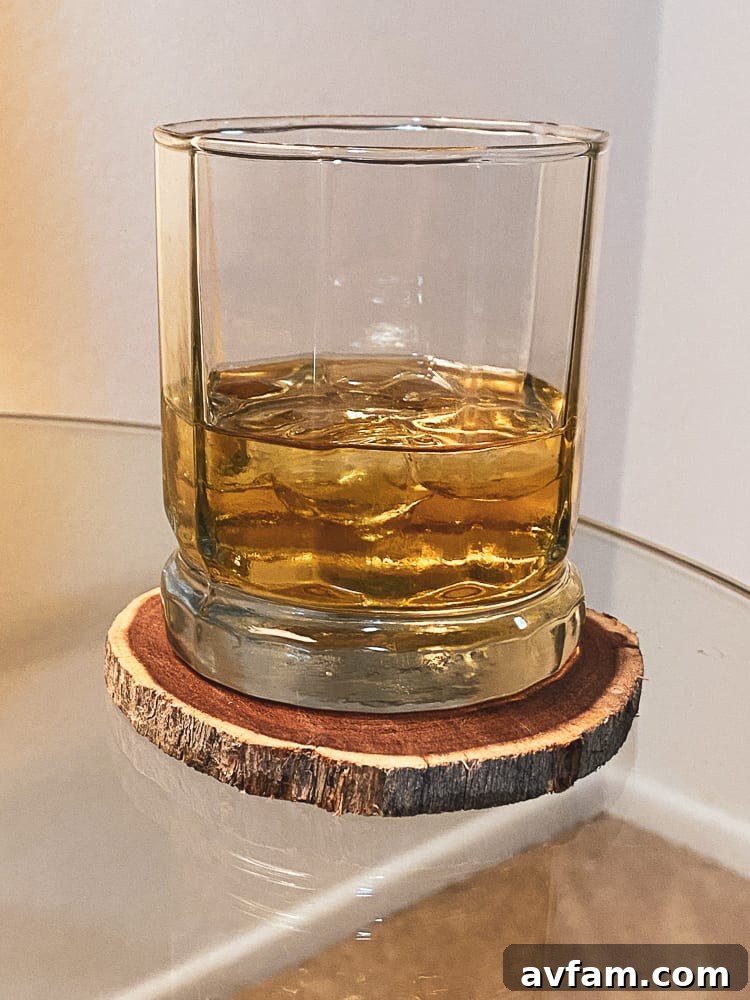
Custom DIY wood coasters offer a charming and practical solution for protecting your furniture from unsightly water ring stains, while simultaneously infusing a touch of natural elegance into any setting. What makes homemade wood coasters truly special is their inherent uniqueness; no two slices of wood are exactly alike, and with the freedom to decorate them in countless ways, each coaster becomes a miniature work of art. This project is not limited to Christmas trees; any sturdy branch of the desired diameter can be repurposed, but Christmas trees often provide the most readily available and perfectly sized material after the holidays.
Selecting the Perfect Wood for Your Coasters
The foundation of any great wood coaster project begins with selecting the right piece of wood. The ideal diameter for a functional and aesthetically pleasing wood coaster is typically between 3 to 6 inches. A coaster that is too small might struggle to accommodate most glasses and mugs, increasing the risk of spills, while one that is excessively large could feel cumbersome and take up too much valuable table space. Achieving this balance is key to both usability and visual appeal.
Christmas trees, especially the trunk sections near the base or slightly higher up, often offer diameters that fall perfectly within this ideal range. For larger trees, you might need to progressively move up from the base to find sections with the most suitable thickness and diameter for your coasters. The variety of wood types found in common Christmas trees—such as fir, pine, and spruce—each lend their own subtle grain patterns and natural scents, adding to the character of your finished coasters.
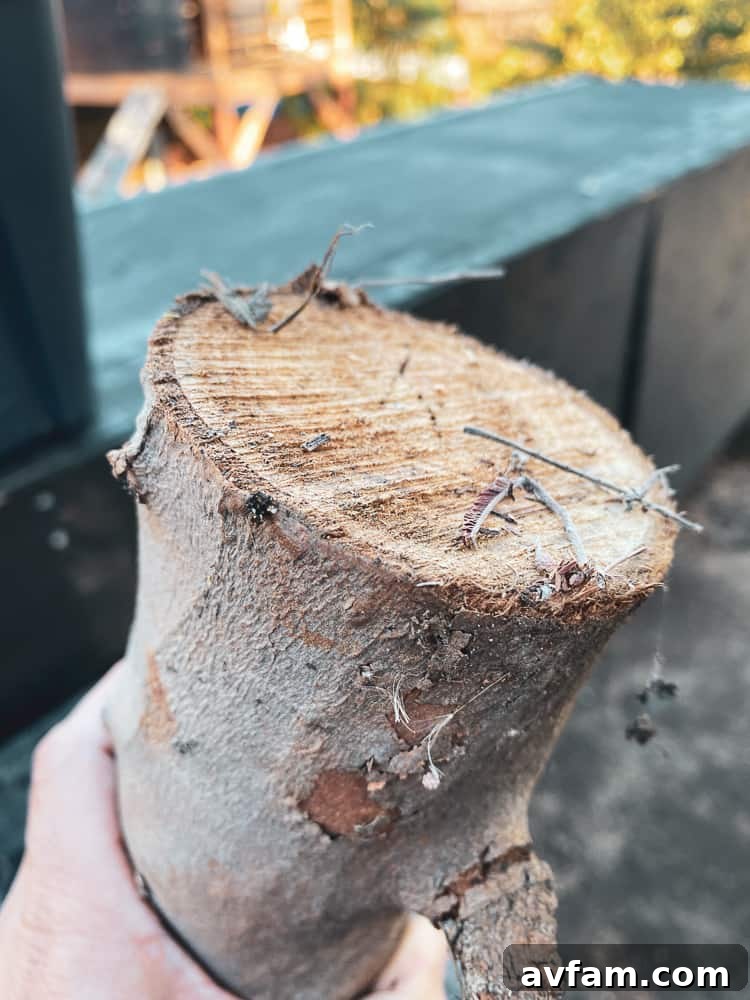
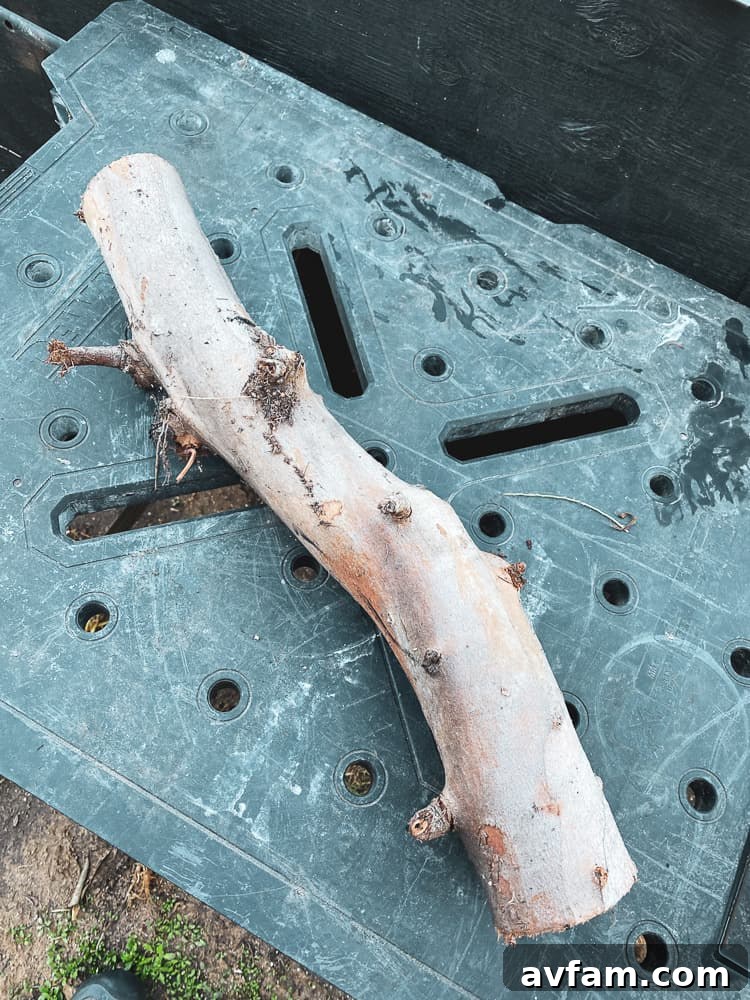
Beyond Christmas trees, branches pruned from larger trees can also serve as excellent material. Recently, during the trimming of our eucalyptus tree, I made sure to salvage a good number of eucalyptus leaves and thicker branches. Eucalyptus wood is particularly appealing not only for its distinct aroma but also for its well-documented therapeutic properties, which can subtly infuse into your living space. Other excellent choices for wood coasters include maple, oak, birch, or even cedar, each offering unique colors, grain patterns, and bark textures. Look for branches that are relatively straight and free from significant cracks or decay to ensure durable and attractive coasters.
Essential Tools for Precision Cutting
Once you’ve selected your ideal wood, the next step involves cutting it into coaster blanks. The choice of tool can significantly impact the ease and precision of your cuts. For those on a budget or simply preferring manual methods, a hacksaw is a perfectly viable option. It allows you to carefully trim uniform slices from the end of a tree trunk or branch. While more labor-intensive, a hacksaw provides excellent control and is a great way to start if you’re new to woodworking. Patience and a steady hand are your best allies when using a hacksaw to ensure straight, even cuts.
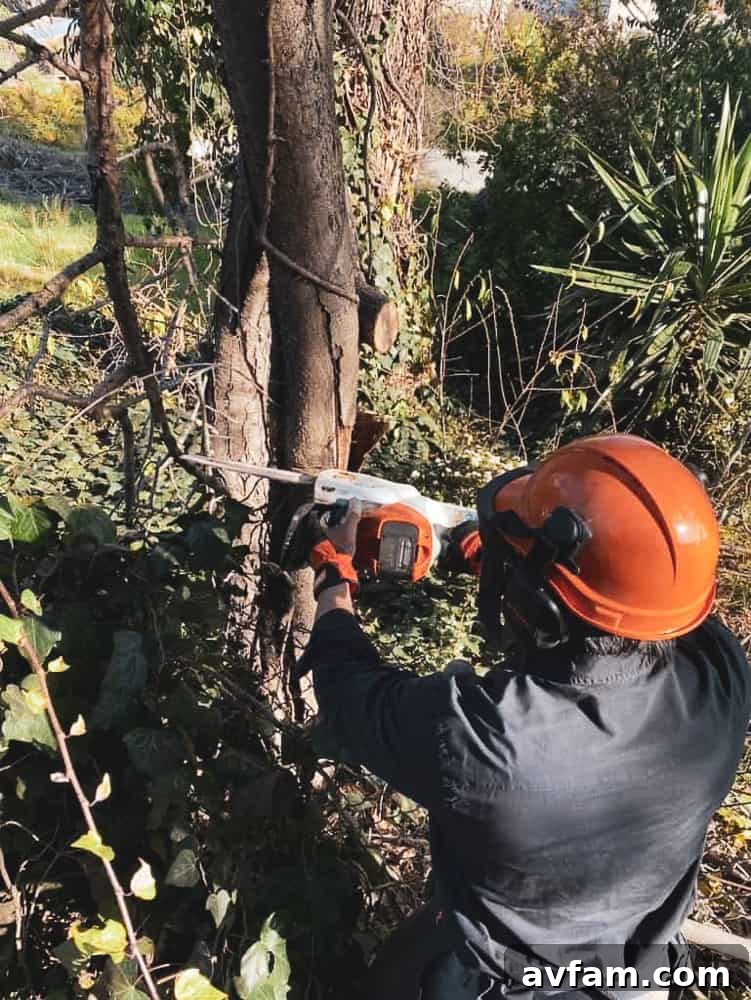
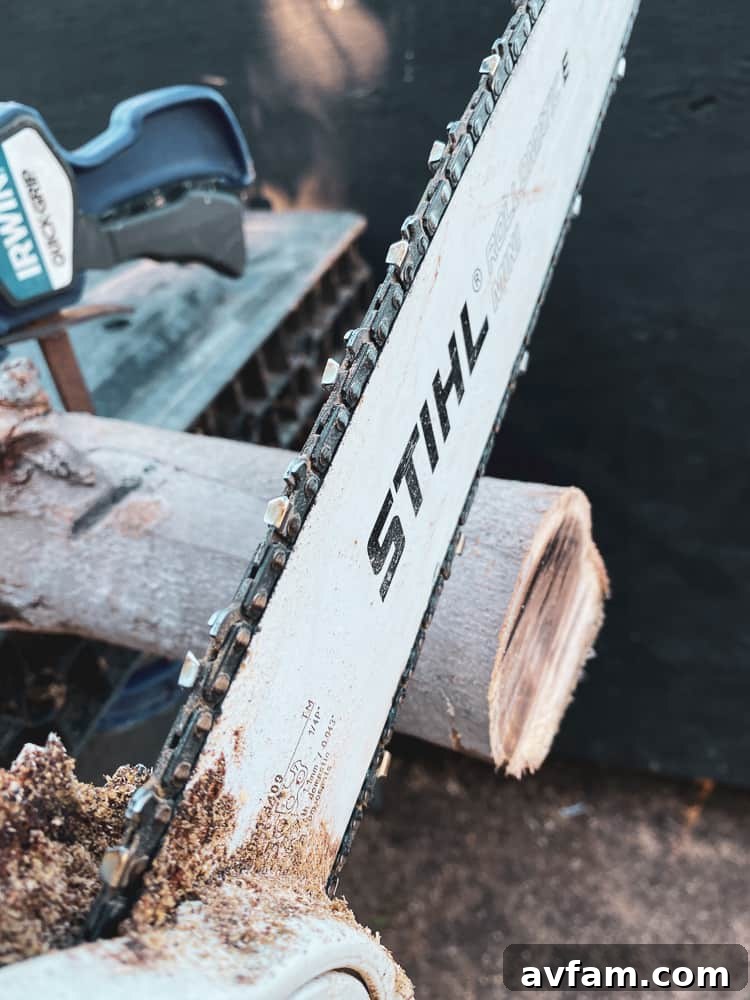
However, for greater efficiency and accuracy, especially if you plan to make a larger batch of coasters, a cordless chainsaw is an invaluable tool. It significantly speeds up the cutting process and makes achieving consistent thicknesses much easier. The portability of a battery-powered chainsaw is a huge advantage, allowing you to work outdoors or wherever your tree or branches are located without the need for an electrical outlet.
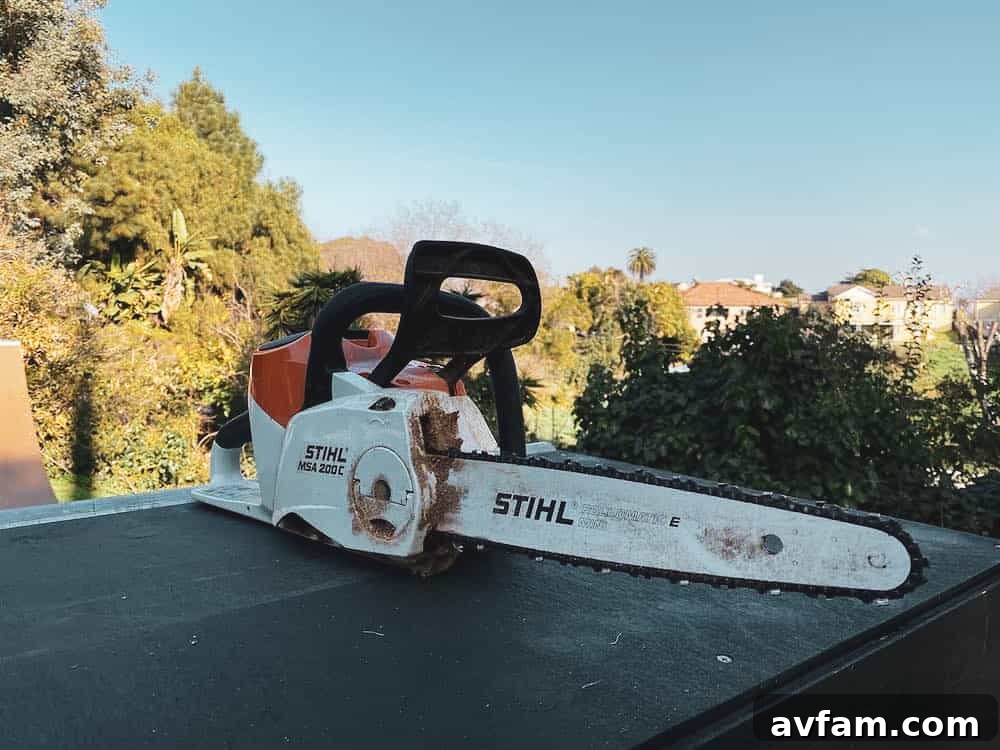
From personal experience, Stihl’s battery-powered chainsaws have consistently delivered exceptional performance and impressive battery longevity. I’ve relied on models ranging from the MSA 160-C to my current MSA 200-C, and each has proven to be a reliable workhorse for various tree maintenance tasks. Investing in a quality chainsaw is a wise decision for any homeowner with trees on their property, not just for crafting, but for essential trimming, maintaining tree health, and efficiently clearing fallen branches.
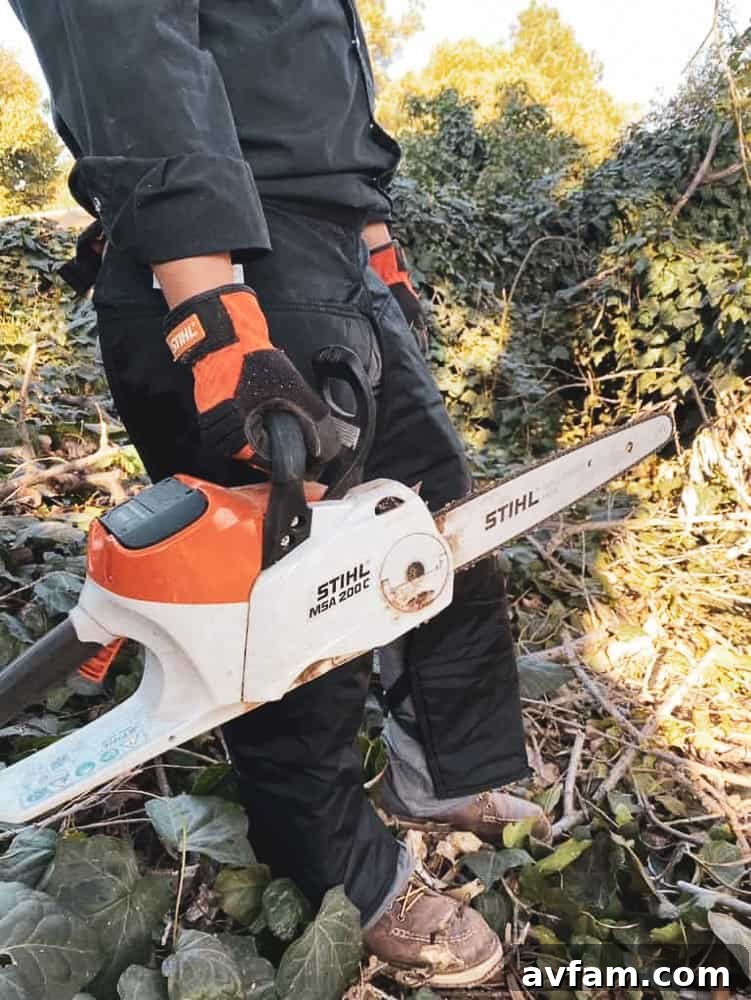
Regardless of the tool you choose, safety must always be your top priority when operating a chainsaw. Always don appropriate personal protective equipment (PPE). This includes sturdy gloves to protect your hands, ANSI-approved eye protection to shield your eyes from debris, and chainsaw chaps, which are designed to stop the chain on contact in case of an accident. Furthermore, I highly recommend using a face shield for full facial protection and wearing good, solid work boots with steel toes to safeguard your feet. Proper training and understanding of your chainsaw’s operation are also crucial before making any cuts.

Before beginning, ensure your workspace is clear of obstacles, and the wood you are cutting is stable and secured. Never cut above your head or without a clear line of sight. Familiarize yourself with kickback risks and proper cutting angles. Taking these precautions will ensure your coaster-making project is not only productive but also safe.

Achieving Uniform Coaster Slices
The ideal thickness for wood coasters is approximately ¼ to ½ inch. This thickness provides stability without being overly bulky. When using a chainsaw for these cuts, I’ve found it incredibly helpful to first cut a manageable section of the trunk or branch. This shorter log segment can then be securely clamped to a stable workbench or a specialized log-cutting jig. This method is far safer and allows for much straighter, more consistent cuts compared to trying to slice directly from a log resting on the ground, which often results in angled or uneven pieces. By working on a secured piece, you can maintain better control over the chainsaw, leading to a more professional finish for your coaster blanks.
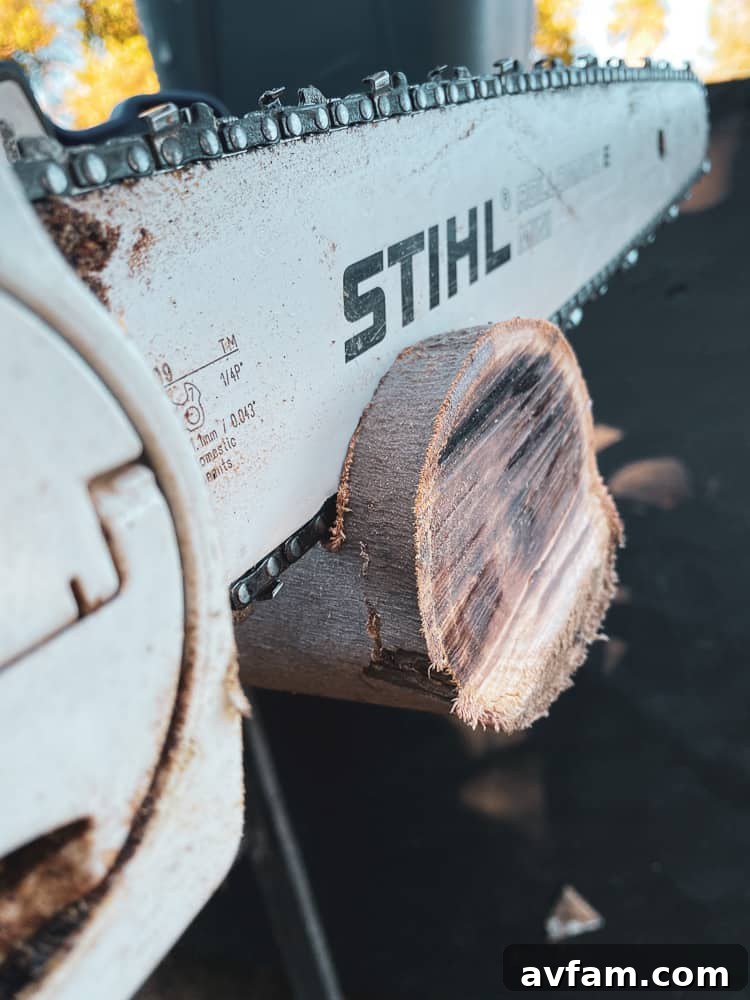
For ultimate precision and perfectly uniform slices, especially if you have access to one, a miter saw is an excellent tool. It provides unparalleled accuracy in cutting consistent thicknesses and perfectly straight edges. A miter saw set to a specific depth can make quick work of preparing numerous coaster blanks, ensuring each one is identical in thickness, which is particularly beneficial if you’re planning to sell your coasters or give them as a matching set.
Final Preparation: Sanding and Finishing for Longevity
Once your wood slices are cut, the next critical steps involve preparing them for use through sanding and applying a protective finish. These stages are essential not only for aesthetics but also for the durability and functionality of your homemade wood coasters.
To Bark or Not to Bark: Aesthetic Choices
I personally prefer the rustic charm of a “live edge” on my wood coasters, meaning I leave the natural bark intact whenever possible. The bark adds a unique organic texture and defines the natural shape of the wood slice, enhancing its authentic appeal. However, if you desire a cleaner, more contemporary look, the bark can be easily peeled off. This is often best done when the wood is still relatively fresh, as dried bark can be more stubborn to remove. You can use a chisel or a sturdy knife to carefully pry it away, taking care not to damage the wood underneath.
Sanding for a Smooth Surface
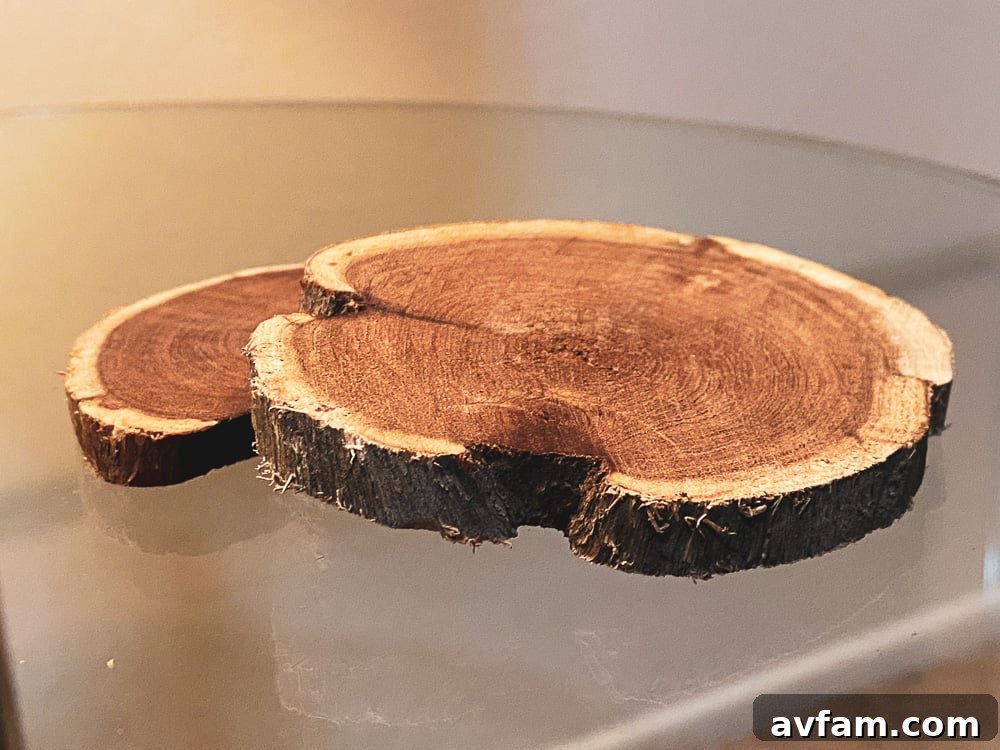
Sanding is a non-negotiable step to achieve a smooth, splinter-free surface that is pleasant to touch and ready to accept a finish. If your coaster blanks are quite rough from the cutting process, begin with a coarser grit sandpaper, such as 150-grit. This will effectively remove any major imperfections, saw marks, and uneven areas. Once the initial roughness is gone, progressively move to finer grits, typically 220-grit, and then finish with a very fine sandpaper of 300-400 grit. This gradual progression is crucial for achieving a beautifully smooth and refined surface that will allow your chosen finish to penetrate evenly and showcase the wood’s natural beauty. You can hand sand or use an orbital sander for quicker results, especially if you have many coasters.
Choosing the Right Wood Finish
Applying a wood finish is vital for protecting your coasters from moisture and enhancing their natural appearance. Given their purpose, a water-resistant finish is paramount. There’s a wide array of wood finish options available, but from my extensive experience, tung oil stands out as one of the best choices. Tung oil is celebrated for being non-toxic and low in VOCs (Volatile Organic Compounds), making it a safer option for items used in the home. It typically dries to a clear finish that beautifully highlights the wood’s grain, and most importantly, it offers excellent water resistance. This property is absolutely essential for coasters, as it prevents water rings and stains from penetrating the wood itself.
Other excellent non-toxic and food-safe finish options include pure linseed oil (also known as flaxseed oil) and mineral oil. Both work wonderfully and are great alternatives if they are what you have on hand. These oils soak into the wood, creating a protective barrier while maintaining a natural look and feel. The beauty of oil finishes is that they are very forgiving; you can easily reapply them periodically as needed to refresh the protection and luster of your coasters, ensuring they remain beautiful and functional for years to come. Simply wipe on a new coat, let it soak, and wipe off any excess.
Personalizing Your Coasters: Adding a Custom Touch
After sanding and before applying your chosen wood finish, this is the perfect opportunity to infuse your coasters with a personal touch. Custom decorations can transform a simple wood slice into a unique statement piece or a cherished gift. There are numerous creative techniques you can employ to personalize your coasters:
- Stamping: Use rubber stamps with various designs, letters, or numbers to create patterns, initials, or inspiring words.
- Carving: For those with carving skills, intricate designs can be etched directly into the wood for a truly bespoke feel.
- Wood Burning (Pyrography): This popular technique involves using a specialized tool to burn designs into the wood, creating beautiful, permanent patterns and textures. You can burn monograms, geometric patterns, or even intricate illustrations.
- Drawing or Painting: Use permanent markers, paint pens, or acrylic paints to draw freehand designs, quotes, or abstract art. Consider natural motifs like leaves, trees, or animals to complement the coaster’s organic origin.
Applying these modifications before the final wood finish ensures that your designs are sealed in place, protected from wear, and seamlessly integrated into the coaster’s surface. This step truly allows your creativity to shine, making each coaster uniquely yours.
Beyond Coasters: Transforming Slices into Ornaments
The versatility of these wood slices extends beyond just coasters. It’s incredibly easy to transform them into charming Christmas tree ornaments or even year-round rustic decor. All it takes is a simple modification: drill a small hole through the top edge of the wood slice, then thread a piece of natural twine, ribbon, or sturdy string through it. You can leave them plain to showcase the wood’s natural beauty or decorate them with paint, glitter, or wood-burned designs to match your holiday theme. These make wonderful additions to your own tree or thoughtful, personalized gifts during the holiday season or any time of the year.
The Perfect Gift: Share the Craft of Wood Coasters
Before you consider discarding your Christmas tree or pruning waste, remember the incredible potential it holds for crafting beautiful and practical items. Making these DIY wood coasters is not just a sustainable choice; it’s an opportunity to create something meaningful and unique. They make exceptionally thoughtful gifts year-round, suitable for virtually any occasion—be it housewarmings, weddings, birthdays, or as a charming hostess gift. Their relatively flat and sturdy nature also makes them incredibly easy to pack and ship, allowing you to share your craftsmanship with friends and family, no matter the distance.
Imagine a set of custom-made wood coasters, perhaps featuring the initials of a newlywed couple, or a festive design for holiday gatherings. These handmade treasures speak volumes, conveying care, creativity, and a commitment to sustainable living. They serve as a constant reminder of the beauty of nature and the satisfaction of a project well done.
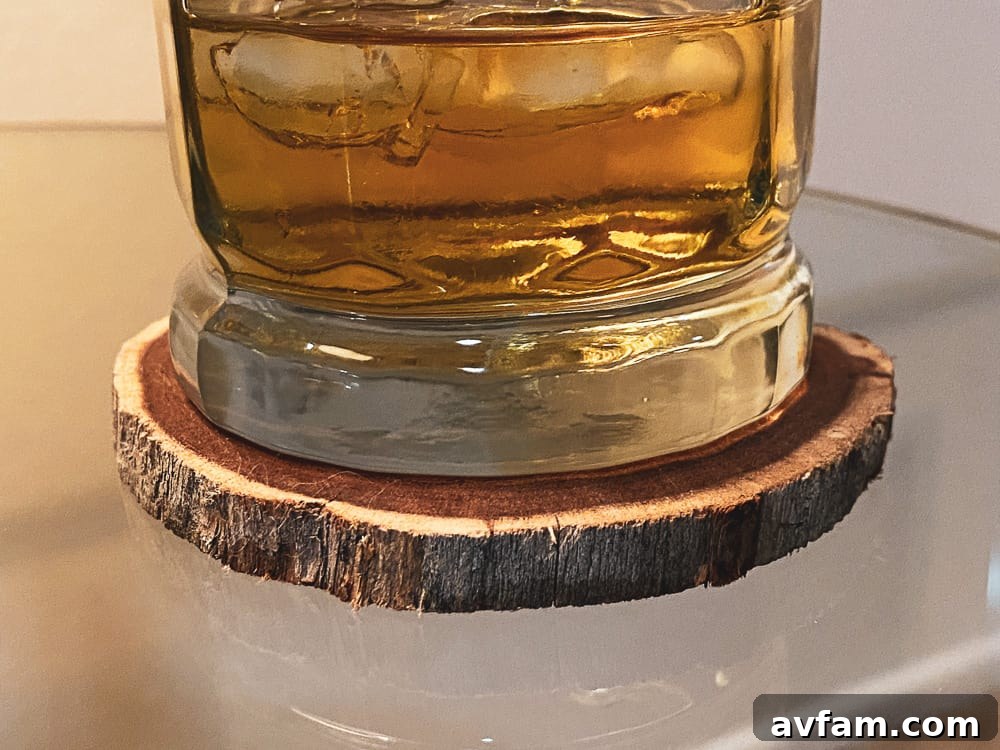

So, the next time you’re wondering what to do with a fallen branch or your post-holiday tree, remember that with a little effort and creativity, you can transform it into something truly special. Not only will you be contributing to a more sustainable lifestyle, but you’ll also be creating beautiful, lasting pieces that add warmth and character to any home. Embrace the joy of DIY and the satisfaction of crafting with nature’s bounty!