
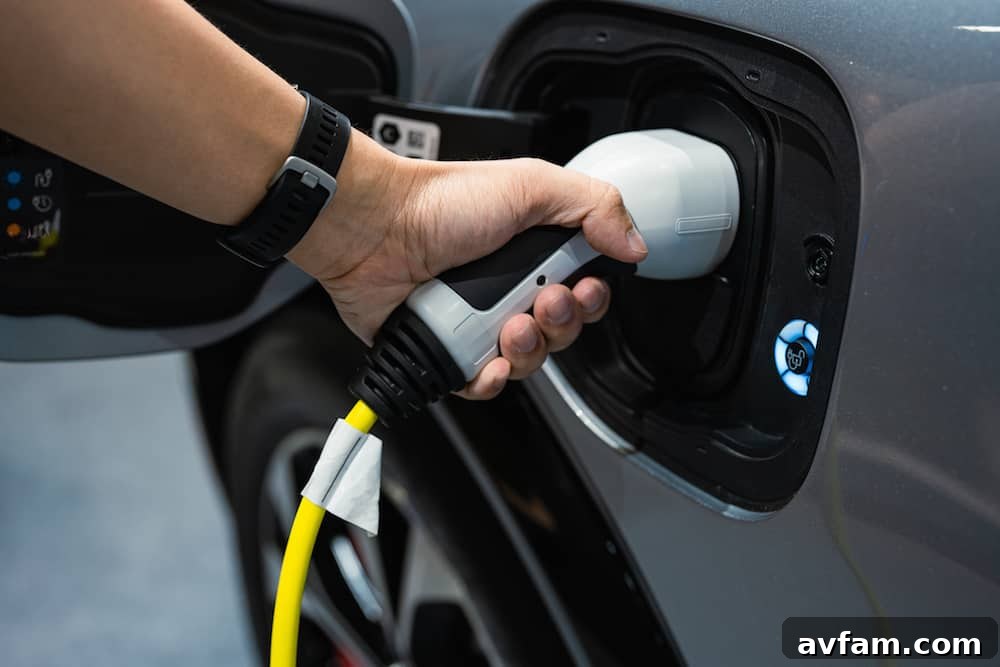
As the revolution of electric vehicles (EVs) accelerates, establishing a robust and efficient home charging infrastructure has become a paramount consideration for EV owners. A dedicated home charger transforms the daily routine of EV ownership, offering unparalleled convenience, cost savings, and the ultimate peace of mind, freeing you from reliance on public charging stations and optimizing your vehicle’s readiness for every journey. This comprehensive guide will walk you through the essential steps and considerations for setting up your ideal EV home charging station, ensuring a seamless and future-proof experience.
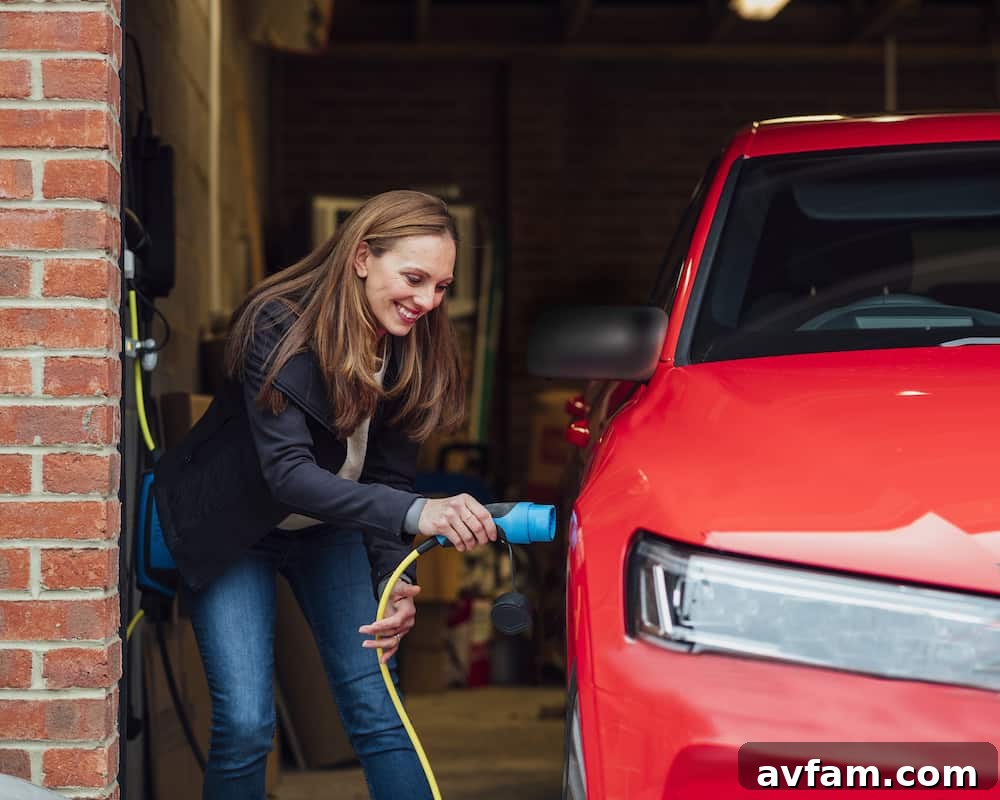
While the prospect of installing an EV home charger might initially seem complex, understanding the process and engaging the right professionals makes it an entirely manageable and rewarding endeavor. A crucial first step for anyone aiming for fast and reliable home charging is often the assessment and potential upgrade of their existing electrical panel to adequately support the new energy demands.
Understanding EV Home Charger Types: Level 1 vs. Level 2
The journey to equipping your home with an EV charger begins with selecting the appropriate charging level to match your lifestyle and vehicle’s needs. There are two primary categories of home charging solutions: Level 1 and Level 2, each offering distinct advantages and charging speeds.
Level 1 chargers represent the most basic form of EV charging. Typically included with your electric vehicle purchase, these chargers utilize a standard 120-volt household outlet, similar to those used for everyday appliances. While convenient due to their plug-and-play simplicity, Level 1 chargers offer the slowest charging rate, usually delivering approximately 3 to 5 miles of range per hour. This makes them suitable for drivers with minimal daily mileage, for overnight trickle charging, or as a backup option. However, for those with longer commutes or a desire for faster turnaround times, Level 1 often proves insufficient.
Level 2 chargers, in contrast, are the preferred choice for the majority of EV owners seeking efficient home charging. Operating on a 240-volt circuit, identical to what powers large appliances like electric dryers or ovens, Level 2 chargers significantly boost charging speeds, typically providing between 20 to 30 miles of range per hour. This means a full charge for most EVs can be achieved overnight, or even within a few hours, depending on the vehicle’s battery capacity and the charger’s power output. Opting for a Level 2 charger transforms your EV ownership experience, ensuring your vehicle is always ready when you are.
However, the enhanced performance of a Level 2 charger comes with specific installation requirements. Unlike Level 1, installing a Level 2 unit is not a simple plug-in task. It necessitates the installation of a dedicated 240-volt circuit by a qualified electrician, which involves a higher initial investment, often ranging from several hundred to over a thousand dollars, depending on the complexity of the installation, local labor rates, and the distance from your electrical panel to the charging location. Furthermore, it’s crucial to be aware that many municipalities require permits for Level 2 charger installations to ensure compliance with local electrical codes and safety standards. Always consult with your electrician and local authorities regarding permitting requirements.
The Critical Role of Your Electrical Panel Upgrade
Before any Level 2 charger installation can proceed, a thorough assessment of your home’s electrical panel is imperative. For many homes, particularly older ones, the existing electrical panel may not possess the capacity or available breaker space to accommodate the significant power draw of a Level 2 EV charger. This often necessitates an electrical panel upgrade, a crucial step to ensure the safety, efficiency, and longevity of your charging system.
An electrical panel upgrade typically involves increasing the overall amperage capacity of your service panel (e.g., from 100 amps to 200 amps) and/or adding new dedicated circuits. This ensures that the charger receives a stable and sufficient power supply without overloading your home’s electrical system, which could lead to tripped breakers, power outages, or even fire hazards. This is unequivocally NOT a DIY project. The complexities of load calculation, wiring, and adherence to stringent electrical codes demand the expertise of a licensed and certified electrician. They will meticulously evaluate your current electrical setup, recommend necessary upgrades, and execute the work safely and in full compliance with all applicable regulations, safeguarding your home and investment.
Choosing the Optimal EV Charging Station for Your Home
Once your electrical panel has been assessed and, if necessary, upgraded to support a Level 2 charger, the exciting task of selecting the right charging station begins. The market offers a diverse array of Electric Vehicle Supply Equipment (EVSE) units, each boasting unique features, power outputs, and price points. Popular and highly-rated options include the ChargePoint Home Flex, the JuiceBox (now Enel X Way JuiceBox), and various models from ClipperCreek (now Enphase IQ EV Charger). These brands are widely recognized for their reliability, ease of use, and compatibility with the vast majority of EV models using the universal J1772 connector, with Tesla vehicles requiring an adapter or a specific Tesla Wall Connector.
When making your selection, consider several key features to ensure the charger perfectly aligns with your preferences:
- Power Output (Amperage): Chargers come in various amperages, commonly ranging from 32A to 48A (and sometimes higher). A higher amperage translates to faster charging. Ensure the charger’s amperage rating is compatible with your electrical panel’s capacity and your vehicle’s onboard charger limits. Investing in a charger with a higher amperage than your current EV needs can be a smart “future-proofing” move for subsequent EV models.
- Smart Features & Connectivity: Many modern EVSE units are “smart chargers” equipped with built-in Wi-Fi. This connectivity allows you to monitor and control the charging process remotely via a smartphone app. Key smart features include scheduling charging sessions during off-peak electricity hours to save money, tracking energy consumption, receiving charging notifications, and even integrating with smart home ecosystems or utility demand-response programs.
- Cable Length and Durability: Consider the distance from your planned charger location to your vehicle’s charging port. Chargers come with various cable lengths; ensure it’s long enough to comfortably reach, regardless of how you park. Also, look for durable, weather-resistant cables and robust housing for outdoor installations.
- User Interface and Indicators: Some chargers feature intuitive LED indicators or even built-in displays that show charging status, estimated time remaining, and power delivery.
- Brand Reputation and Warranty: Research reputable brands known for their quality, customer support, and generous warranty periods, which typically range from 1 to 3 years.
- Mounting Options: Most chargers are designed for wall-mounting, but some offer pedestal options for freestanding installations.
Professional Installation of Your Home EV Charging Station
Once you’ve selected your ideal EV charging station, the installation phase begins. While many charging stations come with comprehensive installation manuals, attempting a DIY installation, especially for Level 2 chargers, is strongly discouraged and often prohibited by local codes. The safe and compliant installation of an EVSE unit requires specialized electrical knowledge and strict adherence to local building and electrical codes. Hiring a qualified, licensed, and insured electrician is not just a recommendation; it’s a necessity for your safety, peace of mind, and often a municipal requirement.
A professional electrician will perform a pre-installation site assessment, which includes evaluating your electrical panel, identifying the optimal location for the charger, determining the wiring path, and ensuring all local codes are met. The installation process typically involves:
- Permit Acquisition: The electrician will often assist with or guide you through obtaining the necessary electrical permits from your local authority.
- Panel Work: If an electrical panel upgrade or additional circuit installation is required, this will be expertly completed.
- Wiring and Conduit: Running the dedicated 240-volt wiring from your electrical panel to the chosen charger location, often enclosed within protective conduit.
- Mounting the Charger: Securely mounting the EVSE unit to a wall or pedestal.
- Electrical Connection: Safely connecting the charger to the newly installed circuit in your electrical panel.
- Final Inspection: Arranging for a final inspection by the local electrical inspector to ensure code compliance (if required by your municipality).
After your charging station is professionally installed, thorough testing is essential to confirm its proper functionality. This involves verifying indicator lights on the unit, ensuring the charging cable securely connects to your EV, and confirming that the charging station is correctly grounded. Crucially, test the charging station with your electric vehicle to confirm compatibility and verify that it’s charging at the expected rate. Monitor your vehicle’s dashboard or app for charging status and progress during the initial uses.
Maximizing Your Home EV Charging Experience and Savings
With your home EV charging station operational, you’re now ready to unlock the full potential of convenient and cost-effective electric vehicle ownership. Here are some tips to enhance your charging experience and maximize savings:
- Embrace Off-Peak Charging: Many utility companies offer time-of-use (TOU) electricity rates, where electricity is cheaper during off-peak hours (typically overnight). Utilize your smart charger’s scheduling features to charge your EV during these periods, significantly reducing your operational costs. Some utilities even offer special EV charging rates or rebates; inquire with your provider.
- Optimize Battery Health: For most daily driving, charging your EV to 80-90% is recommended for optimal battery longevity. Only charge to 100% when preparing for a long trip. Your EV’s battery management system will usually handle this, but smart chargers can also be configured.
- Keep Your Cable Tidy: While minimal maintenance is required, ensure your charging cable is neatly coiled and stored when not in use to prevent damage and trips. Consider a cable management hook or holster for convenience.
- Monitor Performance: Periodically check your charging station and vehicle for any unusual behavior, such as slow charging or error messages. Most issues are minor and can be resolved by checking the breaker, cable connection, or vehicle settings.
- Future-Proofing: Even if your current EV doesn’t utilize the highest amperage your charger can deliver, having the capacity allows for faster charging with future vehicles or if you acquire another EV.
The Future-Proof Advantage of Home EV Charging
Investing in a home EV charging station is more than just a convenience; it’s a crucial step towards embracing sustainable living and future-proofing your home. As electric vehicles continue to evolve and become more prevalent, having a reliable and efficient home charging solution will not only enhance your daily life but also add significant value to your property. By carefully selecting your charger, ensuring professional installation, and optimizing your charging habits, you’ll enjoy a seamless, cost-effective, and truly integrated EV ownership experience for years to come.