
This is a sponsored post written by me on behalf of Arrow Fastener. All opinions are 100% mine.
Unleash the Fun: Building a Backyard Mini-Ramp for Our Skateboarding Son
Christmas arrived with an unexpected, yet incredibly exciting, twist at the Dahl House this year. Our eight-year-old son, a passionate skater, has shown remarkable resilience after breaking his leg last summer. Now, back with renewed determination, we wanted to provide him with a safe and dedicated space to hone his skills. The solution? A custom-built half-pipe in our backyard, not just for him but for his friends to enjoy too. This project wasn’t just about building a structure; it was about fostering his passion, encouraging recovery, and creating a vibrant hub of activity right at home.
From Setback to Skate Park: A Journey of Recovery and Inspiration
The summer began with an unfortunate incident. On the very first day of skate camp, our son collided with another boy, resulting in a broken tibia. It was a tough blow, confining him to a cast for the entire summer. Yet, his spirit remained unbroken. He bravely navigated camping trips, swam with a protective cover, and scooted everywhere, refusing to let the injury dampen his adventurous spirit. As soon as the cast came off, his first thought was to get back on his board. Witnessing his unwavering enthusiasm, we knew we had to support him. Building a mini-ramp became the clear, logical, and incredibly exciting next step.
Designing the Perfect Backyard Skate Haven
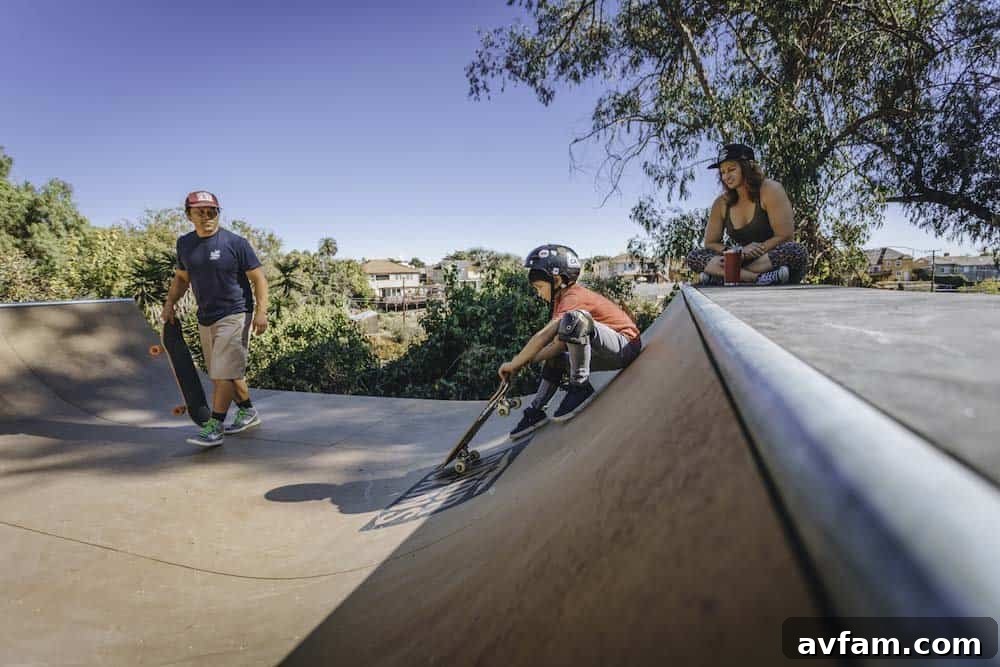
Our backyard boasts a generous lawn and dirt area, perfectly sized for a 12-foot wide mini-ramp. The initial design phase involved crucial decisions, primarily focusing on the ramp’s height. Taller ramps inherently mean steeper transitions, posing a greater challenge for skaters. While our son has two years of skate park experience under his belt, he’s only just begun to master dropping into ramps around two feet tall. Considering his current skill level and our desire for a structure he could grow into, we opted for a 3.5-foot tall ramp. This height offers a substantial challenge without incorporating “vert,” allowing for progressive skill development.
To streamline the construction process and ensure professional-grade results, we decided to order the ramp in pre-cut pieces from Keen Ramps. This approach offered a cost-saving advantage on installation and, more importantly, allowed us to immerse ourselves in the hands-on experience of building it as a family. There’s something incredibly rewarding about assembling a project like this ourselves, knowing every plank and screw contributed to its creation.
The Construction Journey: More Than Just Wood and Wheels
Timing can be a funny thing. We inadvertently chose one of the hottest days in October to begin our backyard mini-ramp build. Our son, eager to contribute, even joined us, taking a couple of days off school to be part of the action. Over two and a half intensive days, fueled by determination and plenty of water, we transformed a pile of wood into a functional skate ramp. We proudly completed it just in time for his birthday and our annual Halloween party. The ramp was an instant sensation.
It quickly proved to be a magnet for children, even those who didn’t skate. It served as a defacto slide and an imaginative play structure, confirming our belief that this was more than just a skate ramp; it was a catalyst for outdoor play and friendship. The sheer joy on our son’s face, and on the faces of his friends, made every minute of effort worthwhile.

Protecting Your Investment: Essential Weatherproofing for Outdoor Skate Ramps
Having shared various ramp-building tips on Built by Kids, we can confidently say that one of the most critical aspects of constructing an outdoor skate ramp is rigorous protection against the elements, especially water and rain. Neglecting proper weatherproofing can drastically shorten the lifespan of your investment, leading to costly repairs or even complete replacement.
Elevating and Leveling for Longevity
Our weatherproofing strategy began with a foundational step: elevating and leveling the entire ramp on cinder blocks. This serves a dual purpose. Firstly, a level ramp is absolutely essential for proper skating, ensuring consistent transitions and safety. Secondly, and critically for durability, elevating the ramp prevents the wood from directly contacting the ground. This separation is vital because direct ground contact exposes the wood to constant moisture, which can quickly lead to rot, warping, and structural degradation. By keeping it off the ground, we significantly extend the life of the entire structure.
The Power of Paint: First Line of Defense
The next layer of defense against rain involved painting the ramp’s sides and the underlying plywood surface. We chose black for the sides for a sleek aesthetic and painted the middle plywood layer before applying the final surfacing. Paint acts as a crucial barrier, offering an added layer of protection against any water that might eventually seep through the top layer of Gatorskins ramp surfacing. This initial coating prevents moisture from directly saturating the wood, buying critical time and preventing immediate damage.
Adding an Extra Layer: Roofing Paper for Ultimate Protection
We wanted to go a step further to ensure maximum durability, especially given the ramp’s significant investment of time and resources. Our enhanced weatherproofing included stapling roofing paper over the middle layer of plywood. This strategically placed layer acts as an impermeable membrane, providing a robust waterproof barrier. This extra step is incredibly important; it ensures that not only is the plywood protected, but also the ramp’s structural frame and the underlying 2x4s remain dry and sound, even in the heaviest rainstorms. This comprehensive approach safeguards the integrity of the entire ramp from the ground up.
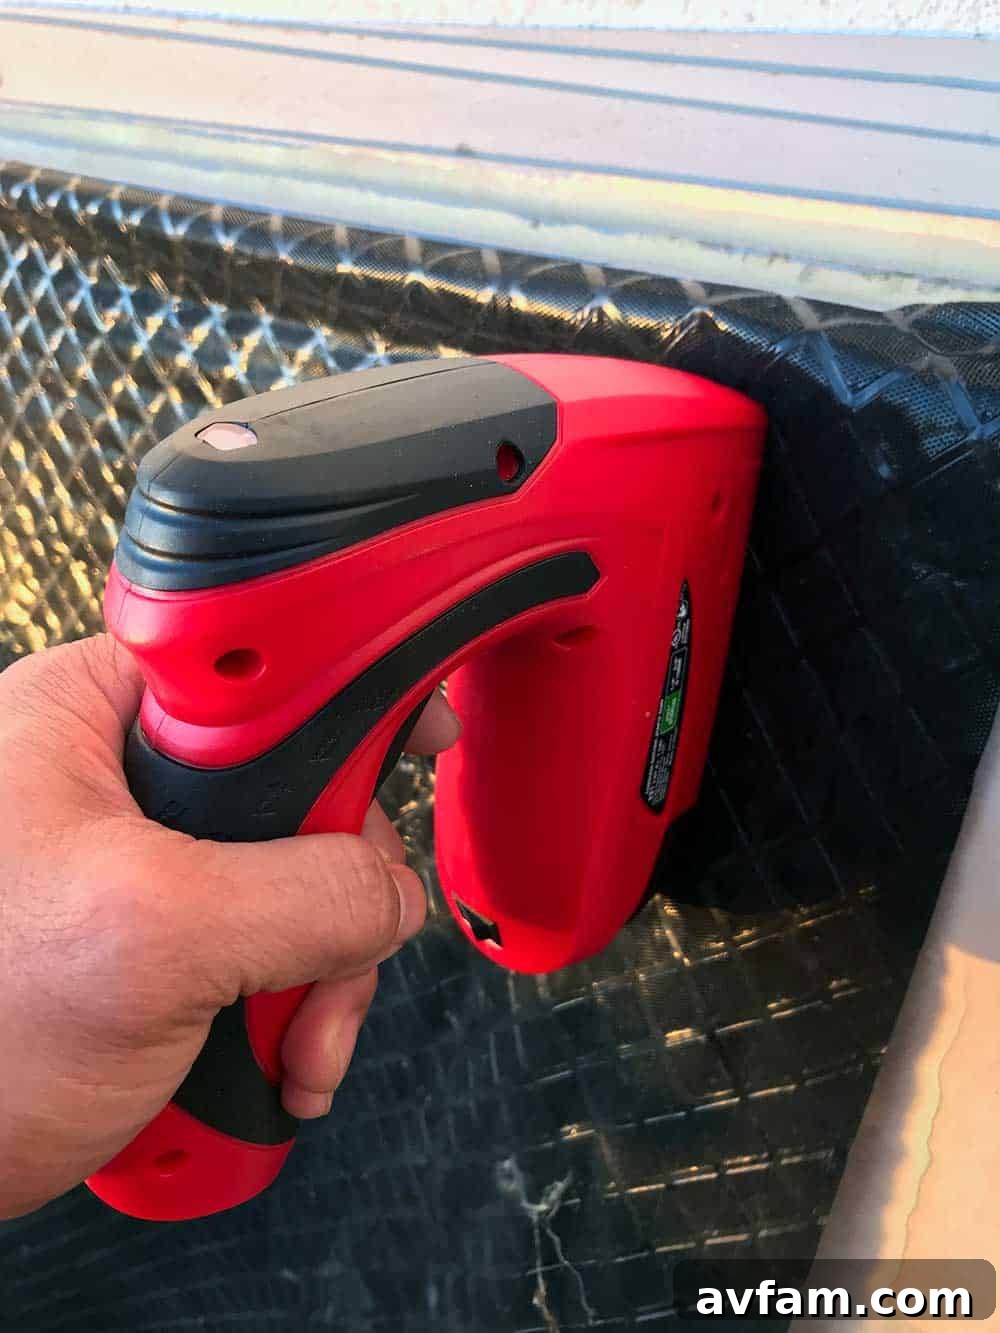
While stainless steel screws were ideal for attaching the plywood and the final ramp surfacing due to their strength and rust resistance, they would be overkill and impractical for securing the roofing paper. For this task, a heavy-duty utility stapler is the perfect tool. We’ve long relied on our trusty Arrow T50ELITE staple gun for countless projects. However, after stapling hundreds of feet of roofing paper, even the most robust manual stapler can lead to hand fatigue.
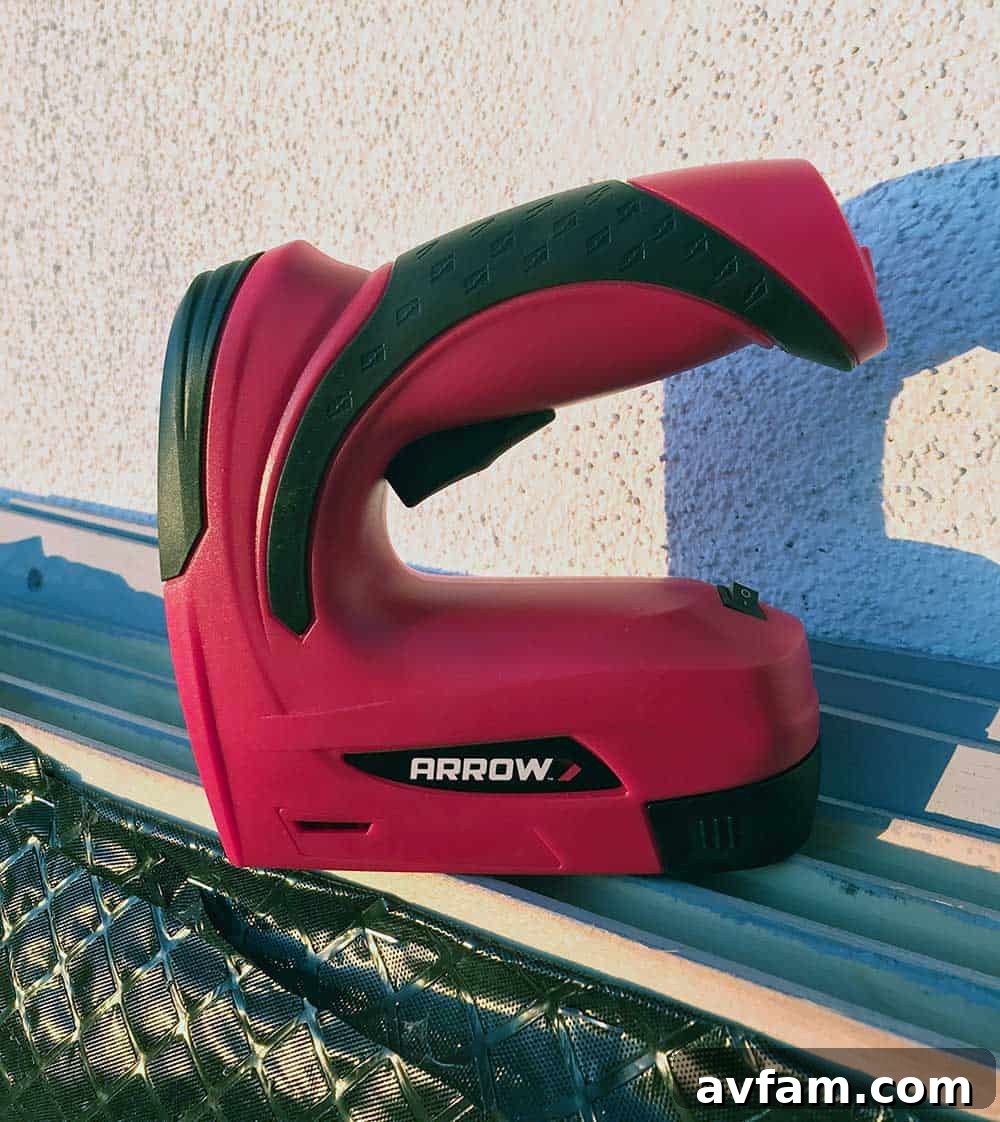
Efficiency Meets Power: Discovering the Arrow E21 Cordless Electric Staple Gun
Recognizing the demanding nature of stapling large surfaces, Arrow Fastener generously provided us with their innovative Arrow E21 Cordless Electric Staple Gun. This tool proved to be an absolute game-changer for our ramp-building project. The cordless design offers unparalleled freedom of movement, eliminating the need for power outlets or cumbersome air compressors. Its impressive battery life, lasting up to three hours on a single charge, was more than sufficient to thoroughly cover the entire skate surface with roofing paper without any interruptions for recharging.
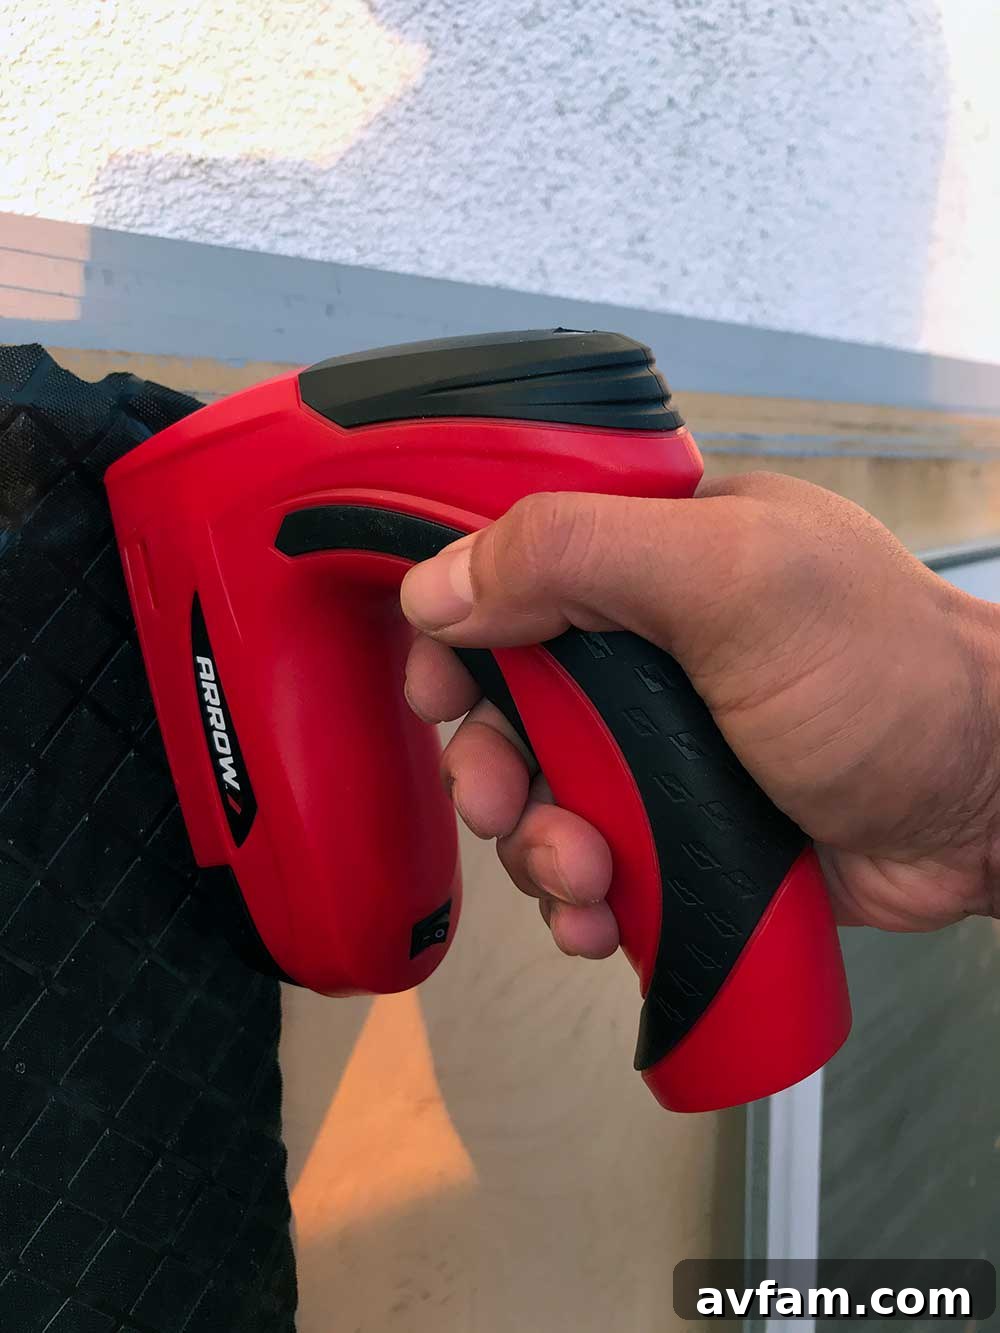
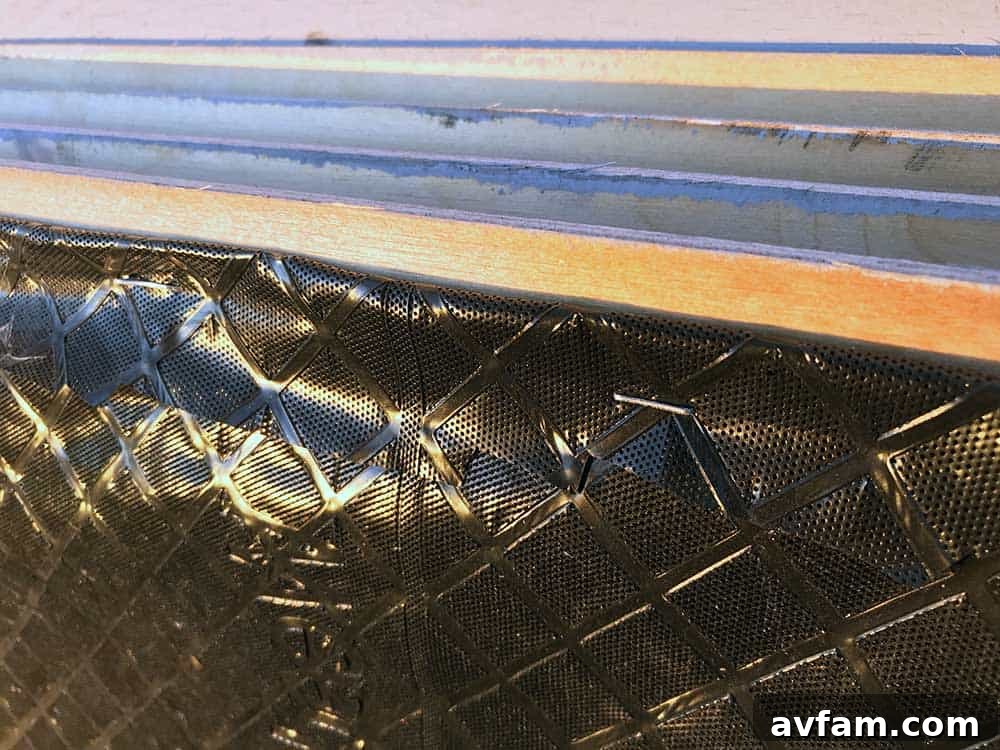
The Arrow E21 demonstrated remarkable power, effortlessly securing the roofing paper to the plywood with consistent, deep staples. What truly sets it apart, however, is its ease of use. The simple, ergonomic trigger action saved our hands and wrists from the considerable fatigue typically associated with manual staplers. This meant we could work longer, more comfortably, and with greater precision, significantly speeding up the weatherproofing process.
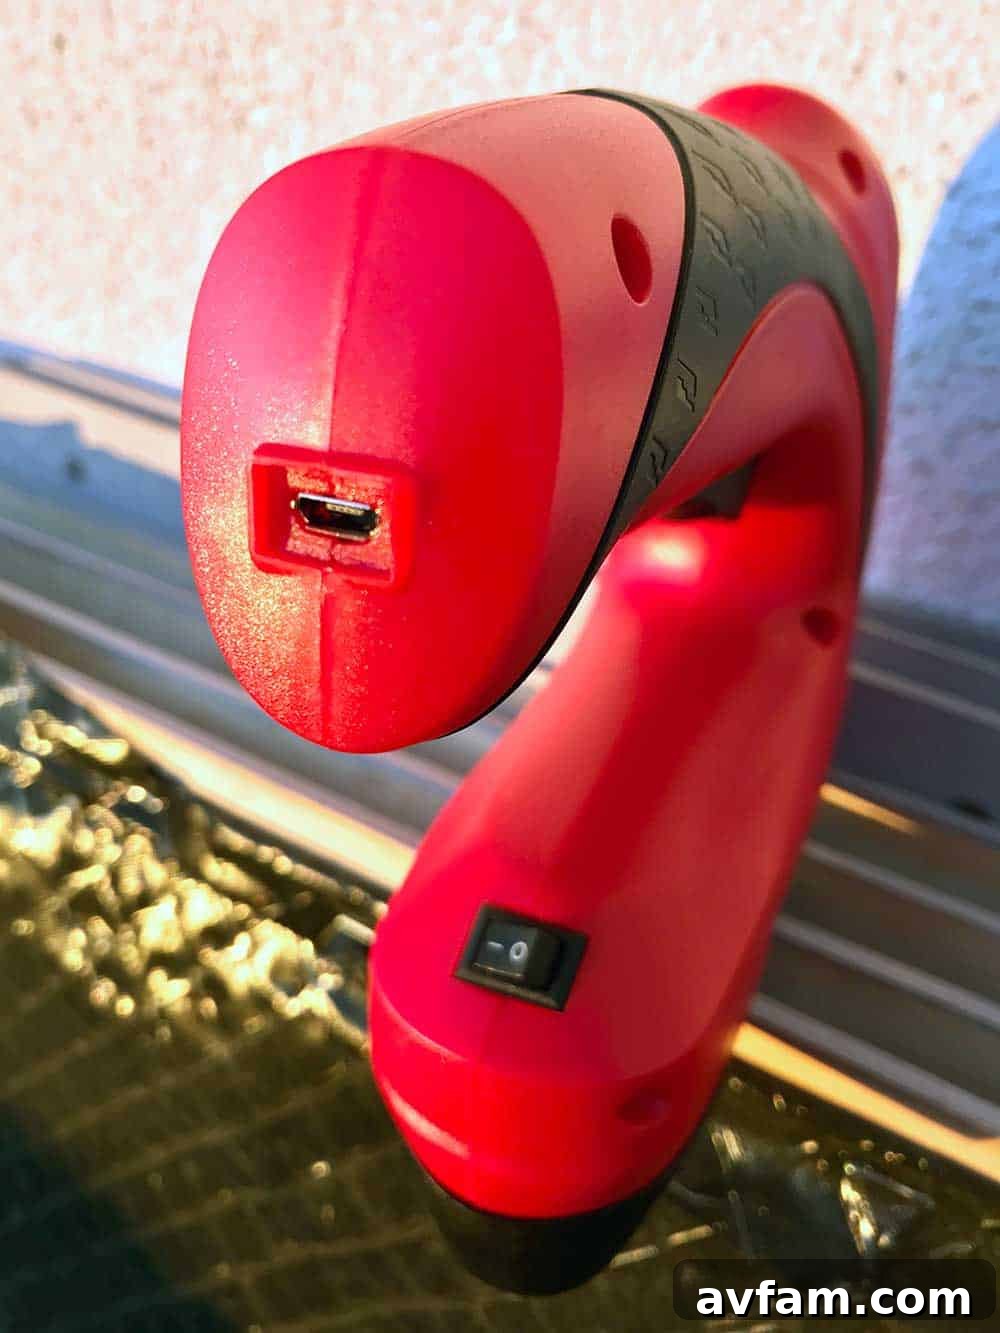
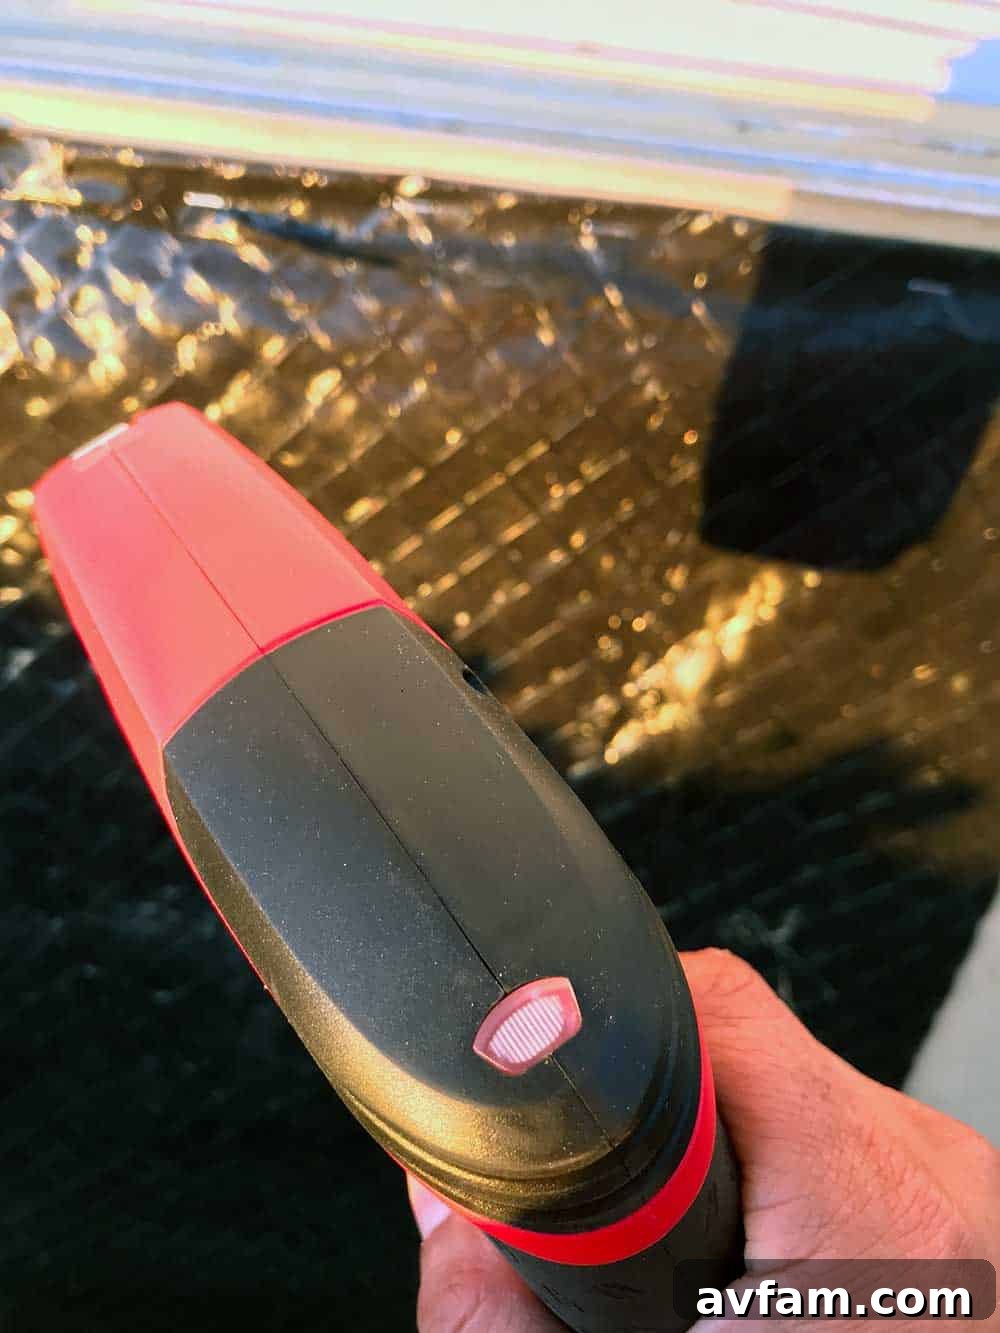
A convenient battery life indicator, thoughtfully placed on top of the stapler, kept us informed of the remaining charge, though we rarely needed to consult it. The stapler held its charge throughout the entire project, a testament to its efficient battery management and robust design. This reliability is paramount when you’re in the middle of a DIY project and want to maintain momentum.
Versatility Beyond the Ramp: What Else Can the Arrow E21 Do?
The versatility of the Arrow E21 Cordless Electric Staple Gun extends far beyond securing roofing paper. It accommodates both JT21 staples and 8-inch brad nails, making it an invaluable addition to any DIYer’s toolkit. We envision using it for a wide array of small woodworking projects where we might typically reach for a pneumatic stapler. The Arrow E21 offers the convenience and power of an electric tool without the need for an air compressor, making it perfect for upholstery, crafting, decorative trim work, and various home repair tasks. Its portability and ease of use make it an ideal choice for quick fixes and projects where setting up a pneumatic system would be overkill.
Ensuring Long-Term Durability: Climate Considerations and Maintenance
While Los Angeles isn’t known for heavy rainfall, the ambient moisture in the air can still pose a threat to outdoor wood structures over time. Therefore, taking these comprehensive steps to protect our backyard mini-ramp from water damage is a sound investment in its longevity and safety. Regular inspection for any signs of wear, re-sealing painted surfaces as needed, and promptly addressing any minor repairs will ensure the ramp remains a vibrant and safe play space for years to come. A little proactive maintenance goes a long way in preserving the integrity of any outdoor structure, especially one exposed to the elements.
Conclusion: A Backyard Oasis and a Tool for Every DIYer
Building this backyard mini-ramp has been an incredibly rewarding experience, transforming a challenging summer into a source of immense joy and fostering our son’s passion for skateboarding. The project highlighted the importance of thoughtful design, meticulous construction, and robust weatherproofing. The Arrow E21 Cordless Electric Staple Gun proved to be an indispensable tool throughout this process, saving us time, effort, and ensuring a professional finish on our waterproofing layers. Its power, cordless convenience, and versatility make it a must-have for any homeowner tackling DIY projects, big or small.
We’re thrilled with the outcome and the countless hours of fun it promises. If you’re considering a similar project or looking for reliable, efficient tools for your next home improvement endeavor, we highly recommend exploring Arrow Fastener’s range of products.
Click here to check out other #MadewithArrow projects.