
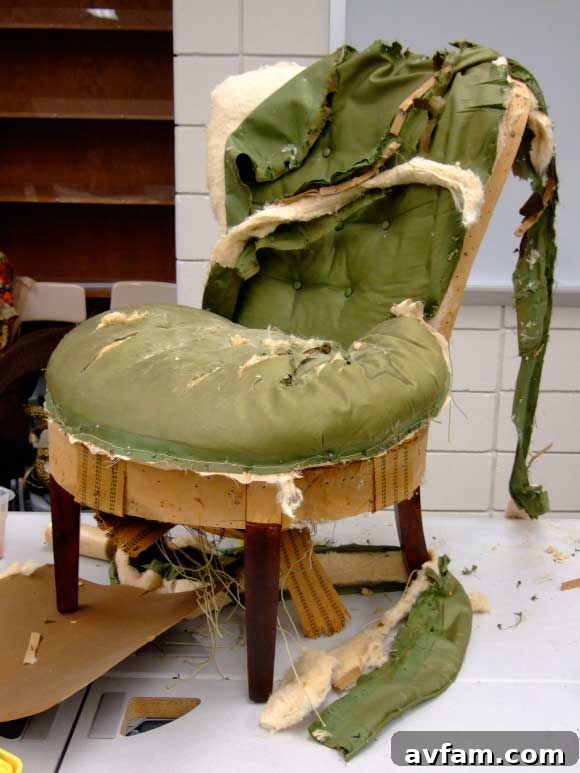
Embarking on a journey into the world of upholstery can be incredibly rewarding. Whether you’re looking to breathe new life into a beloved antique, customize a modern piece, or simply repair wear and tear, DIY upholstery offers a unique blend of creativity and practicality. As a newcomer to this fascinating craft, I’ve recently delved into the process of revitalizing furniture, driven by a collection of vintage pieces that boast fantastic lines and sturdy construction, but have unfortunately become the favored scratching posts for my five adventurous cats. These cherished items are now in dire need of a complete transformation.
Always one to embrace a new challenge—a common trait among DIY enthusiasts—I’ve begun a thorough exploration into the art of reupholstering. This journey started with a fundamental realization: successful upholstery isn’t just about selecting beautiful fabric; it profoundly hinges on having the right set of tools. It might sound obvious to seasoned pros, but for aspiring upholsterers like myself, discovering the specific **upholstery tools** required for this craft was an eye-opener.
Initially, I naively assumed that my general household toolbox would suffice. However, I quickly learned that while some tools share similarities with carpentry or sewing essentials, many are uniquely designed for the nuances of fabric, foam, and frame work. Recognizing that this revelation might benefit other beginner upholsterers, I’ve compiled a comprehensive guide to the essential tools you’ll need to start your first furniture revival project. This guide aims to simplify the learning curve, ensuring you’re well-equipped to tackle your upholstery tasks with confidence and precision.
Why Embrace DIY Upholstery?
Beyond the immediate need to repair cat-scratched furniture, venturing into DIY upholstery offers a wealth of benefits:
- Cost Savings: Professional upholstery services can be expensive. Learning to do it yourself can save a significant amount of money, especially for multiple pieces.
- Customization and Personalization: You have complete control over fabric choices, patterns, and finishes, allowing you to create truly unique pieces that perfectly match your decor and personal style.
- Sustainability and Upcycling: Reupholstering gives old furniture a new lease on life, reducing waste and contributing to a more sustainable lifestyle. It’s an eco-friendly way to update your home.
- Skill Development: It’s a rewarding craft that builds practical skills, patience, and attention to detail. The sense of accomplishment from transforming a worn-out piece into a stunning showstopper is unparalleled.
- Quality Preservation: Often, older furniture boasts superior construction compared to mass-produced modern pieces. Reupholstering allows you to retain this inherent quality while updating the aesthetic.
Essential Upholstery Tools for Beginners
Diving into your first upholstery project requires more than just enthusiasm; it demands the right set of tools. Here’s a breakdown of the fundamental tools every beginner upholsterer should consider acquiring, along with their primary uses and tips for selection:
Needle-Nose Pliers
These slender, pointed pliers are indispensable for precise tasks. In upholstery, they are primarily used for gripping and pulling out the stubborn ends of broken staples or tacks that refuse to budge with a claw tool. Their fine tips allow access to tight spaces, making them superior to standard pliers for delicate extraction work. Look for a pair with a comfortable grip and durable construction.
Rubber Mallet
Unlike a conventional hammer, a rubber mallet delivers forceful yet non-damaging blows. It’s crucial for gently disassembling wooden furniture frames without leaving dents or cracks. You’ll use it to tap joints apart during deconstruction or carefully reassemble them. A small to medium-sized mallet is generally sufficient for most household upholstery projects.
Straight-Blade Fabric Shears (or Sewing Scissors)
High-quality, sharp fabric shears are paramount. They ensure clean, precise cuts through various materials—fabric, thin foam, batting, and thread—without snagging or fraying. It’s vital to dedicate these scissors *only* to fabric to maintain their sharpness. Avoid using them on paper or other materials, as this will dull the blades rapidly. Pinking shears, which create zigzag edges, are generally not suitable for primary cutting in upholstery, though they can be useful for finishing raw edges to prevent fraying.
Upholstery Needle (Curved and Straight)
An upholstery needle is vastly different from a standard sewing needle. These are much longer, thicker, and often curved, made from heavy-gauge steel to penetrate multiple layers of fabric, foam, and webbing. They are essential for hand-sewing intricate details like rolled edges, attaching buttons (especially for tufting), and making invisible stitches. For heavy-duty fabrics or deep tufting, a mattress needle (a long, straight upholstery needle) can be particularly useful.
Stapler or Tack Hammer
This is your primary tool for securing fabric, webbing, and batting to the furniture frame.
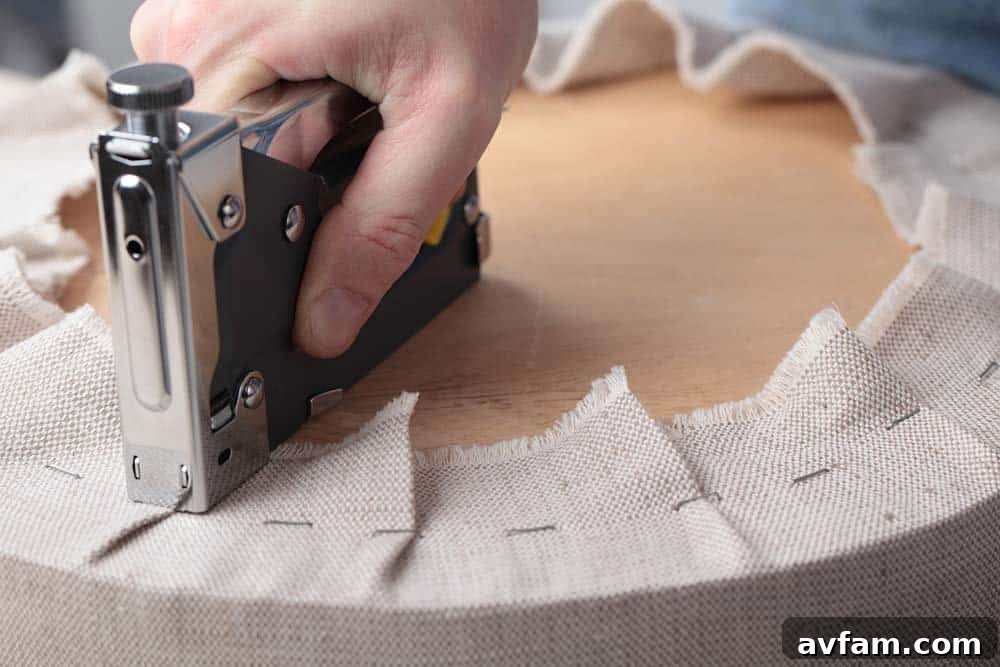
- Stapler: For efficiency and strength, an electric or pneumatic (air-powered) staple gun is highly recommended. These provide consistent, strong staples with minimal effort, reducing hand fatigue. A high-quality manual staple gun can also work for smaller projects but requires more physical force. Ensure you use appropriate-sized upholstery staples.
- Tack Hammer: A specialized tack hammer features a small, often magnetic head designed to hold tacks in place, allowing you to hammer them in precisely. Tacks are used for both utilitarian fastening and decorative finishes, offering a traditional aesthetic.
Claw Tool / Staple Remover
Far more effective and less damaging than a standard hammer claw, an upholstery claw tool is specifically designed for safely removing old staples and tacks without marring the wood frame. It often resembles a screwdriver with a V-shaped prong or a thin, angled chisel end. Its leverage allows for efficient and careful extraction, which is critical during the deconstruction phase of any reupholstery project.
Webbing Stretcher
If your project involves replacing or tightening seat webbing (the supportive criss-cross straps beneath cushions), a webbing stretcher is indispensable. This tool has a series of spikes on one end that grip the webbing, and a leverage point (often an hourglass-shaped handle) that allows you to stretch the webbing taut across the frame. Proper tension is crucial for a comfortable and durable seat, and a stretcher ensures you achieve it effectively before stapling or tacking the webbing into place.
Measuring Tape and Fabric Marker/Chalk
Accuracy is key in upholstery. A flexible measuring tape is essential for precise measurements of fabric, foam, and frame dimensions. Fabric chalk or a disappearing fabric marker allows you to accurately transfer patterns, cutting lines, and marking points onto your fabric without leaving permanent residue.
Seam Ripper
A small but mighty tool, a seam ripper is invaluable during the deconstruction phase. It allows you to carefully open seams, remove stitches, and detach fabric sections without damaging the underlying material or the original fabric (if you plan to use it as a pattern).
Utility Knife / Box Cutter
For cutting thick materials like foam, batting, or cardboard tack strip, a sharp utility knife or box cutter is extremely useful. Always use it with a cutting mat or a protective surface underneath to prevent damage to your workspace.
Safety Glasses and Gloves
Safety should always be a priority. When pulling staples, cutting with sharp tools, or dealing with old, dusty materials, safety glasses protect your eyes from flying debris. Work gloves can protect your hands from splinters, staple pricks, and general wear and tear.
As an avid sewer, I already possess a few items from this list, particularly the fabric shears and basic needles. However, like any new craft, upholstery demands specialized instruments that an average DIYer might not have readily available. Beyond the tools, the next big decision involves selecting the perfect fabric, a choice that will ultimately define the aesthetic and longevity of my rejuvenated furniture, moving beyond its current “clawed to death” state.
Learning Resources: Upholstery Books and Classes
While tools are essential, knowledge is equally vital. For those eager to deepen their understanding of upholstery techniques, I highly recommend my friend Shelly Leer’s book, The Little Upholstery Book: A Beginner’s Guide to Artisan Upholstery. Shelly is a true expert, having taught upholstery classes in her community for many years. Her book is an invaluable resource, breaking down complex processes into digestible steps suitable for absolute beginners and intermediate DIYers alike. It’s packed with practical advice, clear illustrations, and inspiring projects.
In addition to books, exploring local upholstery classes in your area can provide hands-on instruction and personalized guidance from experienced professionals. The benefit of a classroom setting is immense; you can receive immediate feedback, learn proper techniques directly, and gain confidence under expert supervision. Many communities offer workshops that cover fundamental skills, allowing you to start with smaller projects and gradually build your expertise.
I recently had the pleasure of chatting with Shelly on the Tool Crave podcast, where she shared even more insights into the intricate art of upholstery, emphasizing the importance of patience, precision, and, of course, the right tools. Podcasts, along with online tutorials and YouTube channels, offer a wealth of free resources that can supplement your learning journey, providing visual demonstrations and tips from various experts.
Embark on Your Upholstery Adventure
The world of DIY upholstery is incredibly diverse and rewarding. With the right set of tools, a good guide, and a willingness to learn, you can transform old, tired furniture into stunning, personalized pieces that reflect your style and creativity. From the satisfaction of pulling out the first staple to admiring your perfectly re-covered creation, every step of the process is an opportunity to learn and grow as a craftsperson.
Best of luck on your upholstery journey. May your newly covered furniture bring you immense joy and pride, standing as a testament to your newfound skills and dedication. Happy upholstering!