
DIY Surfboard Storage: Build the Ultimate Garage Rack for Your Quiver
Moving to a new city often comes with dreams and aspirations, and for me, relocating from the bustling streets of New York City to the sun-drenched coast of Los Angeles last year brought with it the strong desire to hit the waves more frequently. I envisioned countless mornings spent catching swells, embracing the quintessential Southern California lifestyle. However, as often happens, reality had other plans. As soon as the ocean water warmed up to a comfortable temperature, the waves, almost as if on cue, decided to go flat. It’s a common lament among local surfers, a natural part of the seasonal rhythm here in Southern California.
While my personal surfing schedule hasn’t been as packed as I’d hoped, my passion for the sport remains undimmed. I find myself living vicariously through those who do manage to get out there, constantly seeking inspiration and practical advice from the vibrant surfing community. One of my long-time favorite surfing blogs, El Porto Fridays, was a treasure trove of insights and camaraderie. Although the site recently closed its digital doors, it left behind a legacy of brilliant ideas, including one particular gem that caught my eye: an ingenious DIY surfboard rack they built in their garage. This simple yet highly effective storage solution has stayed with me, proving to be the perfect answer to a common problem faced by surfers everywhere.
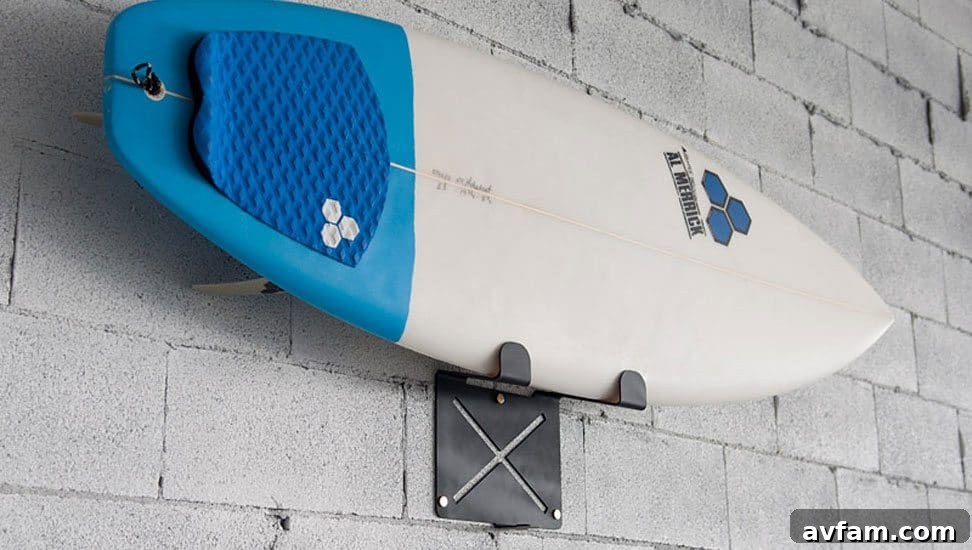
The Quest for Perfect Surfboard Storage: Why a DIY Rack is a Game Changer
Every surfer knows the challenge of storing their quiver. Boards are long, fragile, and often take up significant space. Without proper storage, they can become a tripping hazard, collect dust, or worse, get dinged or damaged. My current setup, for example, involves storing my boards outside in board bags on their sides, resting on a pallet. While it’s a temporary solution, it’s far from ideal. Exposure to the elements, even within bags, can be detrimental in the long run, and the lack of proper support leaves them vulnerable. Plus, maneuvering my 11-foot Laird Surftech stand-up paddleboard, which is a bit unwieldy, makes standing it on its end an almost impossible task without the risk of it toppling over.
This personal struggle highlights the universal need for an effective, space-saving, and protective surfboard storage solution. That’s where the inspiration from El Porto Fridays comes in. Their simple garage rack isn’t just a way to store boards; it’s a blueprint for regaining garage space, protecting your valuable equipment, and adding a touch of organized surf culture to your home.
Unlocking Your Garage’s Potential: Benefits of a DIY Surfboard Rack
Beyond the immediate need for storage, building your own DIY surfboard rack offers a multitude of advantages that extend far beyond simply getting your boards off the floor. It’s an investment in your equipment, your space, and your peace of mind.
Cost-Effectiveness You Can’t Beat
One of the primary benefits of a DIY approach is the incredible savings. Commercial surfboard racks, especially those designed to hold multiple boards, can be quite expensive. This project, however, is remarkably cheap. It only requires a few common materials that can be easily sourced from any local hardware store. We’re talking about a 2×4 piece of lumber, some wood dowels, a handful of wood screws, and a bit of padding. The minimal material cost makes this an accessible project for almost any budget, allowing you to allocate more of your funds towards new wetsuits, fins, or even another board!
Customization for Your Unique Quiver and Space
Unlike off-the-shelf solutions, a DIY rack offers unparalleled customization. You can tailor the dimensions to perfectly fit your garage’s available space, whether it’s a tight corner or a long wall. More importantly, you can customize the spacing between the dowels to accommodate your specific quiver. Got a collection of shortboards? Space them closer. Need room for a bulky longboard or a wide stand-up paddleboard? Adjust the spacing accordingly. This flexibility ensures that every board, from your performance shortboard to your vintage longboard, has a designated and secure spot.
Superior Protection for Your Valued Boards
Proper storage is crucial for extending the life of your surfboards. Leaving them leaning against a wall, stacked haphazardly, or exposed to the elements greatly increases the risk of dings, pressure dents, or worse, structural damage. A well-designed DIY rack cradles each board, preventing contact with other boards or hard surfaces. The addition of padding, as recommended, further cushions the rails and deck, safeguarding against scratches and impacts. This protective environment ensures your boards stay in pristine condition, ready for your next session.
Reclaim Your Garage: Organization and Aesthetics
A cluttered garage can be a source of frustration. Surfboards, when not properly stored, contribute significantly to this mess. By building a dedicated rack, you not only get your boards off the floor but also create a sense of order and organization. A neatly aligned quiver instantly transforms a chaotic corner into an efficient, visually appealing space. It shows pride in your equipment and your hobby, making your garage feel less like a storage unit and more like a functional extension of your home.
A Step-by-Step Guide to Building Your Easy Garage Surfboard Rack
Inspired by the simplicity and effectiveness of the El Porto Fridays design, here’s a detailed guide to constructing your very own DIY surfboard rack. This project is straightforward, even for those with limited woodworking experience, and can be completed in an afternoon.
Materials You’ll Need:
- One 2×4 Lumber Stud: (Minimum 8 feet long, or longer depending on how many boards you plan to store). This will form the main vertical support structure.
- Wood Dowels: (Approximately 1 inch in diameter, 12-18 inches long, one for each board you wish to store). The length can vary based on board width and desired stability.
- Wood Screws: (Appropriate length for securing the 2×4 to your garage studs, typically 2.5-3 inches; also shorter screws for attaching dowels, around 1.5-2 inches).
- Pencil and Measuring Tape: For accurate marking and spacing.
- Drill and Drill Bits: For pilot holes and driving screws.
- Level: To ensure your rack is perfectly straight.
- Protective Padding: (Pipe insulation foam, old wetsuit material, or dense foam tape). This is crucial for protecting your boards.
- Optional: Eyelets and Cord/Bungee: Small screw-in eyelets for the ends of the dowels and a cord or bungee to secure boards, preventing accidental falls.
- Saw: Hand saw or circular saw for cutting the 2×4 and dowels if necessary.
Construction Steps:
- Plan Your Layout: Decide where in your garage you want to install the rack. Identify the wall studs to which you will secure the 2×4. Measure the available height and width. Consider the types of boards you’ll be storing. For shortboards, you might space dowels 12-15 inches apart vertically. For longboards or SUPs, aim for 18-24 inches. The rack in the inspirational image has dowels spaced quite generously, suggesting it’s designed for varying board sizes or fewer boards with ample room.
- Cut the 2×4: Cut your 2×4 to the desired length. The length will depend on how many boards you plan to store vertically. A typical 8-foot 2×4 can comfortably hold 4-6 boards depending on spacing.
- Mark Dowel Positions: Using your measuring tape and pencil, mark the spots on the 2×4 where each dowel will be attached. Ensure these marks are aligned vertically and spaced appropriately for your boards.
- Pre-Drill Pilot Holes: For each dowel position, drill a pilot hole into the 2×4. The pilot hole should be slightly smaller than the diameter of your dowel screws to ensure a tight fit and prevent splitting the wood.
- Attach the Dowels: Place the end of a dowel at a marked position and secure it to the 2×4 using wood screws. Make sure the dowels are sturdy and can support the weight of a board. Repeat for all dowels.
- Add Padding: This is a critical step for board protection. Cut pieces of pipe insulation or other foam padding to fit around each dowel. Secure the padding with tape or adhesive if needed. This soft layer will prevent dings and scratches on your board’s rails.
- Mount the Rack to the Wall: Hold the assembled 2×4 rack against the wall in your desired location. Use a level to ensure it’s perfectly vertical. Mark the positions where the 2×4 will align with your wall studs. Pre-drill pilot holes through the 2×4 and into the wall studs. Secure the 2×4 to the wall using your longer wood screws, driving them firmly into the studs for maximum stability.
- (Optional) Install Safety Eyelets and Cord: For added security, especially if your garage is high-traffic or prone to vibrations, screw small eyelets into the ends of each dowel. Then, thread a strong cord or bungee through these eyelets. This cord acts as a barrier, preventing your boards from accidentally falling out of the rack.
Customization Tips for Different Board Types
- Shortboards: Can be stored closer together, with dowels perhaps 12-15 inches apart. Ensure dowels are long enough to fully support the board without it wobbling.
- Longboards & Mid-Lengths: Require more vertical space, typically 18-24 inches between dowels. Consider longer dowels for better support given their increased length and weight.
- Stand-Up Paddleboards (SUPs): These are generally wider and heavier. You might need longer, sturdier dowels (18+ inches) and potentially wider spacing between them. The 2×4 itself might need to be wider or have an additional brace if you’re planning to store multiple heavy SUPs.
- Foamboards/Soft-Tops: While more durable, they still benefit from proper storage to maintain shape and cleanliness. Standard dowel lengths and spacing should suffice.
Maximizing Your Garage Space Beyond Surfboards
Once you’ve tackled your surfboard storage, you might find yourself inspired to organize the rest of your garage. A well-organized garage isn’t just about functionality; it also creates a more pleasant environment. Consider adding shelving units for smaller items, pegboards for tools, or overhead storage for seasonal gear. The principles applied to your surfboard rack – identifying needs, simple construction, and thoughtful placement – can be extended to other areas, transforming your garage into a truly efficient and enjoyable space.
Alternative Surfboard Storage Solutions (Brief Overview)
While the DIY garage rack is an excellent solution, it’s worth noting other popular options available for surfboard storage, each with its own advantages:
- Wall-Mounted Racks: These are great for displaying boards and saving floor space. They often consist of two arms that project from the wall.
- Ceiling Racks: Ideal for maximizing floor space, ceiling racks lift boards out of the way. They are particularly useful for longboards or paddleboards that might otherwise consume a lot of horizontal real estate.
- Freestanding Racks: These portable racks don’t require wall mounting and can be moved around. They’re good for temporary storage or if you can’t drill into your walls.
- Outdoor Sheds/Pallet Storage: As mentioned, storing boards outdoors, even on a pallet, is a viable option for some, especially if climate conditions are mild. However, proper board bags and protection from direct sun and moisture are essential.
Protecting Your Boards: Beyond Just Storage
Having a fantastic storage rack is just one piece of the puzzle in board care. To truly protect your surfboards and prolong their life, consider these additional tips:
- Board Bags: Always transport your boards in padded board bags to prevent dings and scratches on the way to and from the beach.
- Sun Exposure: Even when stored in a garage, avoid direct sunlight. UV rays can yellow your board, weaken resin, and damage fins over time.
- Wax Removal: Periodically remove old wax and reapply fresh wax. This not only keeps your board looking good but also allows you to inspect for any minor repairs needed.
- Ding Repair: Address dings promptly. Even small cracks can let water into the core of your board, leading to delamination and more serious damage.
- Handle with Care: Always carry your board carefully, avoiding dragging it or bumping it against hard surfaces.
Embrace the DIY Spirit and Organize Your Quiver
The journey from dreaming of waves in Los Angeles to finding practical solutions for board storage has been an insightful one. While the perfect swell might not always align with my schedule, having a beautifully organized and protected quiver in my garage brings a sense of calm and readiness. The simple, budget-friendly design shared by El Porto Fridays truly showcases how a little bit of planning and a few basic materials can go a long way in creating an efficient and protective DIY surfboard rack.
Whether you’re a seasoned surfer with a growing collection or a beginner with your first board, taking the time to build a proper storage solution is an investment that pays dividends. It not only safeguards your gear but also helps create a more organized and enjoyable living space. So, grab your tools, embrace the DIY spirit, and give your beloved surfboards the home they deserve.