
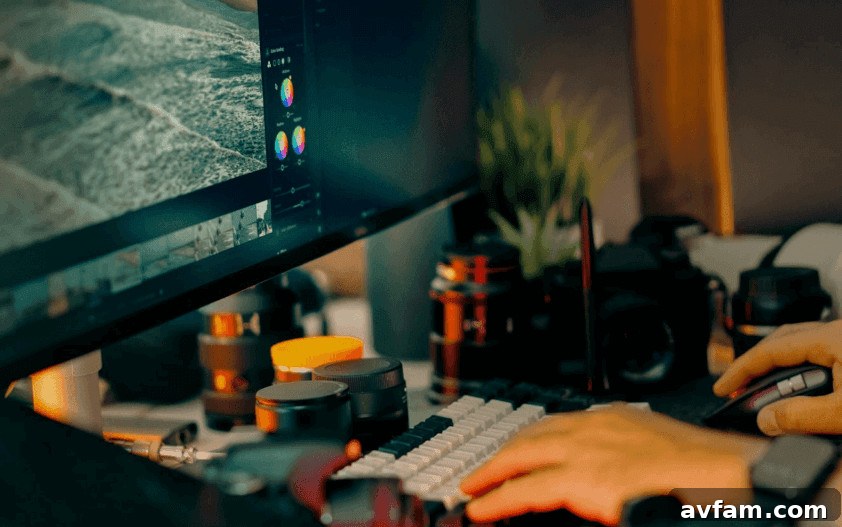
Last spring I was preparing to build a cedar pergola in our backyard. I’d already priced the lumber and picked a stain, but something felt off. Before buying materials, I edited a photo of the patio with an AI photo editor to try a few stain options. Seeing a darker stain against our brick exterior made it clear my original choice would have looked out of place. Changing plans before purchasing stain was far cheaper than refinishing a completed pergola.
I now do this for almost every home project. Whether I’m planning built-in garage storage, floating shelves, or updating the deck, editing a photo first has become a key part of my DIY workflow. It saves time, reduces costly mistakes, and helps the whole family visualize the finished result before the tools come out.
As a parent, weekends vanish between youth sports, home maintenance, and the next project. Spending a few minutes testing ideas on a photo beats spending an entire Saturday repainting a wall or tearing out something that never looked right.
Turn Your Phone Photos into a Planning Tool
Most homeowners already have what they need: a smartphone and a photo of the space. Instead of sketching ideas on scrap paper, edit a photo of the room, garage, or backyard to quickly explore options. You can:
- Change paint colors on walls
- Compare flooring materials
- Swap light fixtures
- Add shelves, cabinets, or workbenches
- Test landscaping ideas before buying plants
- Preview different deck railings or fence styles
This method is especially useful when proportions matter. A quick mockup can show whether floating shelves are too narrow, a workbench crowds the garage, or a pergola feels oversized for the yard.
Create a “What If” Library
One habit that simplifies planning is creating multiple versions of the same project rather than settling on the first edit. Save each option with a clear label so comparisons are easy. For example:
- Option A: White trim
- Option B: Natural cedar
- Option C: Black hardware
- Option D: Mixed materials
- Option E: Modern farmhouse
Viewing several versions side by side reveals details you might miss when staring at a single image. It’s also easier to get feedback from family members when they can compare real images instead of trying to imagine a description.
Plan Your Material Runs More Efficiently
Every DIYer knows the frustration of multiple trips to the home improvement store because one small item was forgotten. After creating a visual plan, building an accurate shopping list becomes much easier. Seeing the completed design often reminds you to add trim pieces, brackets, fasteners, stain, or that extra box of screws that would otherwise be left off the list.
Fewer forgotten items means fewer interruptions and more time spent actually building.
Build Better DIY Tutorials
If you document your projects, edited images make tutorials easier to follow. Instead of relying only on finished photos, create visuals that highlight:
- Cut locations
- Mounting points
- Material placement
- Before-and-after comparisons
- Safety clearances around power tools
Readers can grasp the project faster when images clearly show each stage of the build.
AI Is Becoming Another Tool in the Workshop
Careful planning has always been one of the most important parts of a successful DIY project. Many renovating homeowners complete at least some of the work themselves, and the planning stage is where photo editing can make a real difference. Instead of relying on rough sketches or mental images, you can see how materials, colors, and layouts work in the actual space before spending money.
For DIYers, AI-based photo editing belongs in the same category as a laser level, stud finder, or digital angle gauge. It doesn’t replace craftsmanship or experience—rather, it helps you make better decisions before committing time, money, and materials.
Don’t Forget Seasonal Mockups
Photo editing is also useful for planning projects months in advance. Thinking about adding a pergola next spring? Edit today’s backyard photo to include mature climbing vines. Planning new patio lighting? Test different string light layouts before drilling a hole. Considering a garage makeover? Visualize storage cabinets, epoxy flooring, and wall organizers before ordering materials.
These mockups help prioritize projects across the year while keeping the long-term vision in focus.
Try Before You Buy
When replacing expensive materials like countertops, tile, composite decking, garage cabinets, or siding, preview several options before ordering. Realistic mockups often change people’s minds because lighting, scale, and surrounding finishes can look very different in a photo than on a showroom sample.
I recently used this approach when planning garage cabinets. After comparing two layouts side by side, I realized one design would block access to the electrical panel. Fixing that on-screen took seconds; fixing it after installation would have meant moving cabinets and patching walls.
Many previews can be created with a free AI photo editor, making smarter planning available without increasing the renovation budget.
Remember That Photos Are Just Part of the Process
Digital mockups are an excellent planning tool, but they shouldn’t replace real-world testing. I still compare edited photos with actual paint samples, wood stain swatches, and material samples whenever possible. Natural light, wood grain, and surrounding finishes can look different in person than on a screen.
Using both approaches together gives greater confidence and fewer surprises during the build.
Final Thoughts
Some of the best DIY decisions happen before the sawdust starts flying. Taking a few minutes to experiment with layouts, colors, and materials helps prevent costly mistakes and provides a clearer plan before work begins. Whether you’re refreshing a single room or tackling a major backyard project, an AI photo editor can be a dependable tool in your workshop, helping you plan and build with more confidence and better results.