
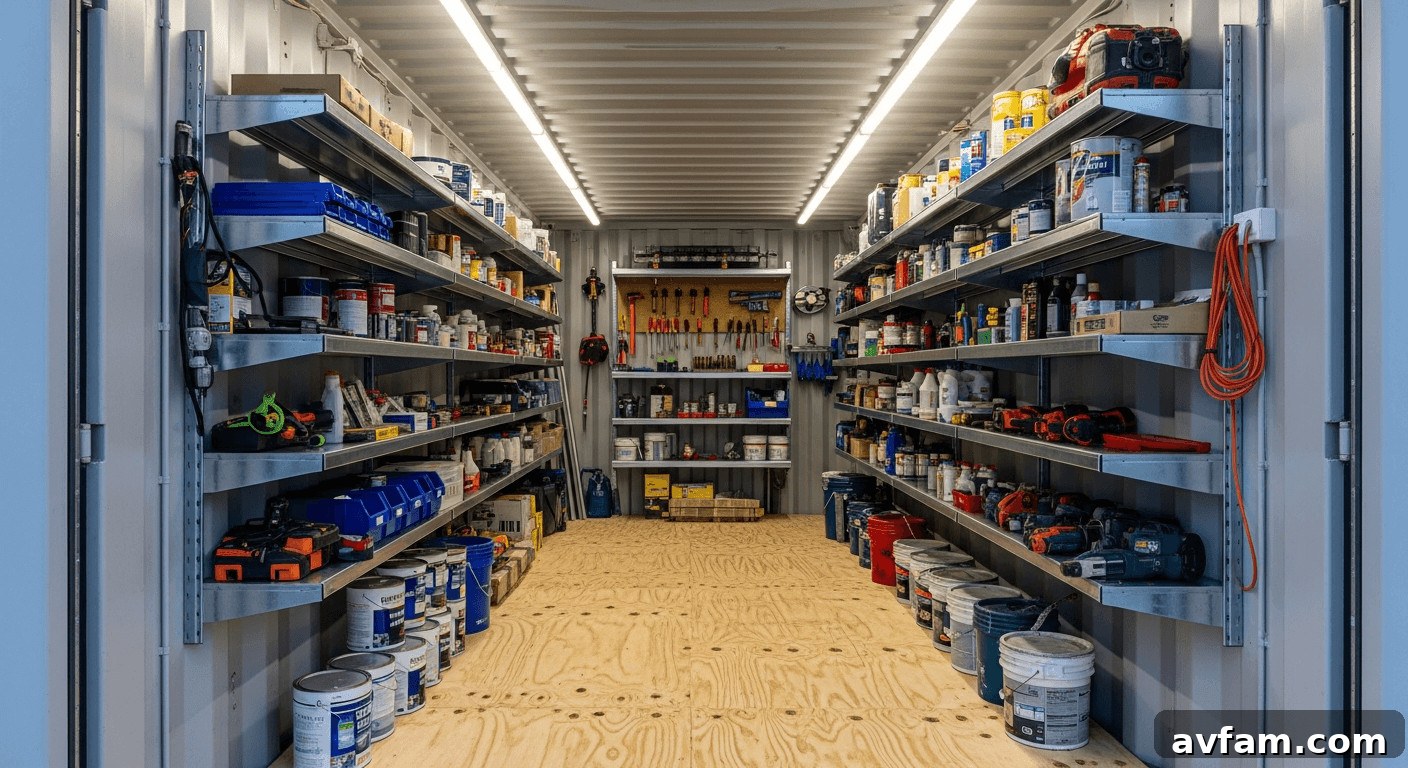
A shipping container is only as effective as the organisation inside it. Drop items in without a plan and within days you will be digging through piles to find what you need. That may be tolerable for a one-off task, but for businesses storing stock, tradespeople running a site store, or any operation with regular access, it quickly becomes inefficient and unsafe.
Fortunately, containers lend themselves to organised storage. The corrugated steel walls are strong enough for wall-mounted brackets and fittings. Internal dimensions are consistent and straightforward to plan around. And unlike a room in a building, there are no awkward structural obstacles interrupting usable space.
This guide explains practical ways to make the most of container storage—whether you keep tools on a construction site, manage stock for a small business, or need materials dry and accessible during a build.
Start with a layout plan, not a delivery
The most common mistake is planning storage after the container is filled. By then you are working around whatever ended up where, and rearranging is harder and slower.
A simple sketch is enough. Measure the internal floor area (a standard 20ft container is roughly 5.9m x 2.35m; a 10ft is around 2.85m x 2.2m) and draw the walls. Decide before you load:
- Which items need daily access and which are occasional?
- Can everything go on shelving, or do some items need to stay on the floor?
- Do you need a workbench or dedicated workspace inside?
- Will more than one person use the container at the same time?
Place frequent-use items closest to the door, within the first third of the container. Store heavy equipment low and light materials higher up. Resolving these choices on paper before the first pallet arrives saves time and prevents costly rearranging.
Use the vertical space properly
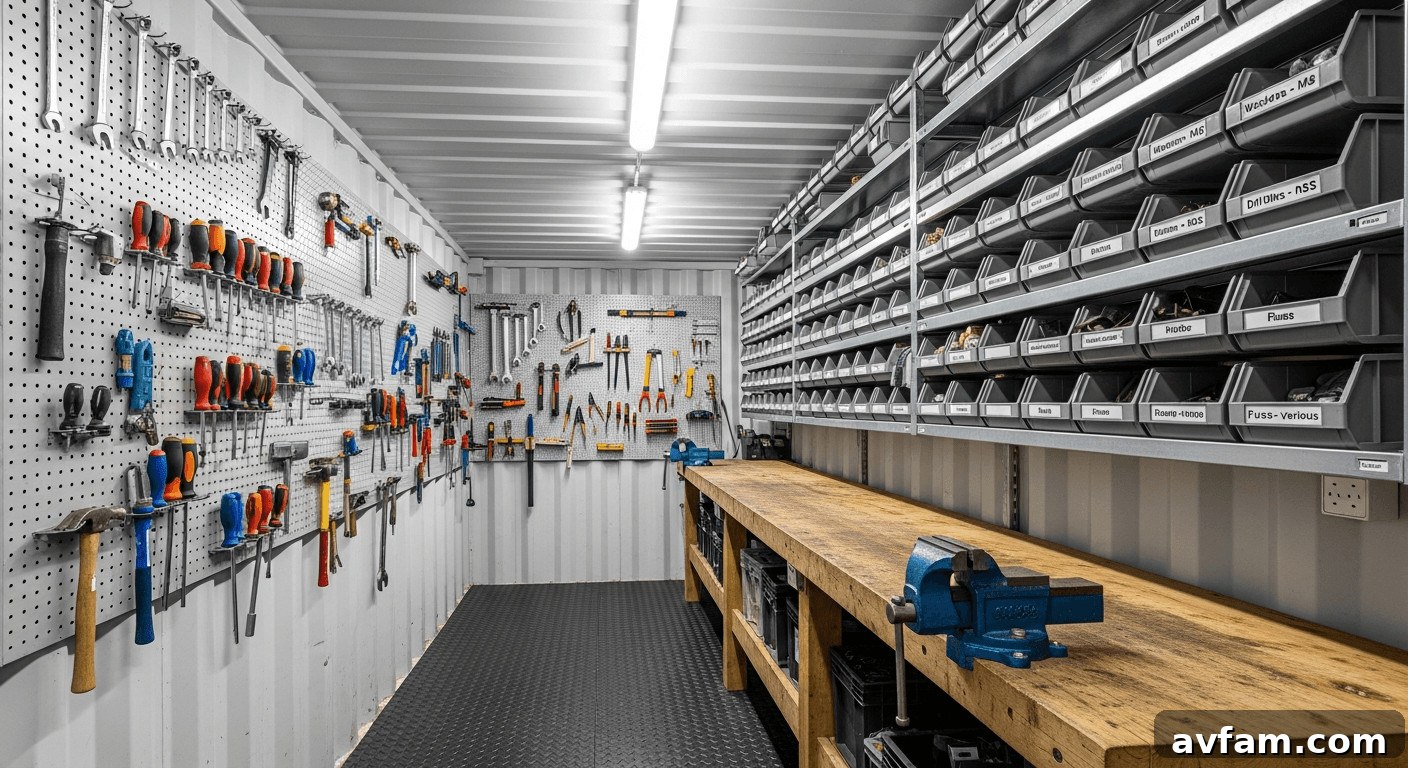
Floor area is limited; vertical space is not. A standard container stands about 8ft 6in internally (a high-cube is around 9ft 6in), offering plenty of wall area that is often unused.
Racking brackets that bolt or weld to the corrugated walls keep items off the floor and create multiple tiers of accessible storage. Adjustable shelving is worth the extra cost because it adapts when stock or materials change. Suppliers offer container-specific racking that fits the corrugated profile so units sit flush against the wall and don’t intrude into the working area.
For hand tools, a pegboard on the lower wall with hooks gives instant visual access. Magnetic strips work for chisels, screwdrivers and small metal tools. Anything visible at a glance saves time on busy sites.
Group by use, not by size
Loading by size—big things at the back, small things at the front—looks tidy but often mixes unrelated items together. A better approach is to group by use or trade.
On a construction site this could mean:
- Electrical fixings, conduit and cable on one run of shelving
- Plumbing fittings and pipe on another
- General fixings and commonly used screws in labelled bins near the door
- Power tools and chargers on a dedicated shelf with nearby sockets
For retail or e-commerce stock rooms, group by product category or picking frequency. Place best-selling or fast-moving lines at eye level near the door and slow-moving or seasonal items further back and higher up.
Whatever system you adopt, it only works if everyone follows it. A simple printed layout map taped to the inside of the door—showing which bay holds which items—takes minutes to make and prevents confusion in shared-access storage.
Label everything, including the shelves
Labelling feels unnecessary until it is missing. In single-person setups you might manage without it, but once multiple people access the container, unlabelled storage quickly deteriorates.
Label both the shelf and the contents. If a bin of M8 bolts sits on a shelf labelled “M8 bolts,” it is clear where it belongs on return. Clear plastic bins with removable label holders are better than cardboard: they stack neatly, show contents, and withstand damp conditions. For heavier items, use uniform stackable crates so reconfiguration is simple.
Sort out lighting before you need it
Containers are dark by default. A single light by the door will not illuminate the rear of a 20ft unit. Poor light makes finding parts slower and increases safety risks.
LED strip lights along the ceiling or individual LED units above each racking section solve this. Battery-powered or solar-charged units work where mains power isn’t practical. If the container doubles as a workspace, install proper overhead lighting as a standard feature rather than an optional extra.
Keep the floor clear
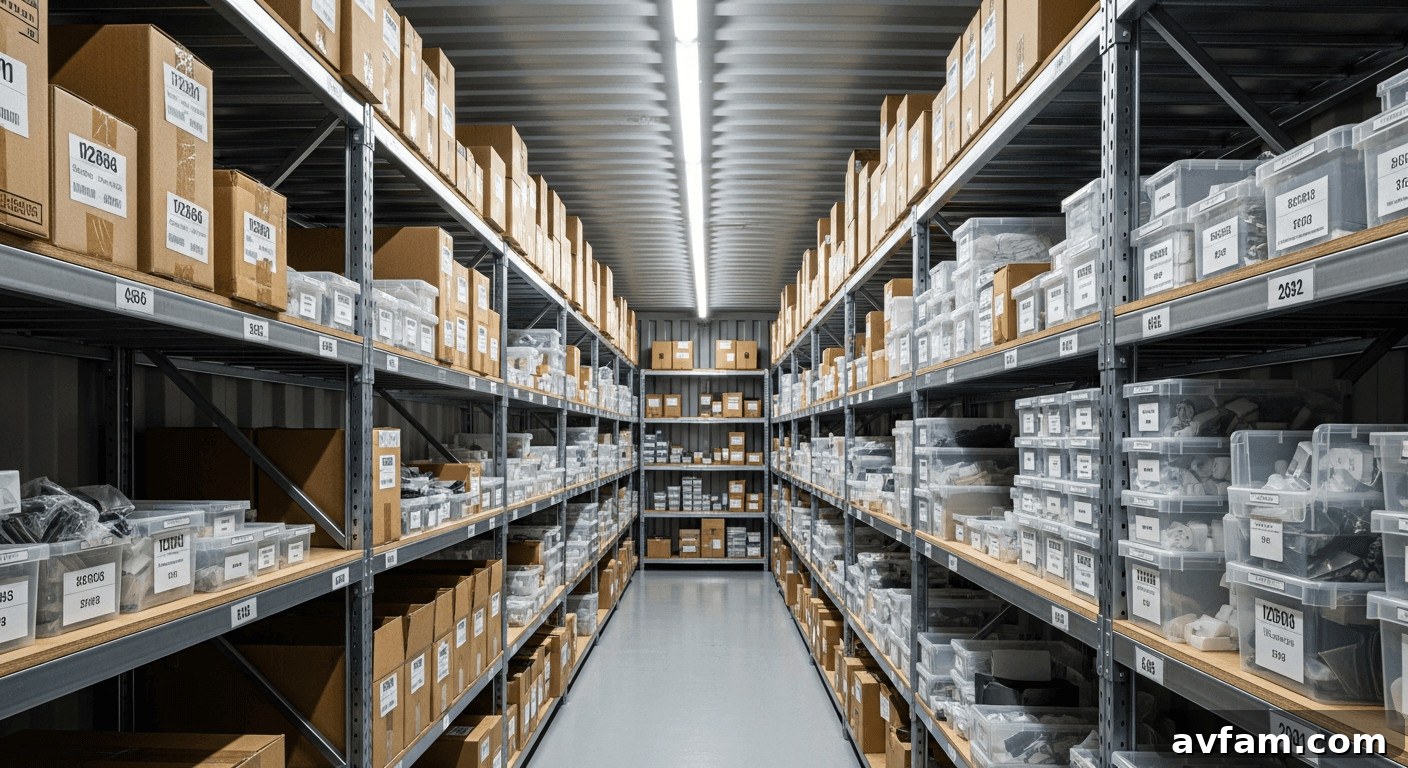
Using every inch of floor space makes the container unusable. Blocked floors prevent safe movement, obscure lower shelves, and force you to move items before you can access others.
Keep the floor clear except for large machinery, heavy reels of cable or bulk materials that cannot be shelved. Maintain a central aisle—even a narrow one—for safe, efficient movement and to reduce trip hazards on busy sites.
Think about access before you store anything
Make the most-used items the easiest to reach. Consumables used daily—fixings, tapes, PPE, measuring tools—should sit immediately inside the door at waist height. Items checked weekly can be directly behind them; monthly or seasonal items go further back and higher up.
When storing materials with a shelf life—sealants, adhesives, paint—use rotation: older stock should be at the front to ensure it gets used first. A small whiteboard on the inside of the door for low-stock notices helps maintain reorder discipline.
Manage condensation before it becomes a problem
Condensation is a common and often overlooked cause of damage. Steel containers cool and heat quickly, causing moisture to condense on internal surfaces overnight. Over time this harms cardboard, corrodes unprotected metal, and damages humidity-sensitive items.
Ventilation and desiccants are basic fixes. Ensure built-in air vents are not blocked by racking or stock. Use silica gel or other absorber units on shelves and replace them when saturated. Keeping stock off the floor helps because the floor is often the coldest surface. If condensation persists, insulating the walls and ceiling reduces temperature swings and protects stored items year-round.
Security: think about internal layout as well as the lock
Security starts with a strong lock, but internal layout matters too. Keep high-value items out of direct view from the door to reduce opportunistic theft. For mixed-value storage, use a lockable cage or cabinet inside the container to add a second layer of protection.
Some operators install an internal hasp and staple so the door can be secured from the inside when someone is working within the container, preventing the door being opened unexpectedly from outside.
The payoff is in the time saved
Good container organisation isn’t about looks—it’s about speed, reduced damage, and safer working conditions. Most improvements require modest investment: a clear layout plan, suitable racking, consistent labelling, and proper lighting will solve the majority of issues.
Set up racking and fittings before anything goes in. Retrofitting organisation into a full container is far harder than planning at the start, and the time saved every day quickly repays the initial effort.