
Elevating Our Garage: A Complete Transformation with Rust-Oleum EPOXYSHIELD
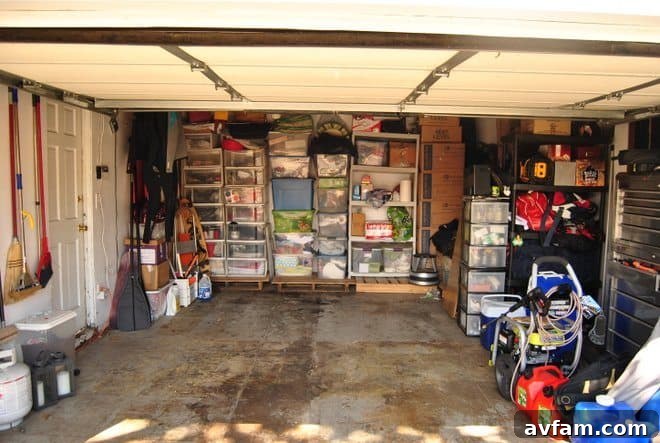
For many homeowners, the garage often serves as a multi-purpose space, a catch-all for tools, seasonal decor, and the inevitable assortment of items that don’t quite fit anywhere else. It’s a hardworking area, but often overlooked in terms of aesthetic appeal and functional maintenance. Our home, a charming 1950s bungalow, came with a detached 1.5-car garage. While it might be considered small by modern standards, we’ve always strived to maximize its utility, designating that crucial “half-car” space for essential storage of camping gear, power tools, and various odds and ends that require quick access but should remain out of sight.
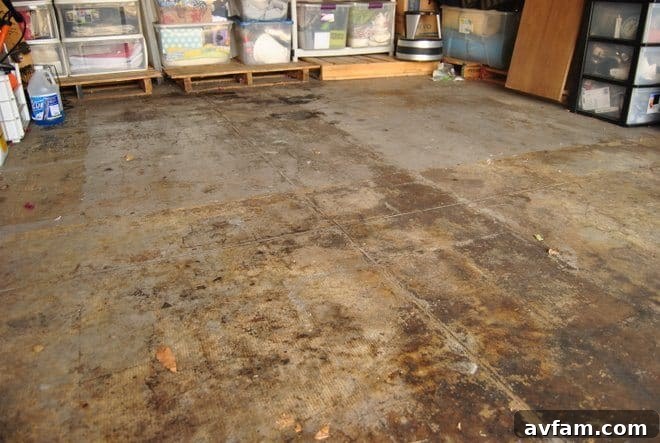
For years, our garage floor was nothing more than bare, untreated concrete. While seemingly functional, it quickly became a magnet for every speck of dirt, dust, and grime. No matter how diligently we swept or cleaned, the porous surface seemed to absorb and retain stains, perpetually appearing dirty. This persistent grubbiness didn’t just stay in the garage; it invariably found its way onto our shoes, and despite our household’s “no-shoe” policy indoors, traces of the garage’s dirt would inevitably be tracked into our living space.
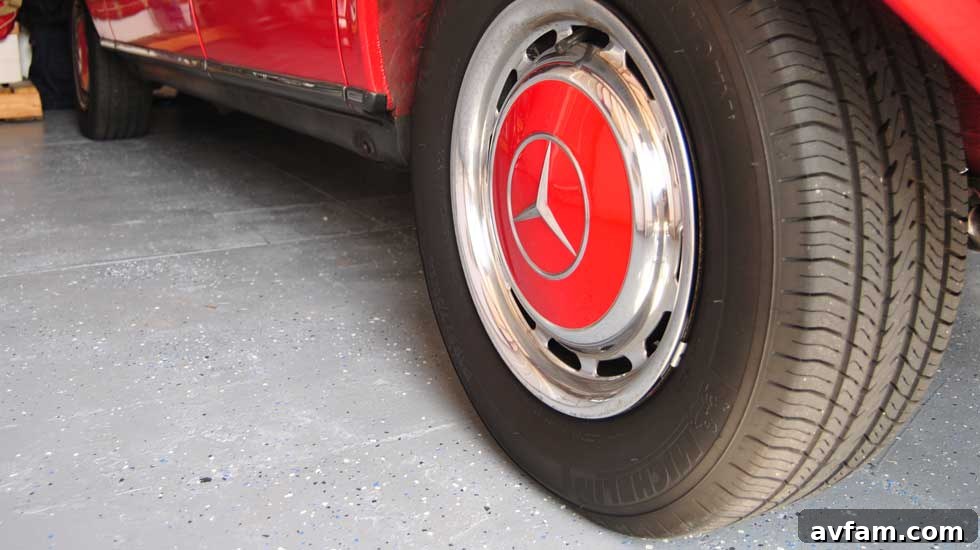
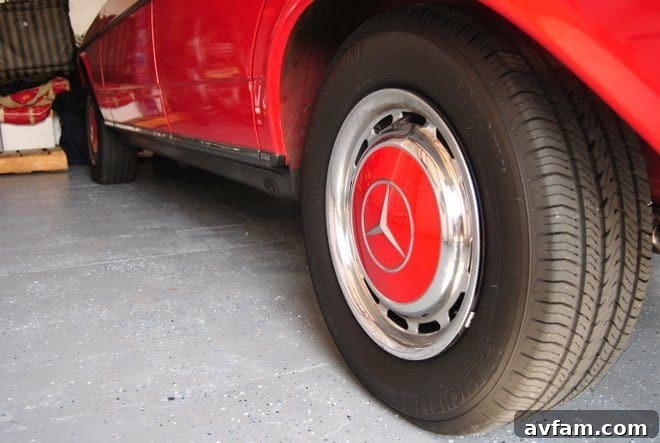
The situation became even more pressing when our beloved 1983 Mercedes-Benz 300D, a vintage beauty in impeccable condition, started exhibiting the common characteristic of older diesel engines: minor oil leaks. While not substantial, these small drips were enough to further mar the already stained concrete, creating unsightly dark spots. We resorted to placing cardboard and oil trays beneath the car, which offered a temporary solution to prevent the leaks from penetrating deeper into the concrete. However, these makeshift barriers were far from a permanent fix, and the floor continued to bear the marks of its mechanical inhabitants.
The Vision: A Durable, Easy-to-Clean Epoxy Garage Floor
The idea of an epoxy garage floor had been a frequent topic of discussion between us. We envisioned a surface that wasn’t just clean, but actively resisted stains, was easy to maintain, and significantly brightened the entire space. So, when Rust-Oleum approached us with the opportunity to try their EPOXYSHIELD garage floor coating, we seized the chance without hesitation. It was the perfect impetus to finally tackle a project we had long dreamed of, transforming a purely utilitarian area into a functional and aesthetically pleasing extension of our home.
Embarking on this garage floor transformation journey revealed that the most challenging aspect wasn’t the application itself, but the meticulous preparation required. Clearing out years of accumulated items from our garage was a monumental task, but it also proved to be an incredibly rewarding one. This “purge mode” allowed us to critically assess every item, resulting in a significant number of donations and discards of things we hadn’t touched in years. This decluttering phase wasn’t just about making space for the epoxy application; it was an exercise in organization that breathed new life into our garage even before the coating was applied.
With the garage completely emptied and the bare concrete floor revealed, we were ready to dive into the detailed instructions provided in the Rust-Oleum EPOXYSHIELD kit. Adhering strictly to these guidelines is paramount for ensuring optimal adhesion and a long-lasting finish, and we were committed to following every step precisely.
Step-by-Step Guide to a Flawless Epoxy Garage Floor
1. Thorough Cleaning and Preparation of Garage Floors
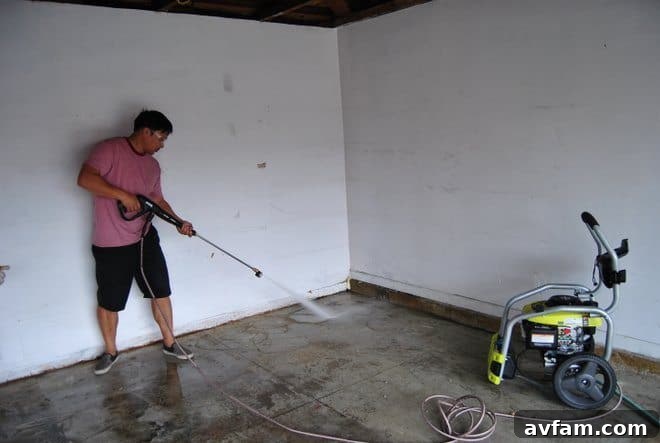
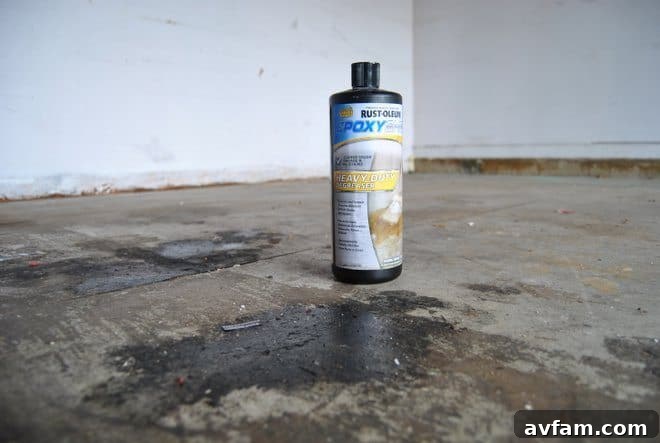
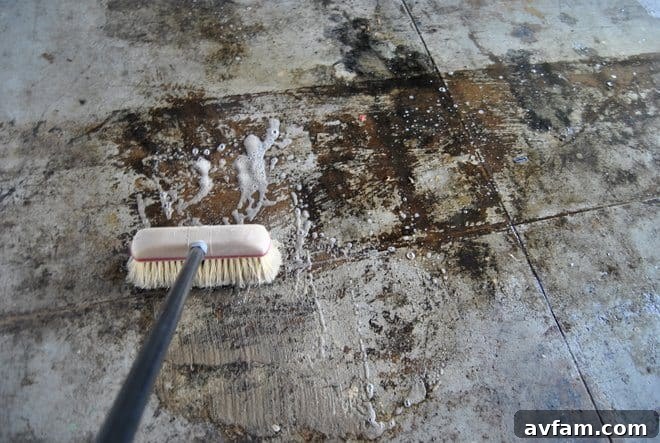
The success of any garage floor epoxy project hinges on meticulous preparation. Our first major task was to thoroughly clean the entire concrete surface. We began by power washing the floor, a crucial step to dislodge years of ingrained dirt and grime. Following this, we meticulously scrubbed the entire surface using Rust-Oleum EPOXYSHIELD Heavy-Duty Degreaser. This powerful cleaner is specifically formulated to break down oil, grease, and other stubborn contaminants that plain water and soap cannot tackle, ensuring a pristine base for the epoxy. This initial cleaning stage is often underestimated but is absolutely critical for the bonding process.
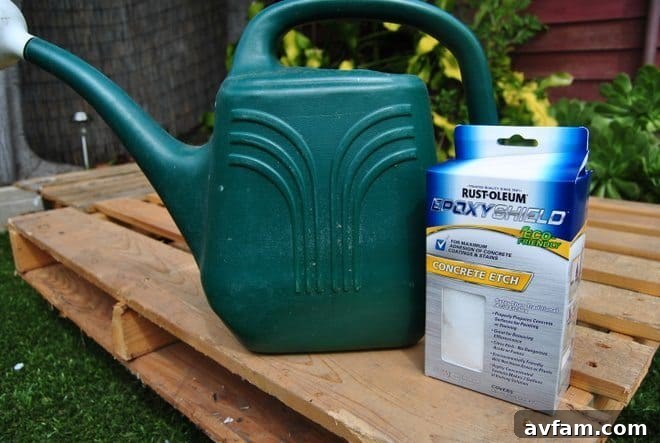
Once the degreaser had done its job and was thoroughly rinsed, we moved on to another essential step: applying the EPOXYSHIELD Concrete Etch. This product is designed to gently open the pores of the concrete, creating a slightly roughened profile that allows the epoxy coating to grip firmly. We applied the etch using a standard watering pail, ensuring even distribution across the entire floor. It was then vigorously scrubbed into the concrete surface, working it into every corner and crevice. After allowing it to work for the recommended time, a thorough rinsing was performed to remove all etching solution and neutralized residues. The final, and arguably most patience-testing, part of the preparation was the waiting game: ensuring the garage floor was completely and utterly dry before proceeding to the epoxy application. Any residual moisture can compromise the adhesion and durability of the coating, so we allowed ample time for natural drying, even utilizing fans to accelerate the process in our moderately humid environment.
With the floor immaculately clean and dry, the next step was to define our working area. We carefully applied painter’s tape to create a crisp, clean line where our garage door meets the floor. This not only prevents epoxy from getting onto the door itself but also ensures a professional-looking finish. We highly recommend extending this taping around the entire perimeter of your garage floor, including walls and any permanent fixtures, to protect them from accidental drips and ensure perfectly straight edges. This small detail significantly contributes to the overall polished look of the finished product.
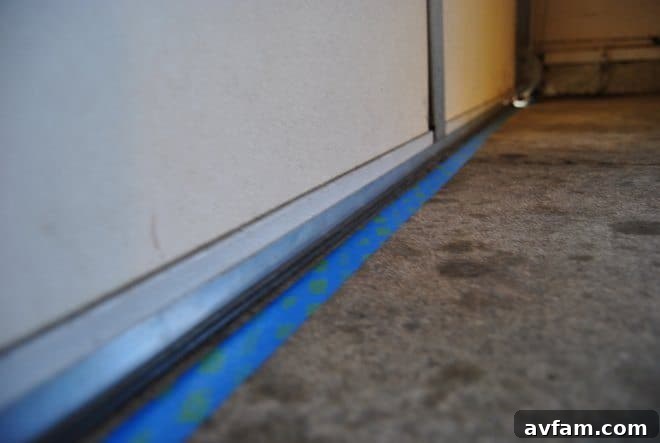
2. Applying Rust-Oleum EPOXYSHIELD Garage Floor Coating
Once all the preparation work was complete and the floor was bone dry, the exciting part began: mixing and applying the Rust-Oleum EPOXYSHIELD. This product comes as a two-part formula, meaning the activator and base must be thoroughly combined immediately before application. It’s crucial to follow the mixing instructions precisely to ensure proper chemical reaction and optimal coating performance. Once mixed, the clock starts ticking, as the working time for epoxy is limited.
We opted for a standard paint roller with an extension pole, which proved to be an invaluable tool. The extension pole allowed us to apply the coating efficiently and comfortably, reaching all areas of the garage floor without excessive bending or kneeling, significantly easing the physical demand of the job.
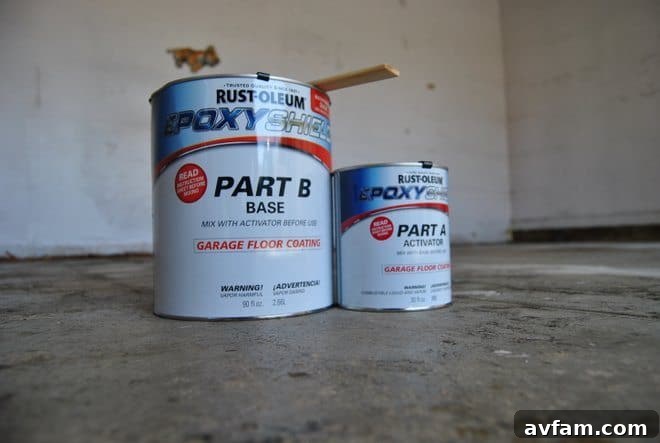
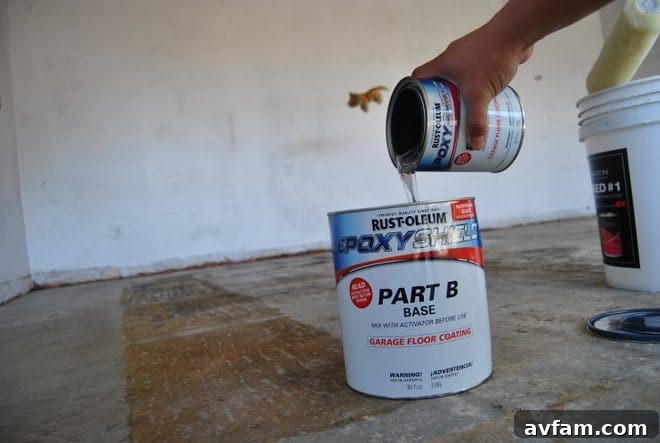
We began by carefully trimming the outer edges of the floor with a brush, ensuring a neat and even line along the taped sections. After the edges were done, we proceeded to apply the coating in manageable 4′ x 4′ sections. This method helps maintain a wet edge, preventing lap marks and ensuring a consistent finish. One of the great advantages of Rust-Oleum EPOXYSHIELD is that typically, only a single coat is required to achieve a durable and protective finish, streamlining the entire application process.
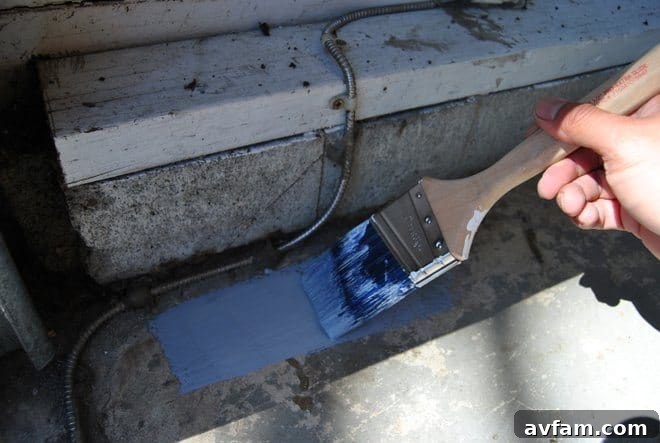
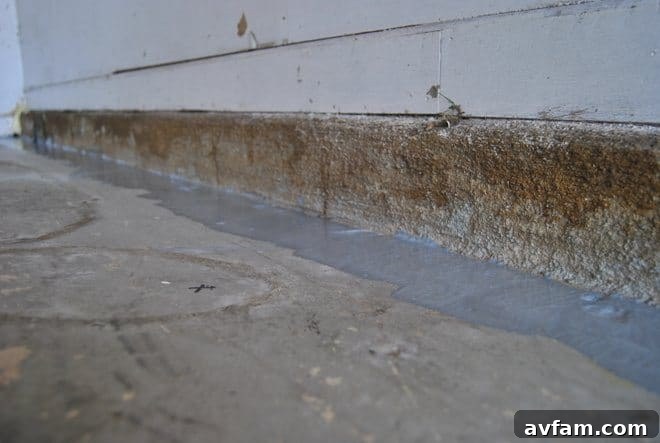
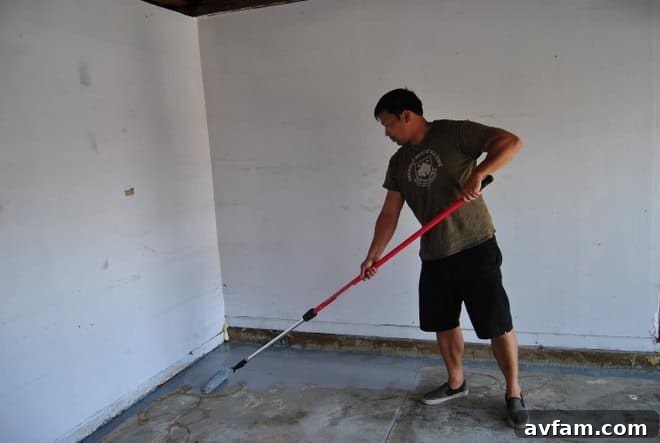
To enhance both the aesthetic appeal and provide a subtle anti-slip texture, we opted to sprinkle the included decorative chips onto the wet epoxy immediately after painting each section. Tossing them gently into the wet coating allowed them to settle and adhere permanently as the epoxy dried, adding depth and a professional finish to the floor. This step truly elevated the look from a simple coat of paint to a custom, high-end garage floor.
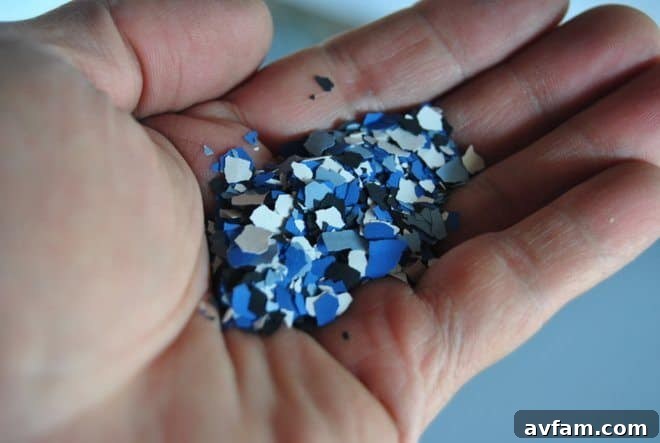
Drying and Curing: Patience is Key
Choosing the right day for application is crucial. We highly recommend selecting a day that is calm and not windy. This prevents leaves, dust, or other debris from blowing into your garage while you are painting and during the critical initial drying phase. Keeping the garage door open can certainly aid in ventilation and accelerate drying, but monitor for environmental factors. Rust-Oleum generally recommends waiting at least 3 days before driving a vehicle onto the newly coated floor, allowing the epoxy to achieve optimal hardness and chemical resistance. However, we found that we could comfortably walk on the floor after just 24 hours, as it was no longer tacky to the touch. It’s important to note that actual drying and curing times can vary significantly based on ambient temperature, humidity levels, and the thickness of the applied coating, so always err on the side of caution.
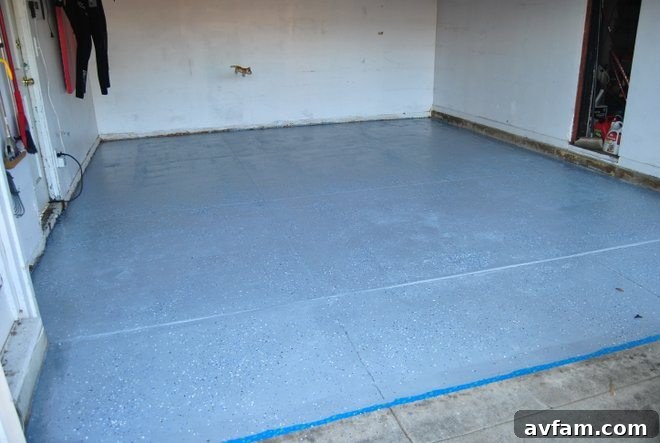
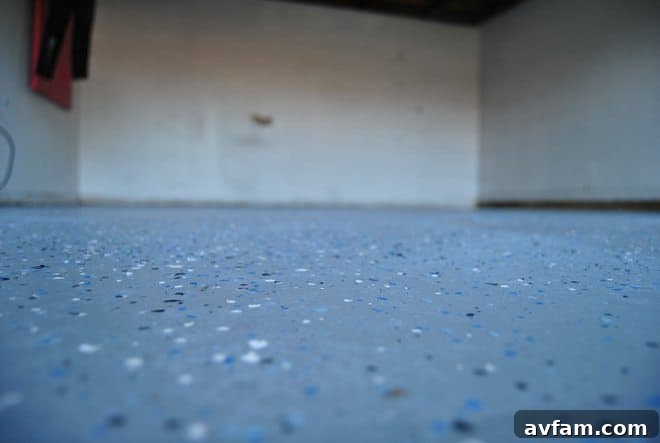
The Transformed Garage: A New Lease on Life
Several weeks have passed since we completed our Rust-Oleum EPOXYSHIELD garage floor project, and we are nothing short of impressed with the results. The transformation has been truly remarkable, far exceeding our initial expectations. The most immediate and significant benefit is the incredible ease of cleaning. When our Mercedes now develops a small leak, instead of seeping into the concrete and leaving a stubborn stain, the oil simply beads on the smooth, non-porous epoxy surface. A quick wipe with a cloth is all it takes to completely remove the oil residue, leaving no trace behind. This newfound resistance to stains and spills is a game-changer.
Furthermore, the bright, uniform finish of the epoxy makes any dirt or debris instantly visible, encouraging us to maintain a cleaner garage. What once looked perpetually dirty now looks pristine, making quick sweeps and spot cleaning incredibly effective. Beyond the practical benefits, having a beautiful, new garage floor has ignited a fresh perspective on this often-neglected space. It no longer feels like just a utilitarian storage area but rather an organized, clean, and inviting extension of our home. It’s a space we’re now proud to show off, a testament to how a targeted home improvement project can dramatically enhance both functionality and overall enjoyment. We highly recommend Rust-Oleum EPOXYSHIELD for anyone looking to revitalize their garage and reclaim its potential.
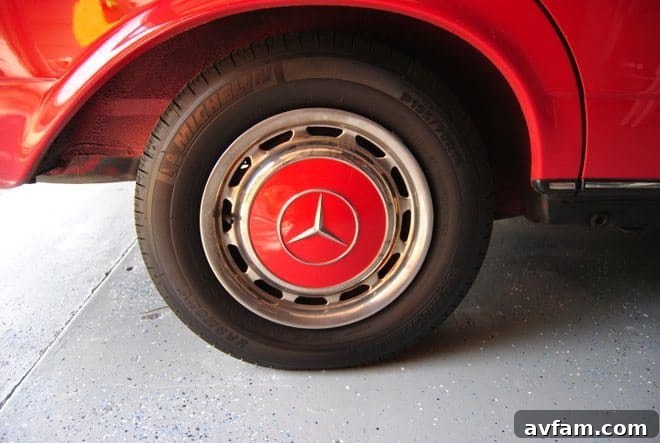
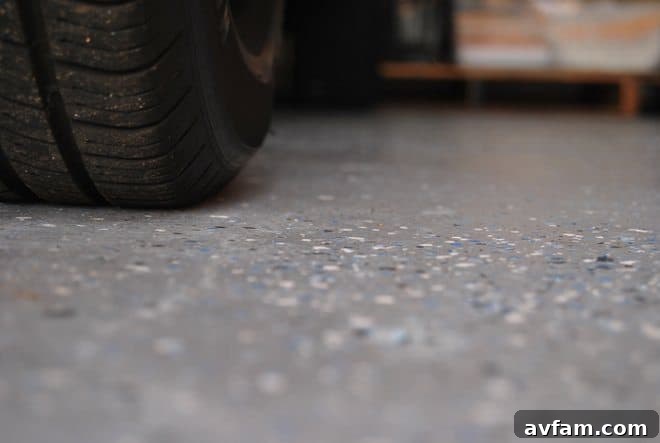
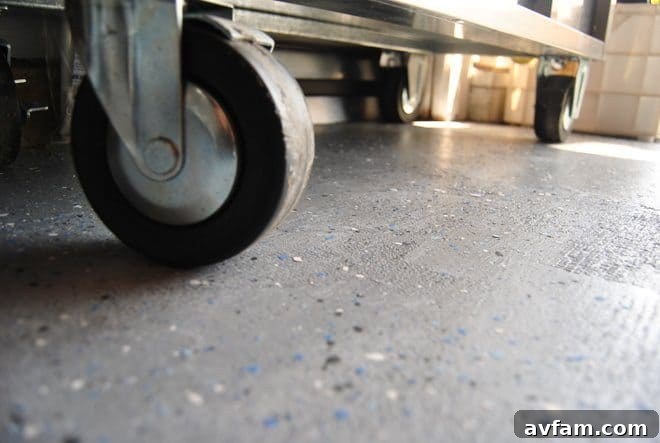
For additional guidance on installing EPOXYSHIELD, Rust-Oleum has provided this helpful video:
For more detailed product information and to explore their full range of offerings, please visit Rust-Oleum’s official website.
Disclosure: This article is sponsored by Rust-Oleum. All opinions expressed are those of Timothy Dahl of Charles & Hudson. Rust-Oleum’s policies align with WOMMA Ethics Code, FTC guidelines and social media engagement recommendations.