
Craft Your Own Pallet Cooler Stand: The Ultimate DIY Project for Outdoor Entertaining
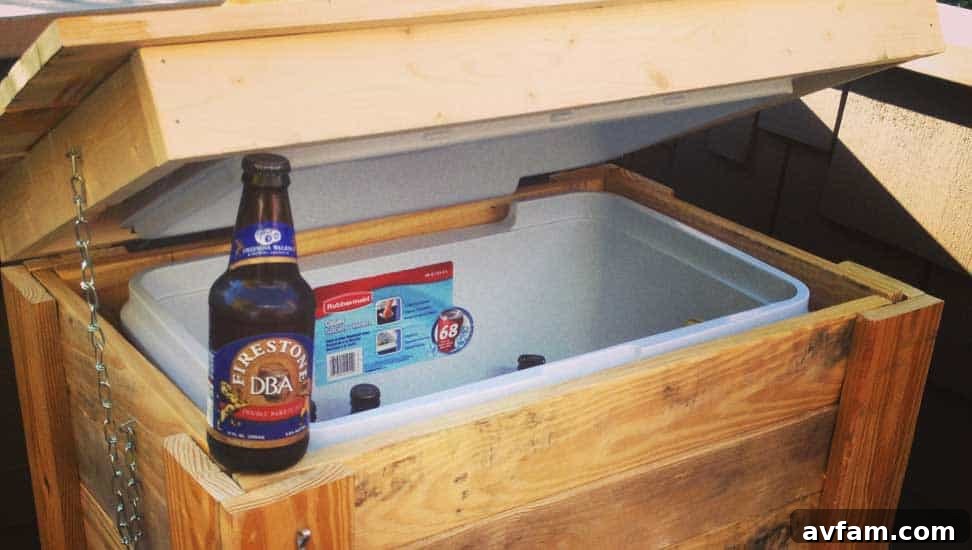
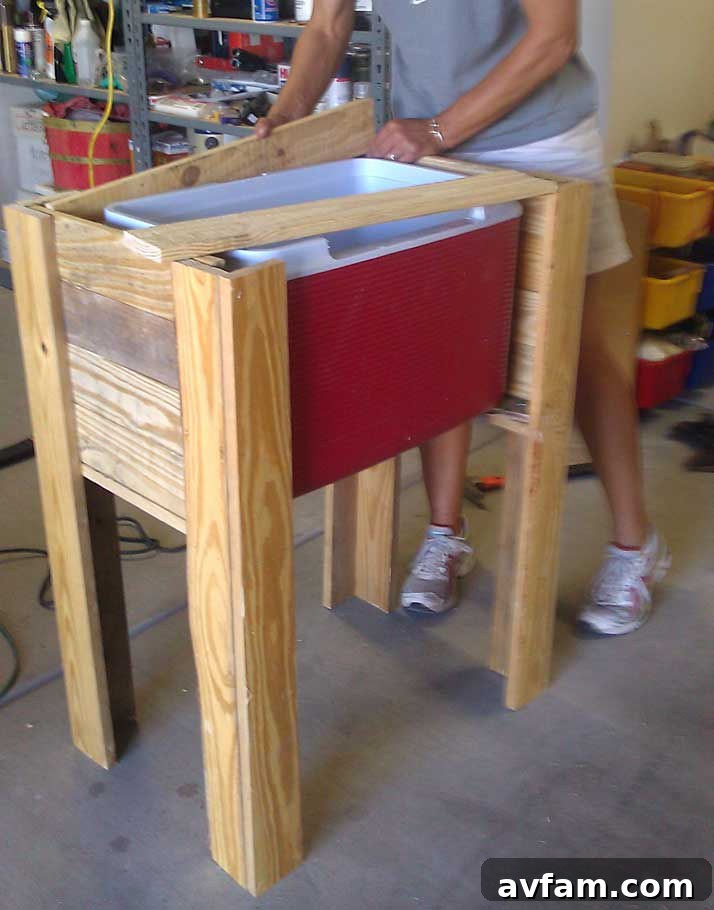
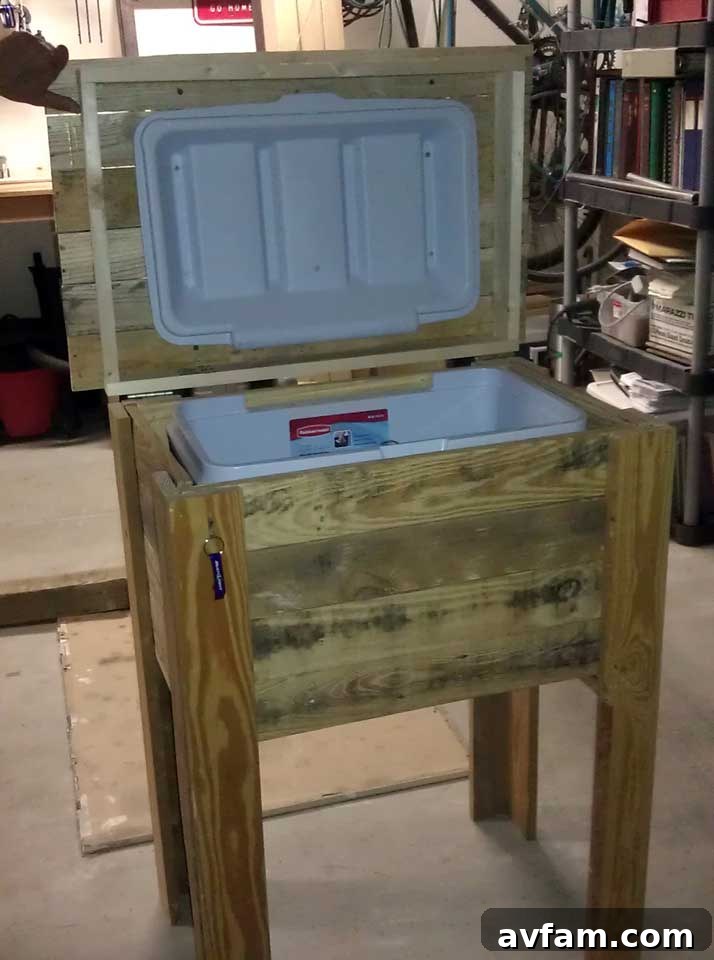
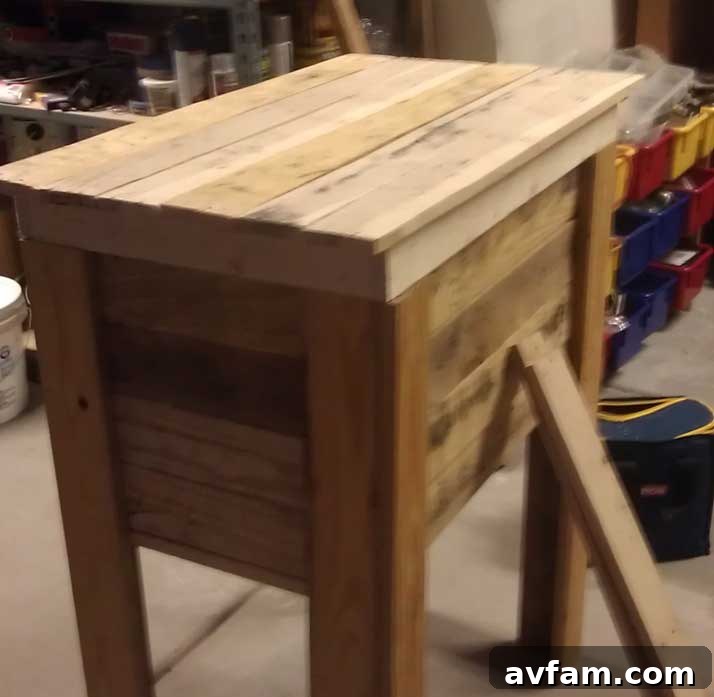
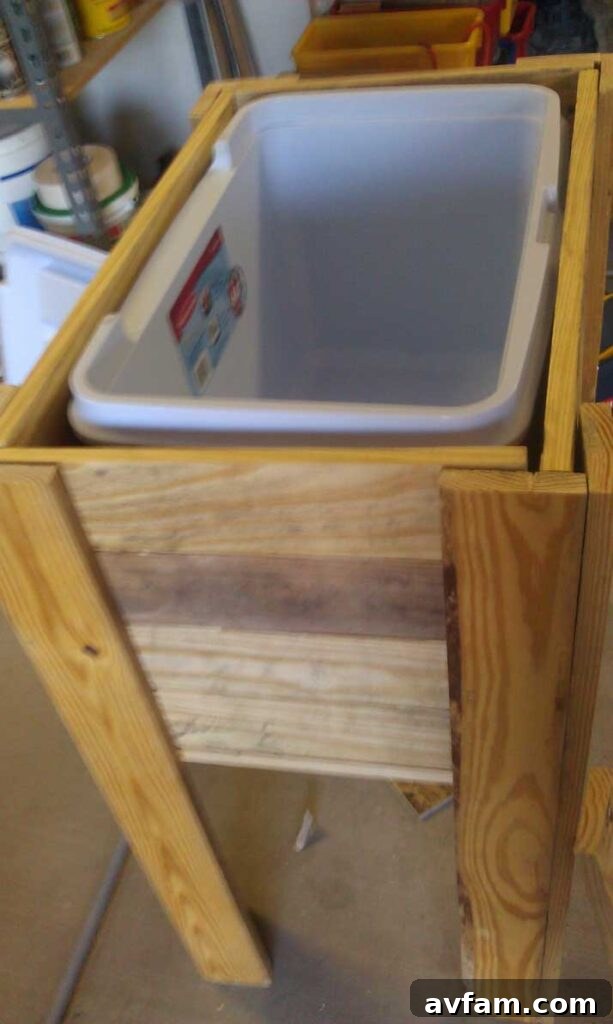
Are you ready to elevate your outdoor entertaining game with a touch of rustic charm and incredible functionality? Look no further than the remarkable pallet cooler stand! Recently, my sister Jackie and her talented friend Becky embarked on an inspiring DIY journey, creating an awesome cooler stand from repurposed pallets. This wasn’t just a simple build; it was a heartfelt gift for my other sister, a testament to thoughtful craftsmanship and the endless possibilities of upcycling. Witnessing their dedication and the intricate detail they poured into this project left me truly amazed, sparking a vision of customized stands, perhaps painted in vibrant team colors, making them the ultimate accessory for weekend football festivities, backyard BBQs, or any outdoor gathering.
Why a DIY Pallet Cooler Stand is a Must-Have
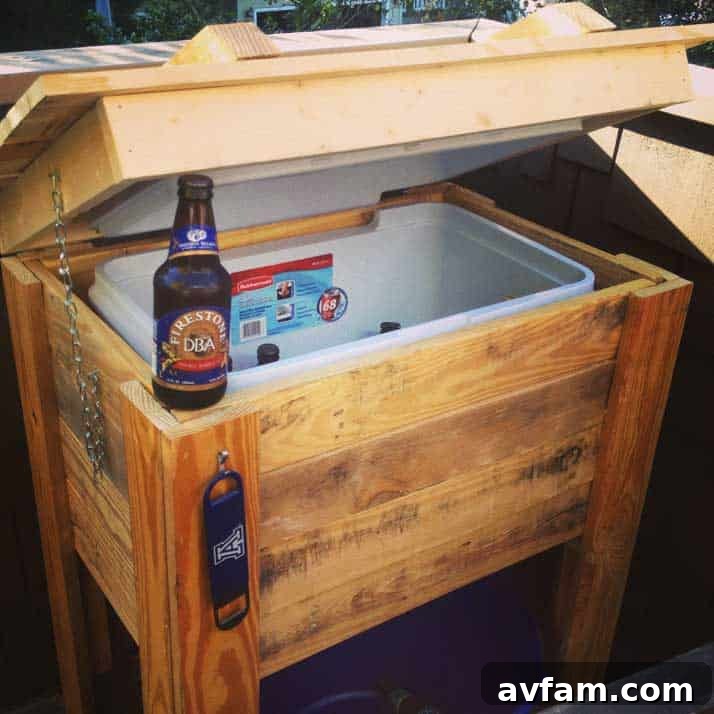
In a world increasingly focused on sustainability and unique personalized items, a DIY pallet cooler stand ticks all the boxes. Not only does it provide a practical solution for keeping your beverages chilled and easily accessible, but it also adds significant character and a conversation piece to any patio, deck, or backyard. Imagine hosting a summer barbecue or a casual get-together, and instead of a standalone plastic cooler on the ground, you have a beautifully crafted, sturdy wooden stand that not only holds your cooler but also offers extra surface space for drinks, snacks, or even a built-in bottle opener. This project is more than just building; it’s about creating memories and enhancing your outdoor living space.
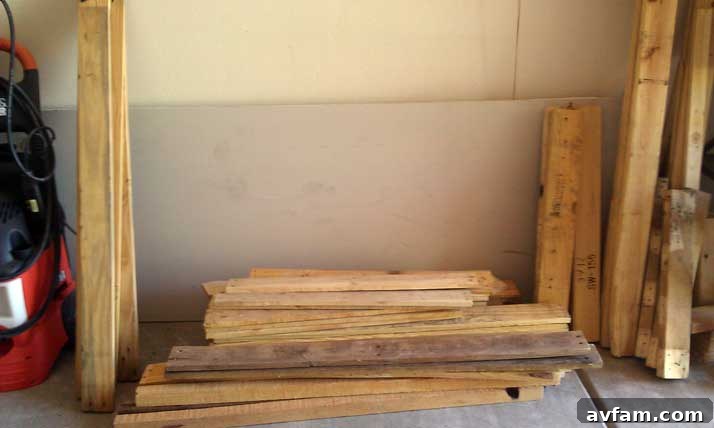
The beauty of building your own stand from pallets lies in its eco-friendliness and cost-effectiveness. Pallets are often available for free or at a very low cost, transforming what might otherwise be waste into a functional piece of furniture. This approach aligns perfectly with the upcycling movement, allowing you to contribute to reducing landfill waste while simultaneously acquiring a custom-made item perfectly suited to your needs and style. The rustic aesthetic of pallet wood brings an undeniable warmth and authenticity that store-bought items often lack, making your outdoor area feel more inviting and personal.
Essential Planning: Measuring for Your Perfect Fit
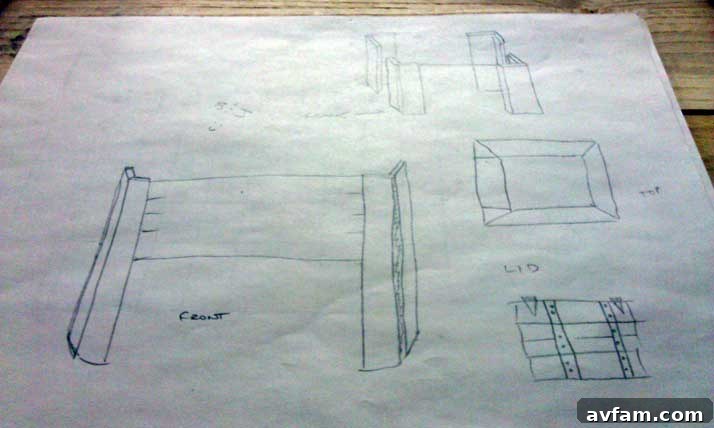
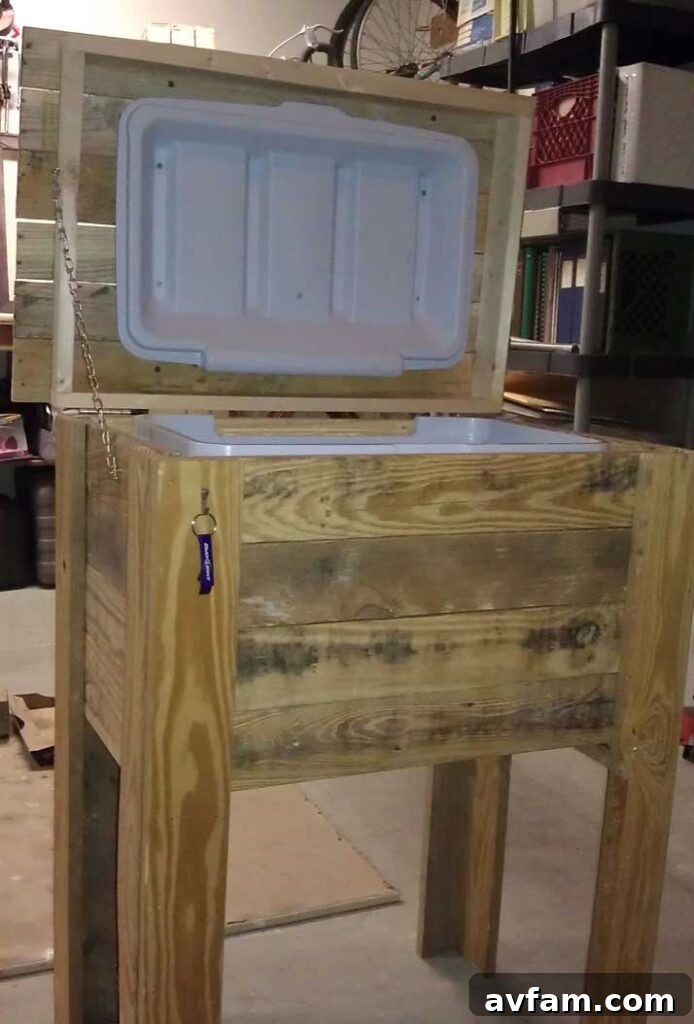
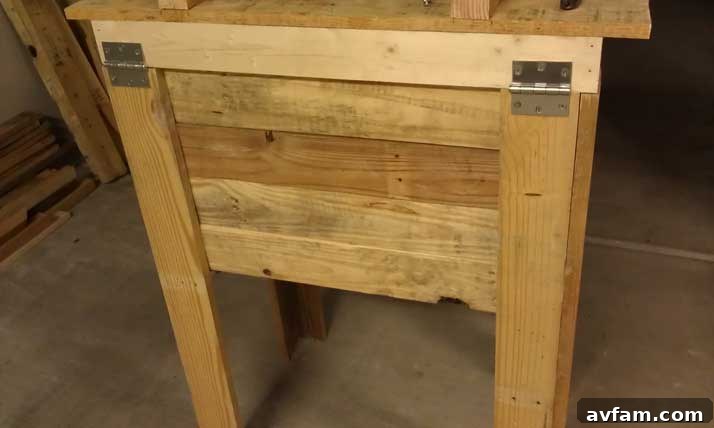
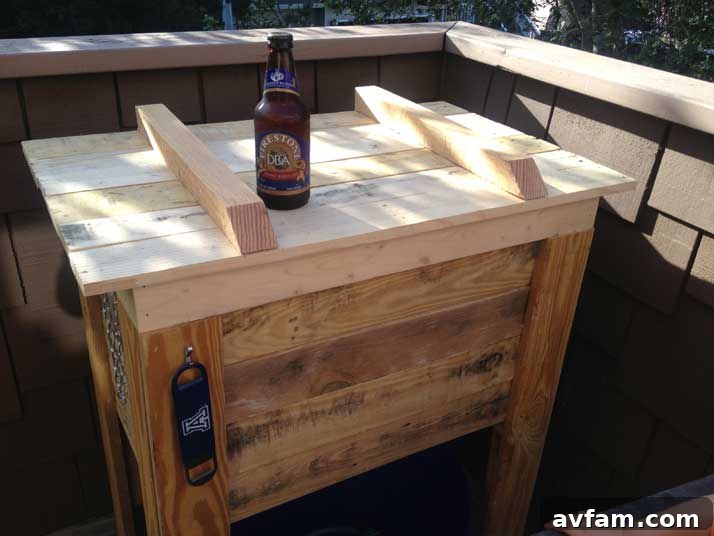
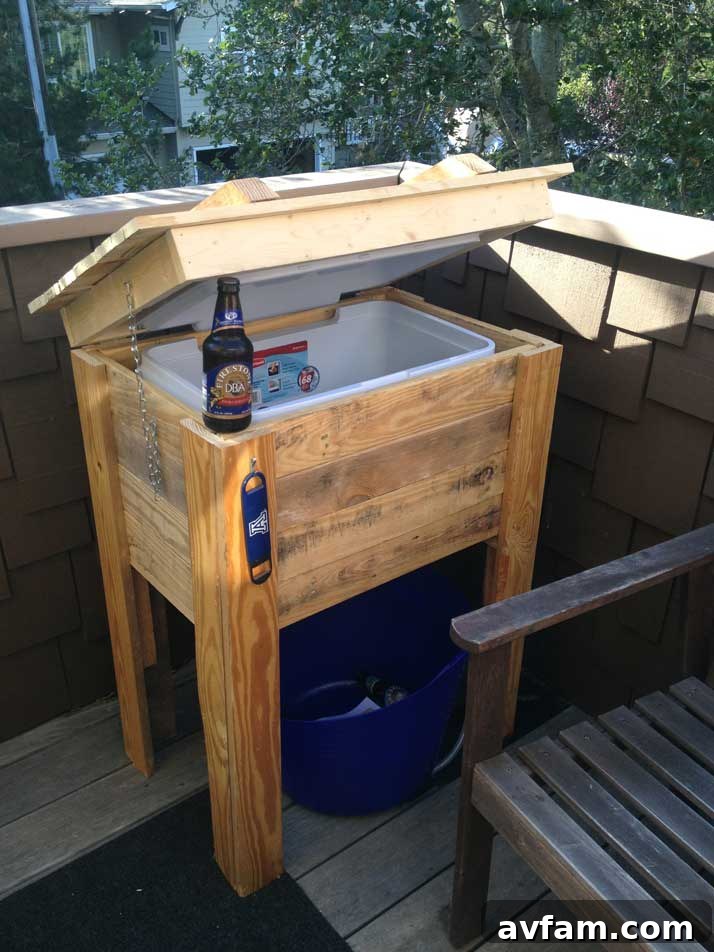
Becky and Jackie have generously provided a series of step-by-step photos that make this project seem highly approachable. While the visual guide is excellent, it’s crucial to understand that this project requires a bit of personalized engineering on your part. The most critical aspect of building your cooler stand is accurately working out the dimensions. This isn’t a one-size-fits-all endeavor; everything hinges on the specific size and shape of your individual cooler and the particular pallet lumber you acquire.
When selecting your cooler, a straight-up rectangular chest works best. This design simplifies the construction process significantly, as the wooden stand can be built precisely around the cooler, rather than trying to fit the cooler into a pre-built chest. This approach ensures a snug fit, maximizes insulation, and results in a more professional and integrated look. Before cutting any wood, meticulously measure your cooler’s length, width, and height. Remember to account for any handles or protruding features that might require additional clearance. These initial measurements will form the blueprint for your entire project, so take your time and measure twice, cut once!
Tools and Materials You’ll Need
Before you dive into construction, gather your tools and materials. Having everything ready will make the process smoother and more efficient. For this project, you’ll typically need:
- Safety Gear: Work gloves, safety glasses, and ear protection are paramount. Pallet wood can be rough, and power tools demand respect.
- Pallets: Depending on the size of your cooler and the design, you might need anywhere from 2 to 5 standard pallets. Look for “HT” (heat treated) stamps, avoiding “MB” (methyl bromide) treated pallets for safety.
- Your Cooler: The centerpiece of the project!
- Measuring Tape and Pencil: For precise marking and cutting.
- Pry Bar or Pallet Buster: Essential for safely disassembling pallets.
- Saw: A miter saw or circular saw will make clean cuts. A jigsaw might be useful for any intricate shapes.
- Drill/Driver: For pre-drilling holes and driving screws.
- Screws: Exterior-grade wood screws (e.g., deck screws) will provide durability for outdoor use.
- Wood Glue: For added strength at joints.
- Sander and Sandpaper: Pallet wood can be rough; sanding is crucial for a smooth, splinter-free finish.
- Optional: Wood stain, outdoor paint, clear sealant, casters (wheels), bottle opener, small hinges for a lid.
A Step-by-Step Guide to Building Your Pallet Cooler Stand
While the photos provide an excellent visual guide, here’s a generalized breakdown of the steps involved in constructing your custom pallet cooler stand. Remember to adapt these steps to your specific cooler dimensions and desired features.
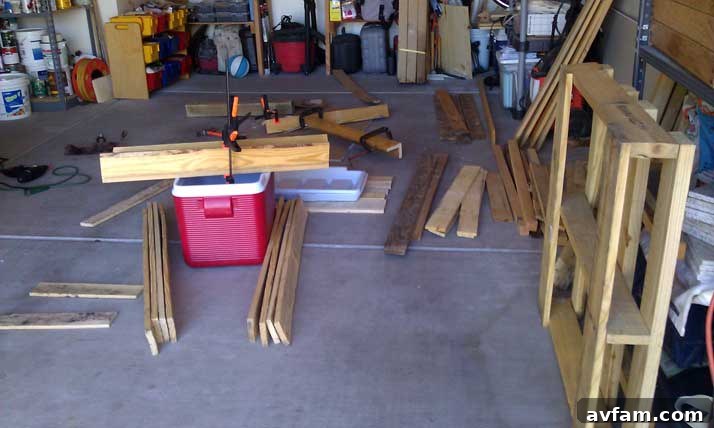
Step 1: Disassemble and Prepare Your Pallets
Carefully disassemble your pallets using a pry bar or a specialized pallet buster. The goal is to separate the wooden planks from the stringers with as little damage as possible. Be patient, as some nails can be stubborn. Once disassembled, remove any remaining nails, staples, or metal pieces. Sort your wood by length and condition. This is also the time to rough sand any particularly jagged edges or dirty spots.
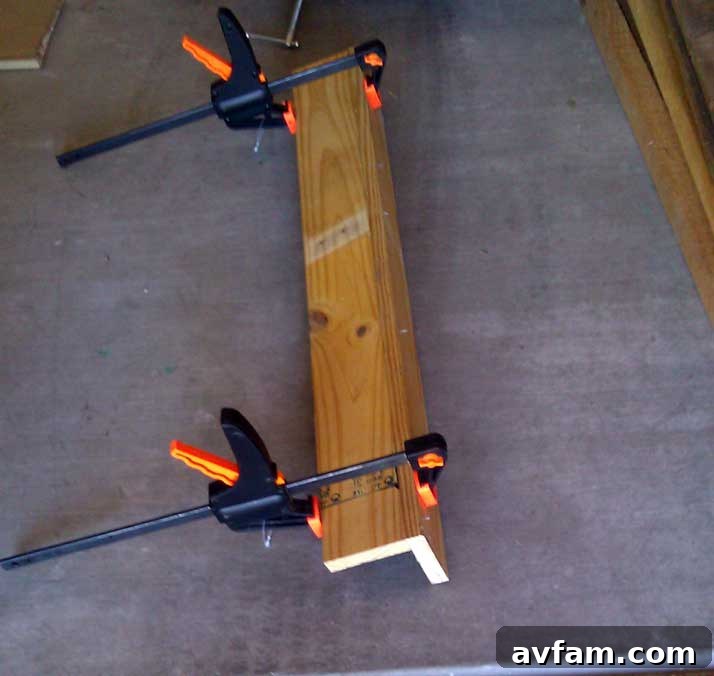
Step 2: Measure, Cut, and Plan Your Frame
Based on your cooler’s dimensions, start planning the core frame. You’ll need four vertical posts for the corners and horizontal support beams to create a rectangular frame that will snugly hold your cooler. Remember to account for the thickness of the pallet wood itself when calculating the internal dimensions. Cut your planks to size for the legs, and the top and bottom supports of the cooler’s compartment.
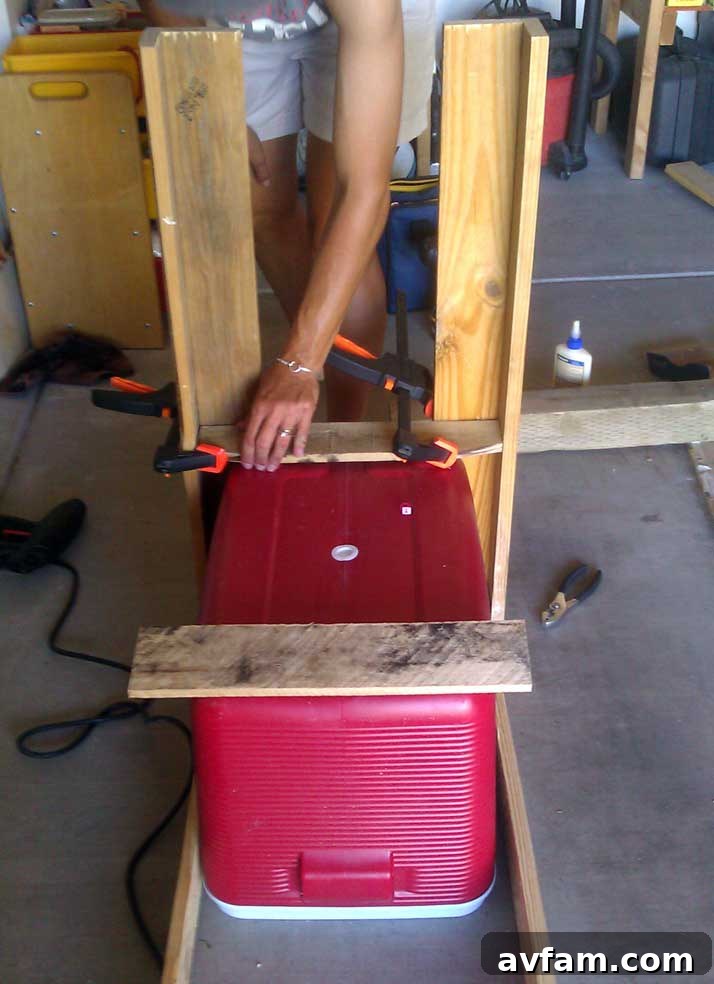
Step 3: Assemble the Base Frame
Begin by assembling the four corner posts and connecting them with your horizontal support beams. Use wood glue and exterior-grade screws for maximum durability. Ensure all corners are square using a speed square or carpenter’s square. This initial frame will define the overall footprint and height of your cooler stand.
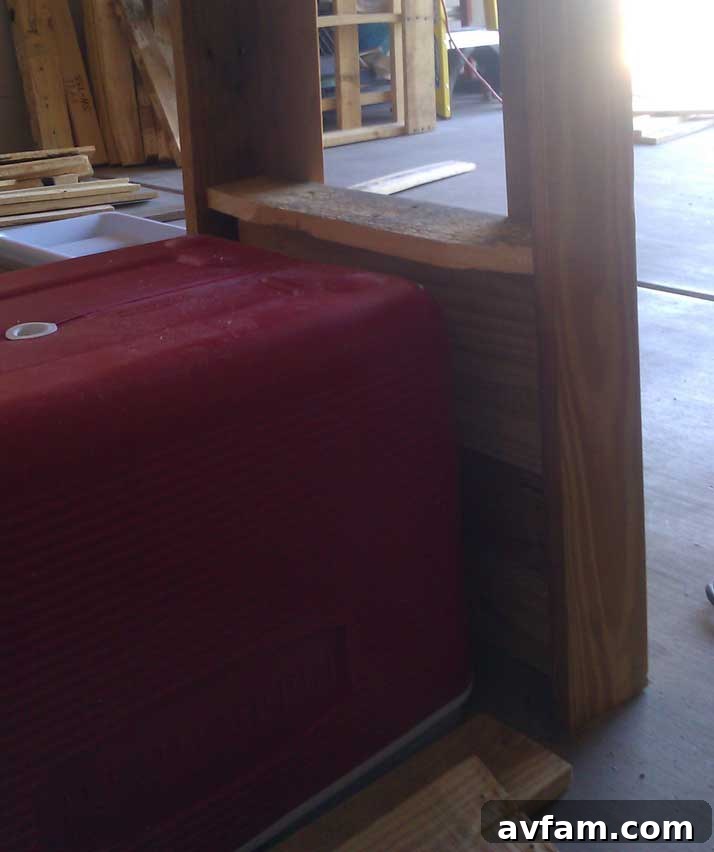
Step 4: Build the Cooler Enclosure
Once the base frame is solid, construct the inner framework or lip that the cooler will rest on. This usually involves horizontal supports attached to the inner sides of your main frame, placed at a height that allows the cooler’s top to be flush with (or slightly above) the top edge of the stand. Test the fit of your cooler frequently during this stage.
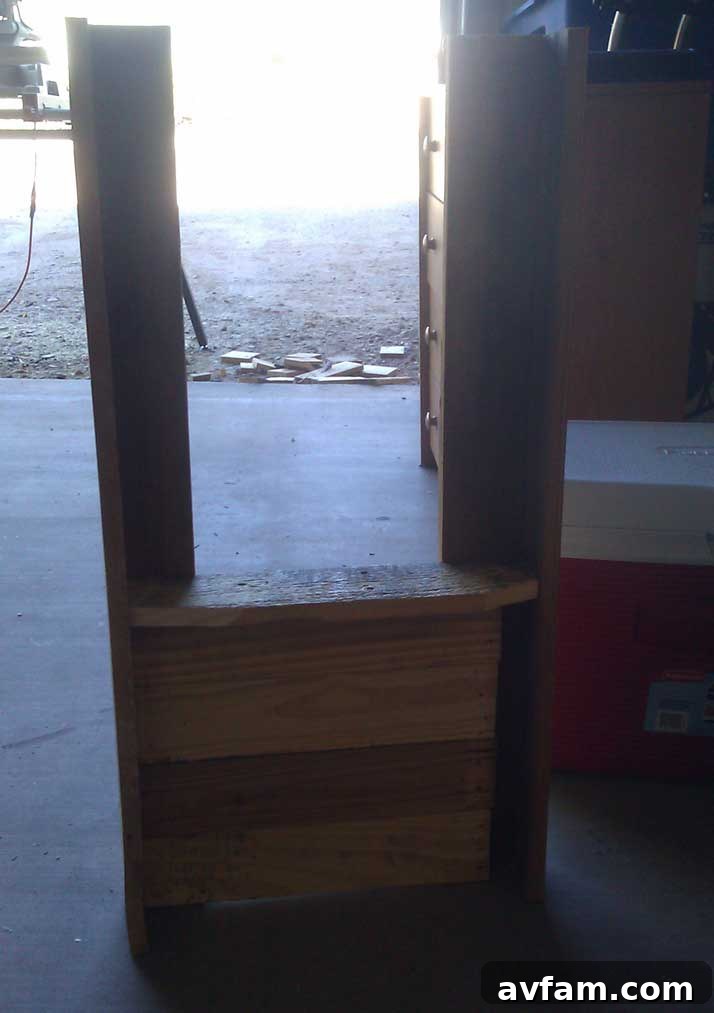
Step 5: Attach Side Panels and Top Surface
Now, clad the exterior of your frame with more pallet planks. You can run these horizontally or vertically, depending on your aesthetic preference. Ensure they are evenly spaced and securely fastened. Create a sturdy top surface around the cooler opening. This provides a convenient countertop for drinks, plates, or decor.
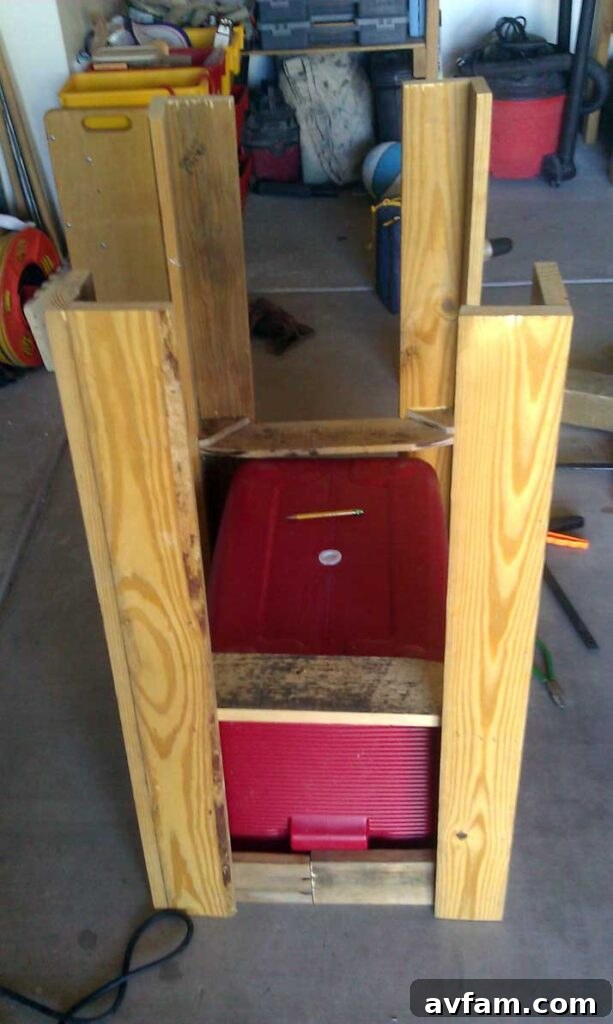
Step 6: Add Shelving and Features (Optional but Recommended)
Consider adding lower shelves for extra storage – perhaps for ice buckets, extra drinks, or outdoor accessories. Becky and Jackie’s design cleverly incorporates additional shelving, which is incredibly useful. This is also the time to attach any other features like a bottle opener, towel rack, or casters if you want a mobile stand.
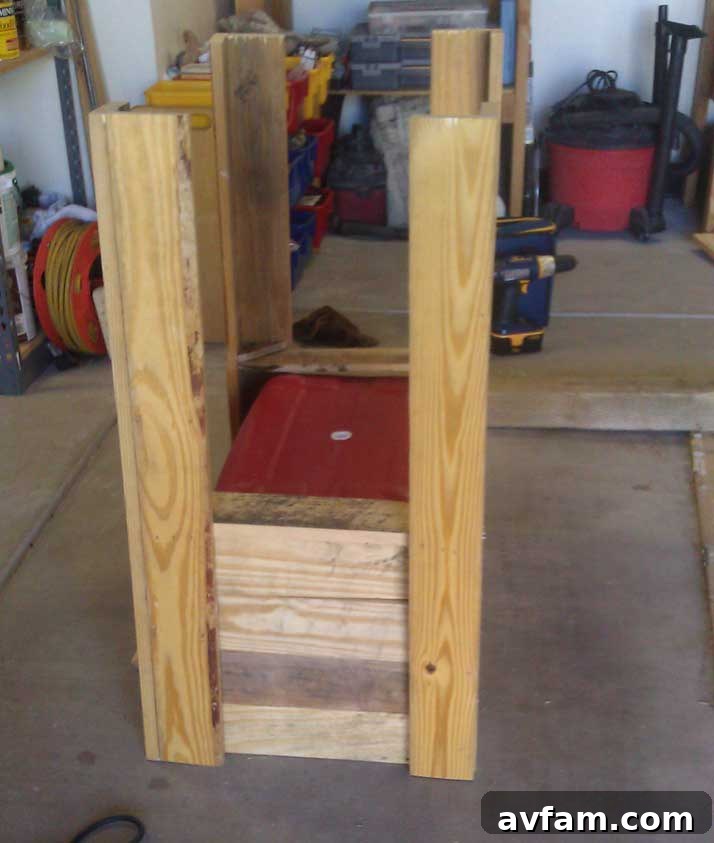
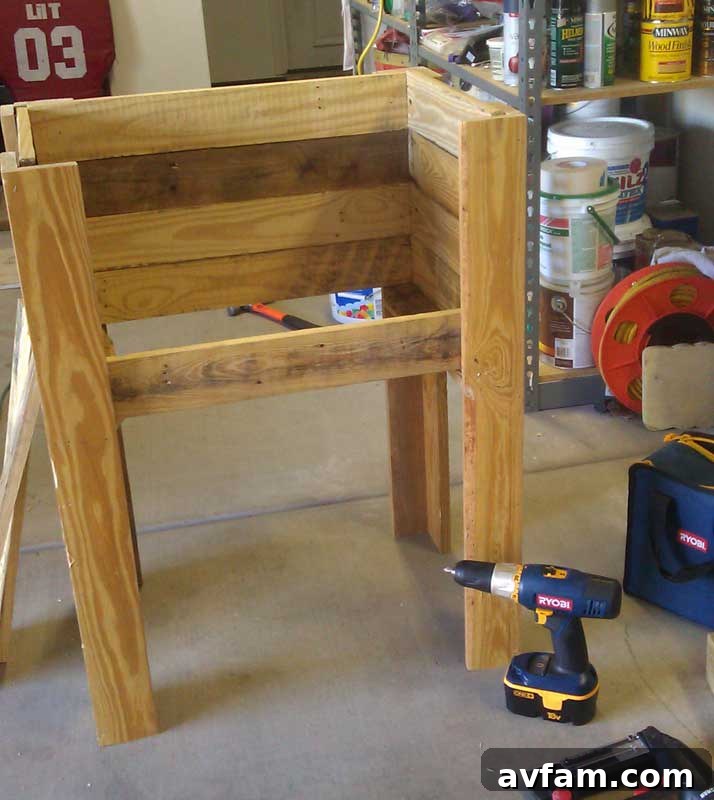
Step 7: Sanding and Finishing
This is a critical step for both aesthetics and safety. Thoroughly sand all surfaces to remove splinters, rough patches, and sharp edges. Start with a coarser grit sandpaper and move to finer grits for a smoother finish. Once sanded, you can apply a protective finish such as an outdoor wood stain, paint, or a clear polyurethane sealant to protect the wood from the elements and enhance its appearance. If painting, consider vibrant team colors for that ultimate fan accessory!
Customization and Maintenance Tips
The real fun begins after the construction is complete! Consider these ideas to make your pallet cooler stand uniquely yours:
- Paint It! Match your outdoor decor, paint it in your favorite sports team’s colors, or choose a bold hue to make it a focal point.
- Add Accessories: Install a rustic cast-iron bottle opener on the side, hooks for towels, or a small chalkboard for messages.
- Mobility: Attaching heavy-duty casters to the bottom makes your stand easily portable, a huge plus for moving it around your yard or patio.
- Built-in Storage: Beyond lower shelves, consider adding a small hinged lid compartment for storing napkins, coasters, or bottle caps.
- Drainage: If your cooler has a drain plug, ensure there’s enough clearance beneath the stand for a bucket to catch meltwater, or even integrate a small drain pipe if you’re feeling ambitious.
To ensure your beautiful pallet cooler stand lasts for many seasons, regular maintenance is key. Reapply a protective sealant or paint every couple of years, especially if it’s exposed to harsh weather. Keep it clean from debris and standing water, and consider covering it during the off-season to extend its life.
Conclusion: Your Own Cool Brews Await!
Following in the footsteps of Becky and Jackie’s impressive project, you too can transform discarded pallets into a stunning and highly functional cooler stand. This DIY endeavor is not only rewarding but also results in a unique piece perfect for any outdoor setting, ready to keep your brews cool and your gatherings stylish. Embrace the challenge, enjoy the creative process, and soon you’ll be enjoying cool drinks from your very own, custom-built pallet cooler stand!
Project credit: Becky Fajardo and Jackie Fortier