
Craft Your Own Colossal Fun: The Ultimate Guide to Building a Giant Jenga Game
Jenga, the classic game of physical skill and strategy, has captivated generations with its simple yet intensely suspenseful gameplay. But what if you could take that excitement and amplify it a hundredfold? Imagine towering blocks, larger than life, creating a magnificent spectacle that’s perfect for backyard gatherings, outdoor parties, or simply a fun afternoon with family and friends. Building your own giant Jenga game isn’t just about crafting an oversized version of a beloved pastime; it’s about creating memorable experiences, fostering creativity, and adding a unique touch to your entertainment arsenal. Using readily available materials like standard 2×4 lumber, you can embark on a rewarding DIY project that results in countless hours of colossal fun. This comprehensive guide will walk you through every step, from material selection to the finishing touches, ensuring your giant Jenga game is not only impressive but also durable and safe.
Why Build a Giant Jenga Game? The Benefits of DIY Fun
Beyond the sheer enjoyment of playing, there are numerous compelling reasons to undertake this DIY project:
- Unforgettable Entertainment: A giant Jenga set immediately becomes the centerpiece of any gathering. Its impressive scale is a natural conversation starter and an irresistible invitation to play for guests of all ages.
- Cost-Effective Alternative: While commercial giant Jenga sets can be expensive, building your own from standard lumber is significantly more economical. You’ll save money while gaining the satisfaction of a handmade item.
- Customization Opportunities: DIY allows you to personalize your game. You can choose to stain the wood for a rustic look, paint the blocks in vibrant colors, or even engrave them with designs, making your set truly unique.
- Durable and Long-Lasting: By selecting quality lumber and applying appropriate finishes, your handmade Jenga set can withstand years of outdoor play and environmental exposure, unlike some store-bought alternatives.
- Skill Development: This project offers an excellent opportunity to hone your woodworking skills, from precise cutting and sanding to applying finishes. It’s a practical way to learn new techniques or refine existing ones.
- Family Bonding: Involving family members in the building process can be a fun and educational activity, teaching valuable lessons about tools, measurements, and working together.
Understanding Your Materials: The Foundation of Your Giant Jenga Tower
The core of your giant Jenga game consists of precisely cut wooden blocks. For a truly authentic and stable game, you’ll need 54 individual pieces. We recommend using standard 2×4 lumber, which is widely available and relatively inexpensive. However, it’s crucial to understand the actual dimensions versus the nominal dimensions of lumber.
- Nominal vs. Actual Dimensions: A “2×4” board doesn’t actually measure 2 inches by 4 inches. Once milled and planed, its actual dimensions are closer to 1.5 inches by 3.5 inches. This distinction is vital for accurate game piece sizing.
- Piece Length: To ensure the game is perfectly even and stable when built, each block needs to be cut to 10.5 inches in length. This specific length provides the necessary width to create a stable three-block layer, where each block spans across the actual 3.5-inch width of the two blocks beneath it (3.5 inches + 3.5 inches + 3.5 inches = 10.5 inches).
- Calculating Lumber Needs: With 54 pieces each at 10.5 inches, you’ll need a total of 567 inches of 2×4 lumber. Since a typical 2×4 comes in 8-foot (96-inch) or 10-foot (120-inch) lengths, you’ll need to purchase enough boards to cover this total. For instance, six 10-foot 2x4s (6 x 120 = 720 inches) would be more than sufficient, allowing for some error or unusable sections.
- Wood Type Considerations:
- Pine: This is the most common and budget-friendly option. It’s soft, easy to cut and sand, and suitable for outdoor use once sealed. Its light weight also makes the Jenga blocks easier to handle during play.
- Hardwoods (e.g., Oak, Maple): While more expensive and harder to work with, hardwoods offer superior durability and a more premium feel. However, they will make the blocks significantly heavier. For a first-time build, pine is highly recommended.
Essential Tools for a Smooth Building Process
Having the right tools will make this project significantly easier, safer, and more enjoyable. Here’s a list of what you’ll need:
Cutting Tools:
- Miter Saw (Highly Recommended): A miter saw, like a Ryobi miter saw, is ideal for making precise, repeatable crosscuts. Its ability to quickly cut numerous pieces to the exact same length is invaluable for this project.
- Alternative: Circular Saw with a Speed Square or Guide: If a miter saw isn’t available, a circular saw can be used. However, you’ll need a speed square or a straightedge clamp guide to ensure each cut is perfectly square and accurate.
- Measuring Tape and Pencil: For marking your cuts accurately.
- Safety Glasses: Non-negotiable when operating any power tool.
- Hearing Protection: Essential for protecting your ears from saw noise.
Sanding and Smoothing Tools:
- Palm Sander or Orbital Sander (Highly Recommended): These power sanders drastically reduce the time and effort required for sanding all 54 pieces. A Ryobi palm sander, for example, is perfect for this task.
- Sandpaper: You’ll need an assortment of grits. Start with a coarser grit (80-100) to remove saw marks and rough edges, then move to a medium grit (120-150) for smoothing, and finish with a fine grit (180-220) for a silky-smooth finish.
- Dust Mask: Protect your lungs from fine wood dust generated during sanding.
Optional Refinement Tools:
- Cordless Router with a Quarter-Round Bit: A router, such as a Ryobi cordless router, with a quarter-round bit (or roundover bit) can be used to soften and round over the edges of each block. This not only gives a professional finish but also makes the blocks more comfortable to handle and reduces the chance of splinters.
Finishing Supplies (If Desired):
- Wood Stain or Paint: Choose your desired color and finish.
- Wood Sealer or Polyurethane: Essential for protecting the wood from moisture and wear, especially for outdoor use.
- Brushes or Rags: For applying stain, paint, or sealer.
- Drop Cloths: To protect your workspace.
- Gloves: To protect your hands during staining/painting.
Step-by-Step Guide: Building Your Giant Jenga Masterpiece
This project typically takes about half a day to complete the cutting and initial sanding, with additional time needed for optional routing and finishing.
Step 1: Planning and Material Acquisition
Start by heading to your local lumber yard or home improvement store. When selecting your 2x4s, take your time to inspect each board. Look for:
- Straightness: Avoid boards that are excessively warped, bowed, or twisted. While minor imperfections can be worked around, heavily distorted wood will make precise cuts and a stable game difficult.
- Knots and Defects: Minimize knots, especially large or loose ones, as they can weaken the wood and make sanding or routing challenging. Check for splits, cracks, or any signs of rot.
- Moisture Content: Try to select lumber that feels relatively dry. Wet wood can warp as it dries, affecting your finished product.
Once you have your lumber, set up a safe and clear workspace. Ensure good ventilation, especially if you plan to do any finishing indoors.
Step 2: Precise Cutting – The Key to Stability
Accuracy here is paramount. Even slight variations in block length can lead to an unstable and frustrating game. Each of the 54 pieces must be exactly 10.5 inches long.
- Set Up Your Saw: If using a miter saw, set the saw to a 90-degree angle. Adjust the fence to hold the lumber securely.
- Measure and Mark: Measure 10.5 inches from the end of your 2×4 and make a light pencil mark. It’s often best to make your first cut to “square off” the end of the board, ensuring you start with a perfectly straight edge.
- Cut with Precision: Carefully cut your first piece. Then, use this piece as a template, or better yet, set a stop block on your miter saw fence. A stop block allows you to push each subsequent piece of lumber against it, ensuring every cut is exactly 10.5 inches without constant remeasuring.
- Safety First: Always wear safety glasses and hearing protection. Keep your hands clear of the blade’s path. Allow the saw blade to reach full speed before cutting and let it stop completely before removing the cut piece.
- Repeat 54 Times: Continue cutting until you have all 54 blocks. Take breaks as needed to maintain focus and accuracy.
Step 3: Sanding for Smoothness and Safety
This is arguably the most time-consuming step, but it’s crucial for both playability and safety. Rough blocks can snag, give splinters, and generally detract from the experience.
- Start with Coarse Grit (80-100): Attach an 80- or 100-grit sandpaper to your power sander. Begin sanding all four long faces and both ends of each block. Focus on removing saw marks, imperfections, and any splintery areas. Ensure all edges are slightly softened – not sharp.
- Progress to Medium Grit (120-150): Switch to a 120- or 150-grit sandpaper. This step refines the surface, removing the deeper scratches left by the coarser grit and further smoothing the wood.
- Finish with Fine Grit (180-220): For a truly professional and splinter-free finish, use 180- or 220-grit sandpaper. This will leave the wood feeling smooth and pleasant to the touch.
- Clean Dust: After sanding each piece, wipe it down with a damp cloth or use an air compressor to remove all dust. Dust can interfere with any subsequent finishing steps.
- Wear a Dust Mask: Always wear a dust mask to protect your respiratory system from fine wood particles.
Step 4: Optional – Routing Edges for a Refined Look and Feel
While not strictly necessary for gameplay, routing the edges significantly enhances the feel and appearance of your Jenga blocks.
- Install Router Bit: Secure a quarter-round (or roundover) bit into your router according to the manufacturer’s instructions. Adjust the depth setting so that the bit removes just enough material to create a gentle curve along the edge.
- Router All Edges: Carefully run the router along all eight long edges of each block. Keep a steady hand and consistent pressure for a uniform curve. For the best result, consider doing a very light pass on the end edges as well.
- Light Sanding After Routing: After routing, a quick, light sanding with fine-grit sandpaper (220-grit) will smooth out any minor imperfections or fuzziness left by the router.
- Router Safety: Always wear safety glasses and hearing protection. Ensure the workpiece is securely clamped before routing. Never force the router; let the tool do the work.
Step 5: Optional – Finishing for Durability and Aesthetics
Finishing your Jenga blocks provides protection from the elements, prolongs their life, and allows for personalized aesthetics. We highly suggest at least staining and sealing the pieces to provide added durability and protection from moisture, especially if the game will be used outdoors.
- Staining: If you desire a specific wood tone, apply a wood stain. Follow the product instructions for application. Typically, you’ll apply an even coat with a brush or rag, let it sit for a few minutes (depending on desired darkness), and then wipe off the excess. Allow adequate drying time between coats and before proceeding.
- Painting: For vibrant, custom colors, apply a wood primer first, then two even coats of exterior-grade paint. This ensures good adhesion and weather resistance.
- Sealing/Protection: This is arguably the most important finishing step. Apply at least two coats of a clear wood sealer, exterior-grade polyurethane, or spar varnish. These finishes create a protective barrier against moisture, UV rays, and general wear and tear. Lightly sand with very fine grit (320-400) between coats for a smoother finish.
- Drying Time: Be patient and allow each coat of stain, paint, or sealer to dry completely according to the manufacturer’s recommendations. Rushing this step can lead to a sticky, uneven, or less durable finish. This step alone can add another day or two to your project timeline.
Beyond the Game: Creative Uses for Your Giant Jenga Blocks
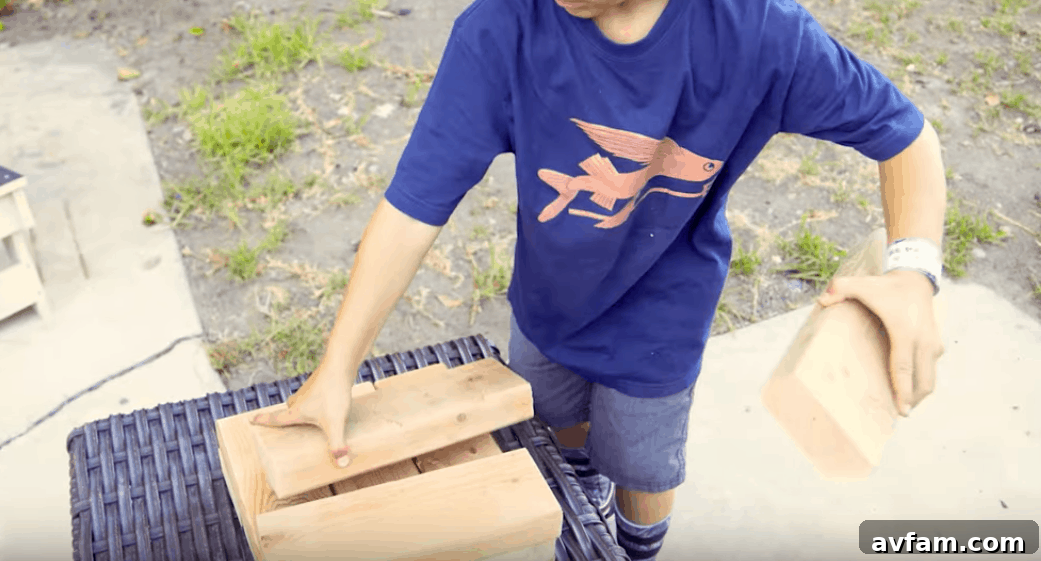
One of the delightful aspects of giant Jenga blocks is their versatility. Our son and his friends, like many children, quickly discovered uses for these oversized pieces far beyond the traditional game. These robust blocks become fantastic open-ended play materials:
- Building Blocks: They transform into incredible building blocks for constructing forts, towers, ramps, or even makeshift furniture. The sheer size encourages large-scale creative play.
- Obstacle Courses: Arrange them to create a fun and challenging obstacle course for kids to navigate.
- Domino Runs: Set them up for a massive, satisfying domino effect (though you’ll need a lot of space!).
- Sensory Play: For younger children, they can be used for sensory exploration, feeling the wood grain, and experimenting with balance.
Maintenance and Storage: Keeping Your Game Ready for Action
To ensure your giant Jenga game provides years of enjoyment, proper care is essential:
- Cleaning: After each use, especially if played outdoors, wipe down the blocks with a damp cloth to remove dirt, grass, or any spills. For deeper cleaning, a mild soap solution can be used, but ensure the blocks are thoroughly dried afterwards.
- Inspection: Periodically inspect the blocks for any signs of wear, splintering, or damage. Light sanding and re-sealing can address minor issues.
- Storage: Store your giant Jenga set in a dry place when not in use. A shed, garage, or large storage bin is ideal. This protects the wood from extreme temperature fluctuations, direct sunlight, and prolonged exposure to rain or snow, which can cause warping, cracking, or mildew.
- Avoid Prolonged Moisture: Even with a good sealer, wood can eventually succumb to continuous moisture. Never leave your Jenga set out in the rain or standing water for extended periods.
Safety First: Playing It Smart
While the building process involves tools that require caution, playing giant Jenga also comes with its own safety considerations:
- Falling Blocks: When the tower inevitably topples, blocks can fall with considerable force. Ensure players and bystanders maintain a safe distance from the tower, especially as it gets taller and wobblier. Clear the play area of any fragile items or obstacles.
- Stable Surface: Play on a flat, stable surface. Uneven ground can cause the tower to become unstable prematurely.
- Supervision: Always supervise children playing with the giant Jenga set, especially during setup and when the tower is about to fall.
- No Throwing: Emphasize that blocks should not be thrown, as their weight can cause injury or damage.
Conclusion: Your Next Great DIY Adventure Awaits
Building a giant Jenga game is more than just a woodworking project; it’s an investment in countless hours of laughter, excitement, and memorable moments. From the satisfaction of making something with your own hands to the joy of seeing friends and family gather around your colossal creation, the rewards are immense. The process itself, while requiring precision and patience, is a fulfilling journey into the world of DIY. So gather your materials, fire up your tools, and prepare to elevate your game nights and outdoor gatherings to a whole new, giant level. Get ready to pull, stack, and watch the tower tumble – your ultimate giant Jenga adventure begins now!