
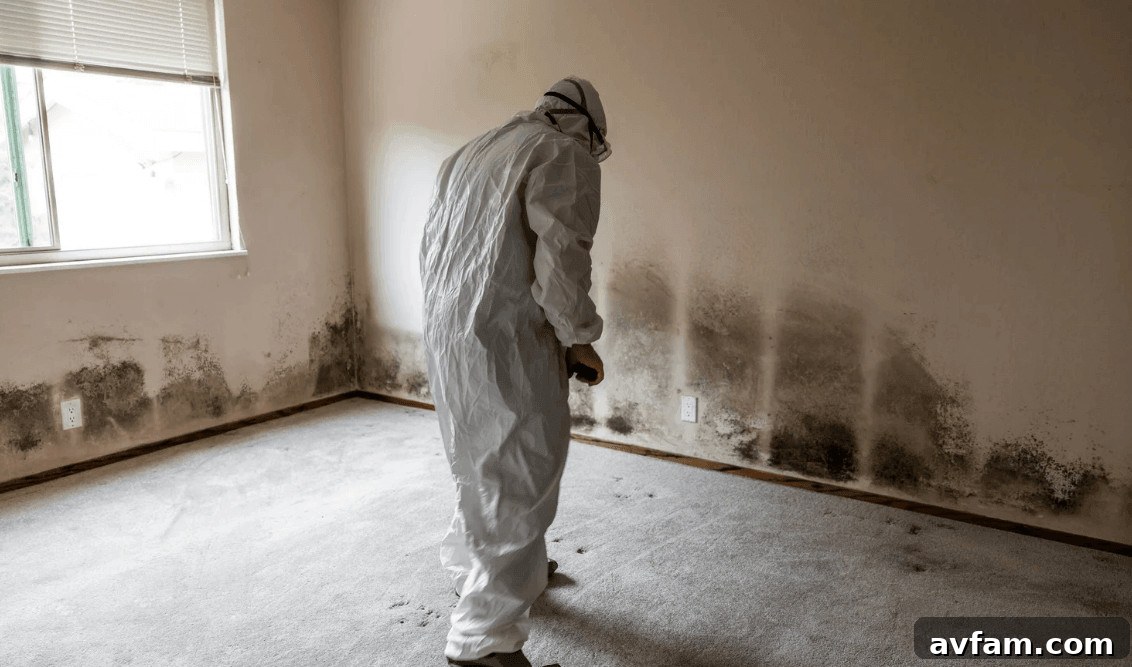
Anyone who has taped off a room before sanding understands the basic logic of mold remediation: first control where the dust will go, then make the dust. The order of operations is the craft.
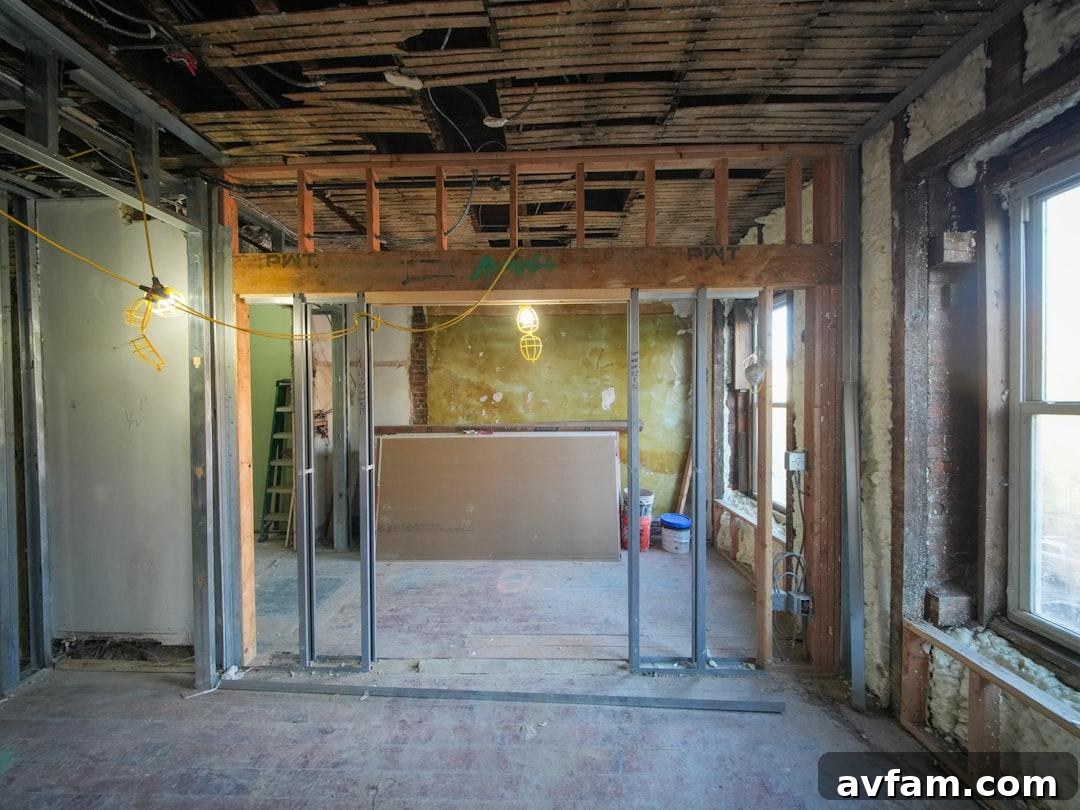
Photo by Olek Buzunov on Unsplash
Mold work allows little room for shortcuts because disturbing contaminated materials can spread spores through the home. That is why proper containment is a central step in professional remediation, particularly before removing damaged walls or other materials.
When comparing bids, homeowners should note how contractors handle containment and filtration. Firms that include clear containment plans and HEPA filtration as part of remediation demonstrate a more complete scope of work. Understanding those measures helps you compare proposals based on the work to be completed rather than just price.
Why Seal the Work Area First?
Containment creates a physical boundary between the work zone and the rest of the house. The setup varies with the job size:
- 6-mil polyethylene sheeting taped to walls, ceiling and floor for a single room.
- A zipped or overlapped flap where the doorway used to be.
- A separate changing chamber on larger projects so crews can don and remove contaminated gear.
- Supply and return vents inside the zone covered and taped closed.
The barrier performs two tasks. It prevents settled dust from being tracked or blown into clean rooms, and it gives air equipment a defined volume to manage. Covered vents matter: an open return can pull contaminated air into the ductwork, spreading dust throughout the home. Anyone who has lived through a remodel knows how far dust travels without a barrier.
What Do Negative Air and HEPA Filtration Do?
They address two distinct issues people often confuse. Negative pressure controls airflow direction; HEPA filtration controls the particles themselves.
A negative air machine exhausts air from the sealed zone to the outside so the enclosure sits below the surrounding house’s pressure. That causes air to leak inward through any gaps rather than outward. Best-practice guidance for larger buildings aims for a small negative pressure target and specifies multiple air changes per hour.
The HEPA filter ensures the exhausted air is safe. A true HEPA captures 99.97 percent of particles at 0.3 microns, which includes mold spores. Vacuums used inside the zone must meet the same standard; otherwise a shop vacuum simply redistributes what it picks up.
Why Cut Back Past the Visible Growth?
Because the visible stain is almost always smaller than the actual colony. Mold spreads through the paper facing and the gypsum core faster than it appears on the surface, so a visible boundary underestimates the extent of contamination. Cutting right on the stain risks leaving live material in the wall.
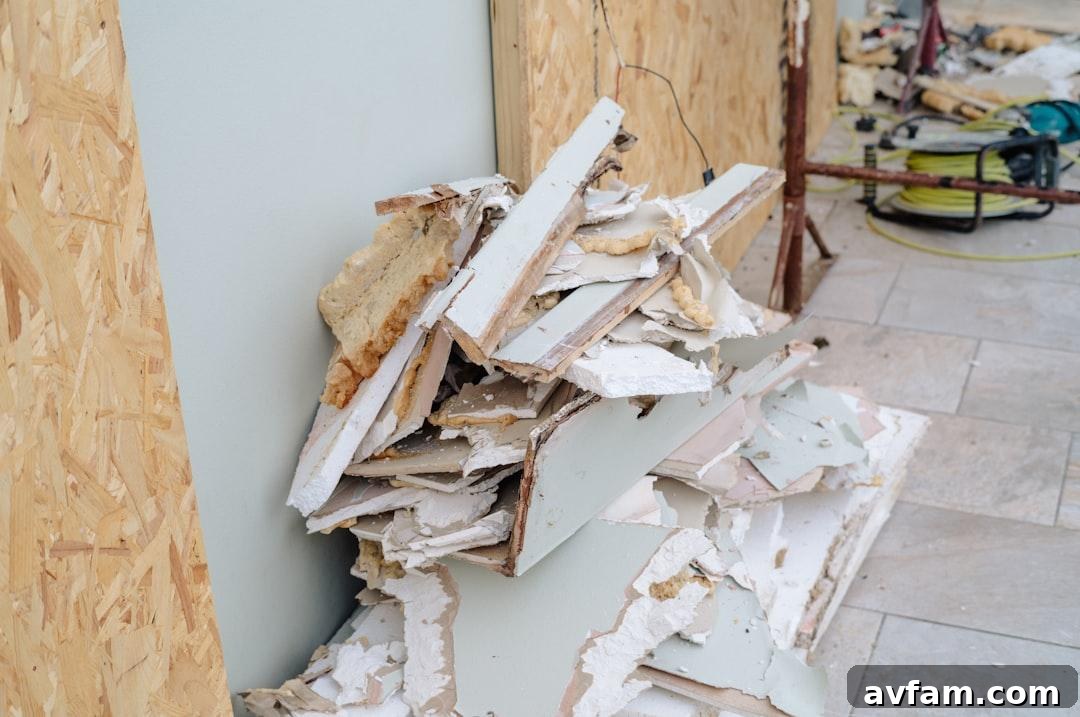
Photo by Annie Spratt on Unsplash
Crews commonly remove 12 to 24 inches beyond the visible damage, then square the opening to the nearest framing member. Cutting to a stud gives replacement board a solid place to attach. Insulation batts are removed entirely, so there is no partial cut-back debate there.
Technicians use moisture mapping to guide the cut-back distance instead of relying on sight alone. A moisture meter identifies where the wet zone ends, and the cut follows that line. Repairing the hole afterward is standard drywall work and typically the easier part of the project.
How Does Contaminated Material Leave the House?
Materials are sealed and carried out by the shortest available route. Debris is placed into heavy polyethylene bags inside the containment, and the exterior of each bag is wiped or HEPA-vacuumed before it crosses the barrier. Filling a bag in a hallway defeats the purpose of the enclosure.
Larger sections are wrapped and taped rather than simply bagged. Whole boards or cabinetry sections are sheeted and sealed before being moved through clean spaces. When an exterior door is available, crews generally use it instead of carrying contaminated materials through interior stairways.
After the last load leaves, the zone is HEPA-vacuumed, damp-wiped, and vacuumed again once surfaces are dry to ensure cleanliness before teardown.
Why Drying Comes Before Rebuilding
Rebuilding over a wet substrate guarantees a return trip. Spores are everywhere; moisture determines whether they will establish. Closing a wall over wet framing is not a fix—it is a delay.
The cause of moisture matters more than the drying equipment. A failed flashing detail, a slab without a vapor barrier, or a persistent plumbing leak will refill the cavity no matter how many air movers are used. A remediation scope that never identifies the source of moisture is a warning sign.
Expect moisture readings rather than opinions. Crews should meter affected framing and nearby undamaged material, then rebuild only when those readings converge. Typical drying takes three to five days but can be longer for dense materials like plaster or masonry.
How to Read a Scope of Work
A written scope should clearly define the project boundaries before work begins. In some states, licensing and independent assessment are required, which prevents a single firm from both assessing and remediating the same job. Even where no license exists, using an independent assessor is a good safeguard.
Look for specific dimensions, not vague adjectives. A useful scope lists five things:
- The affected area in square feet.
- The containment method and the location of the barrier lines.
- The cut-back distance beyond visible growth.
- The number of air machines and where they exhaust.
- The clearance testing that will close the job.
Comparing bids is far easier when each proposal lists those items. That makes it possible to weigh a larger firm against a smaller operator on the basis of scope rather than price alone.
What to Check Before Signing a Remediation Contract
- Whether the assessor and the remediator are separate firms.
- Who is responsible for repairing the moisture source and whether that work is included in the price.
- How contaminated material will leave the jobsite without crossing a clean room.
- What happens if clearance testing fails on the first attempt.
- Who is responsible for the rebuild once removal is complete.
Telling Craft From a Spray Job
A crew that merely sprays a biocide on a stained wall and leaves has treated the appearance, not the structure. Proper remediation defines a boundary, removes material beyond the visible edge, dries the cavity, repairs the water source, and verifies results with testing. Skipping the removal step is effectively painting over the problem.
FAQ
How Long Should a Typical Remediation Take?
A single-room remediation commonly runs two to five days, with drying adding a few more days. Containment setup and teardown take a significant portion of that time. A one-day quote for a wall-sized area often means removal or thorough drying is being skipped.
Do I Need to Leave the House During the Work?
Often not, if containment is properly constructed and the affected area is small. However, households with asthma sufferers, infants, or immunocompromised individuals are usually advised to relocate during remediation. Request that recommendation in the written scope.
What Is Post-Remediation Clearance Testing?
Clearance testing is an independent verification that the work zone meets the agreed standard before the containment comes down. It includes visual inspection, moisture measurements, and usually air sampling. The test only has value when the tester is independent of the crew that performed the remediation.
Is Fogging or Spraying a Substitute for Removal?
No. Coatings and biocides are finishing steps, not substitutes for removal. Nothing sprayed on a surface reaches colonies living inside gypsum or insulation. Proper remediation requires removal of contaminated material to stop the problem.