
Ultimate Guide to Hiding TV Cables & Wires: Achieve a Clean, Clutter-Free Entertainment Setup
In the modern home, entertainment systems are central to our daily lives, offering everything from immersive movie experiences to interactive gaming and seamless streaming. However, this convenience often comes at the cost of unsightly cable clutter. The back of your television can quickly become a tangled mess of wires, snaking from the display to various devices such as cable boxes, Roku sticks, game consoles, DVD players, and sound bars. These exposed cables not only detract from the aesthetic appeal of your living space but can also pose tripping hazards, collect dust, and make cleaning a nightmare. Fortunately, achieving a sleek, organized, and safe home entertainment area is simpler than you might think, thanks to effective cable management solutions like cable tunnels.
Why Effective Cable Management is Essential for Every Home
Beyond mere aesthetics, robust cable management offers a multitude of benefits that enhance both the functionality and safety of your home. Imagine a living room where your state-of-the-art flat-screen TV appears to float effortlessly on the wall, with no distracting wires in sight. This clean look instantly elevates the perceived value and sophistication of your interior design. From a safety perspective, neatly organized cables eliminate tripping hazards, a crucial consideration for homes with children, pets, or elderly residents. Furthermore, proper cable management protects your expensive electronics by preventing kinks, bends, and accidental disconnections that can damage wires and ports. It also simplifies troubleshooting by making it easier to identify and access specific cables when needed. Lastly, a tidy setup is far easier to clean, reducing dust accumulation and contributing to a healthier living environment.
Our recent experience perfectly illustrates the need for clever cable solutions. We embarked on installing a new Samsung curved LED television, opting for a specialized SANUS wall mount meticulously designed for the unique curvature of the screen. The initial installation of the television and mount proceeded without a hitch, and our primary intention was to conceal all the connecting cables by routing them behind the wall. This in-wall solution typically offers the most seamless and invisible finish, creating a truly minimalist aesthetic.
Overcoming In-Wall Cable Routing Challenges in Load-Bearing Walls
However, as with many home improvement projects, we quickly encountered an unforeseen obstacle. The wall chosen for the television installation turned out to be a load-bearing wall, a critical structural component of the house. This meant it was packed with numerous wall studs, precisely where we needed to run our cables. Attempting to drill large enough holes or create extensive pathways through these studs would have compromised the structural integrity of the wall and involved significant, complex carpentry. Furthermore, the prospect of cutting multiple large holes in the drywall, patching them up, and then repainting was a daunting and time-consuming task we preferred to avoid. While an in-wall solution offers unparalleled concealment, it’s simply not feasible or advisable in every scenario, especially when dealing with structural elements or rented properties where modifications are limited. Leaving the cables dangling haphazardly was, of course, absolutely out of the question for maintaining a tidy and modern living space. We needed a professional-looking, accessible, and elegant solution that didn’t involve tearing apart our wall.
Introducing the SANUS Cable Management System: An On-Wall Solution
This is where the innovative SANUS Cable Management System emerged as the perfect, easy-to-implement alternative. SANUS is renowned for its high-quality home audio and video accessories, and their cable management solutions are no exception. Designed to tackle cable clutter effectively and aesthetically, their cable tunnels provide an on-wall solution that mimics the cleanliness of in-wall routing without the structural headaches or extensive DIY skills. It offered us the ideal balance of concealment, ease of installation, and customization, allowing us to achieve that coveted sleek look without compromising our wall’s integrity or spending days on the project.
Key Features That Make SANUS Cable Tunnels Stand Out
The SANUS cable tunnels are engineered with user-friendliness and versatility in mind. Each system features robust clips that securely fasten the plastic tunnel directly to your wall. These clips are designed for easy installation and provide a firm anchor for the raceway. The tunnel itself is spacious enough to accommodate a significant number of cables – typically up to eight standard-sized wires, including HDMI, power, audio, and network cables. This generous capacity ensures that all your entertainment devices can be neatly channeled through a single, discreet conduit.
One of the most appealing aspects of the SANUS system is its adaptability. The plastic tunnel can be easily trimmed to the exact length required for your specific setup, ensuring a perfect, tailored fit from the bottom of your television down to your media console or power outlet. Furthermore, the paintable surface of the cable tunnel is a game-changer for seamless integration into any decor. You can effortlessly paint the tunnel to match your wall color, making it virtually disappear and creating an incredibly cohesive and professional finish. This level of customization allows the cable management system to blend into your home environment, rather than standing out as a noticeable addition.
Step-by-Step Installation: Achieving a Clean Look in Under 10 Minutes
The true beauty of the SANUS cable management system lies in its remarkably simple and quick installation process. We were able to install our cable tunnel in less than 10 minutes, transforming a chaotic tangle of wires into an organized, almost invisible pathway. Here’s a detailed breakdown of the steps, proving that professional-grade cable management doesn’t require professional installation fees:
Tools You’ll Need:
- A spirit level (essential for vertical alignment)
- Pencil for marking
- Measuring tape
- Hacksaw or utility knife (for trimming the tunnel, if necessary)
- Screwdriver or drill (depending on your wall type and clip attachment method)
- Optional: Paint, paintbrush, painter’s tape (if you choose to paint the tunnel)
Preparation and Planning:
Before you begin, carefully plan the route your cables will take. Measure the distance from the bottom of your TV to where your components or power outlet are located. Hold the cable tunnel up to the wall to visualize its placement and mark the desired top and bottom points with a pencil. Use your spirit level to ensure the path is perfectly vertical for a clean, professional appearance. If needed, trim the SANUS tunnel to the exact length using a hacksaw or utility knife. Remember, measure twice, cut once!
Securing the Mounting Clips:
Once your path is marked, it’s time to secure the mounting clips to the wall. These clips are designed for easy attachment, often requiring just a few screws. Carefully align the first clip at your top mark, ensuring it’s level. Mark the screw holes, pre-drill if necessary for your wall type (e.g., drywall anchors for plasterboard), and then secure the clip firmly. Repeat this process for the remaining clips, spacing them evenly along your marked vertical line. Continually check with your spirit level to maintain perfect alignment. The secure attachment of these clips is crucial for holding the cable tunnel firmly in place.
Organizing Your Cables:
With the clips in place, it’s time to gather and prepare your cables. Group all the cables that need to be hidden together. A neat trick is to use painter’s tape or zip ties to bundle them tightly at several points along their length. This not only makes them easier to handle but also helps them fit more snugly and securely within the cable tunnel. Ensuring a compact bundle prevents individual wires from snagging or becoming dislodged during installation.
Attaching the Cable Tunnel:
Now for the satisfying final step! Once your cables are neatly bundled and placed against the wall, gently snap the SANUS cable tunnel onto the secured clips. The design allows for a firm, secure fit. Start from one end (either top or bottom) and work your way down, ensuring each section of the tunnel clicks into place. Voila! Just like that, your unsightly cables are completely enclosed, transforming your entertainment area into a paragon of order and sophistication.
The Optional Yet Impactful Paint Job:
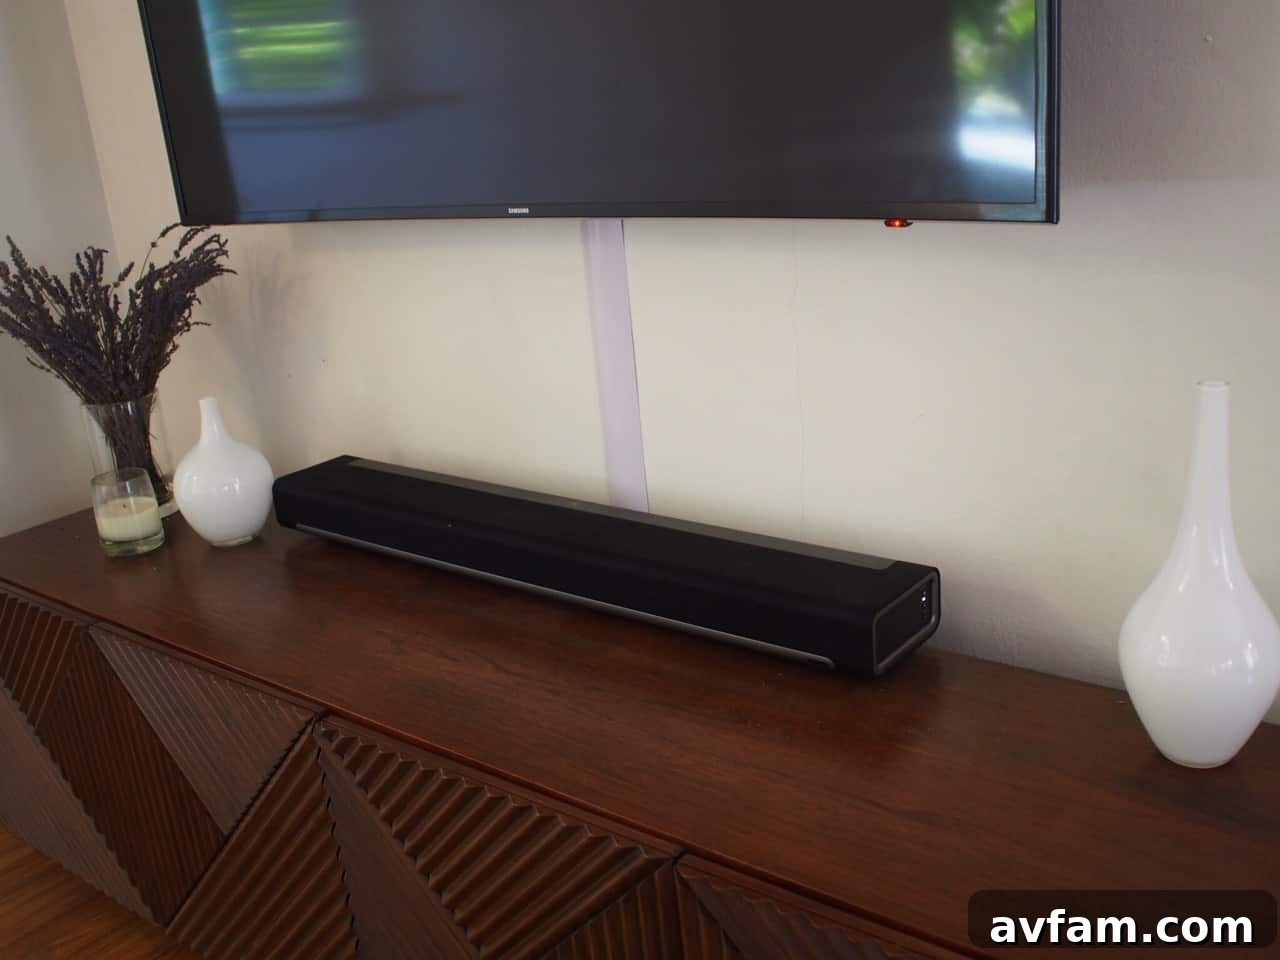
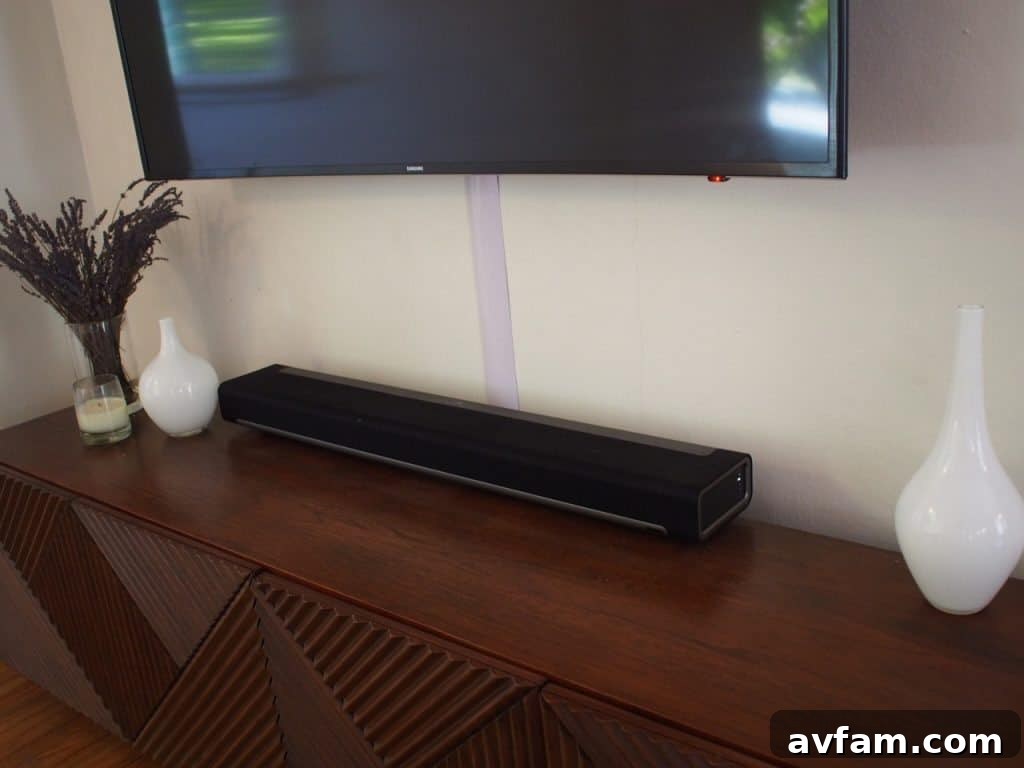
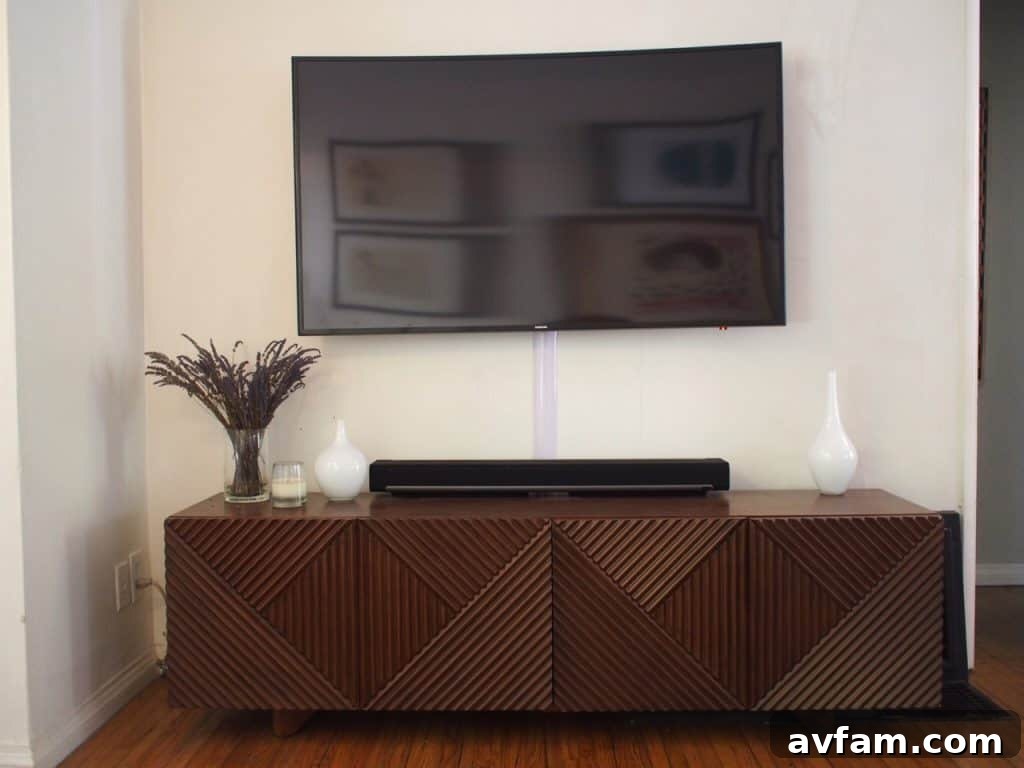
For our demonstration, we deliberately chose not to paint the tunnel, allowing its structure to be clearly visible in the accompanying images, showcasing the finished product and the simplicity of the design. However, if your goal is absolute invisibility, painting the tunnel to match your wall color is incredibly straightforward and highly recommended. The process is simple: before you even install the clips to the wall, clean the surface of the plastic tunnel thoroughly. Apply your chosen wall paint directly to the tunnel (a light sanding and primer might be beneficial for certain paint types, but often isn’t strictly necessary). Allow the paint to dry completely, which usually takes about 20-30 minutes, or as per paint manufacturer instructions. Once dry, you can proceed with securing the clips and snapping the freshly painted tunnel into place, as outlined in the steps above. This step truly allows the cable management system to melt away into your wall, creating an utterly seamless aesthetic.
The Transformation: A Clean, Organized Space
The contrast before and after installing the SANUS cable management system is truly remarkable. What was once a distracting cluster of wires now appears as a smooth, almost imperceptible line along the wall. This simple upgrade instantly elevates the entire room, making the television and its components feel integrated rather than merely appended. The clean lines provide a sense of calm and order, allowing your focus to remain on the stunning visuals of your curved LED screen, rather than the chaotic backdrop of cables.
Beyond the Install: Maintaining Your Clutter-Free Zone
Implementing a cable management system is a significant first step, but maintaining a clutter-free zone requires a little ongoing attention. Periodically check your cable bundles to ensure they haven’t shifted. Dust the exterior of the cable tunnel as you would any other surface in your home to keep it looking pristine. When adding new devices, remember to plan their cables into your existing raceway or consider extending it if needed. The beauty of modular systems like SANUS is their flexibility to adapt to your evolving entertainment needs, ensuring your setup remains tidy and functional for years to come.
Why SANUS Stands Out for DIY Home Improvement
Our experience confirms that SANUS provides exceptionally practical and user-friendly solutions for common home organization challenges. Their cable management system is a testament to thoughtful design, offering durability, aesthetic flexibility, and an installation process that empowers homeowners to achieve professional results without specialized tools or extensive experience. For anyone looking to enhance their home entertainment area, improve safety, and simply enjoy a cleaner living space, investing in a quality cable management system like SANUS is an incredibly worthwhile endeavor.
For more information on innovative home AV solutions and to explore their full range of products, please visit SANUS.com.
This post is sponsored by SANUS; however, all thoughts and opinions expressed are entirely our own, based on genuine experience and satisfaction with the product.