
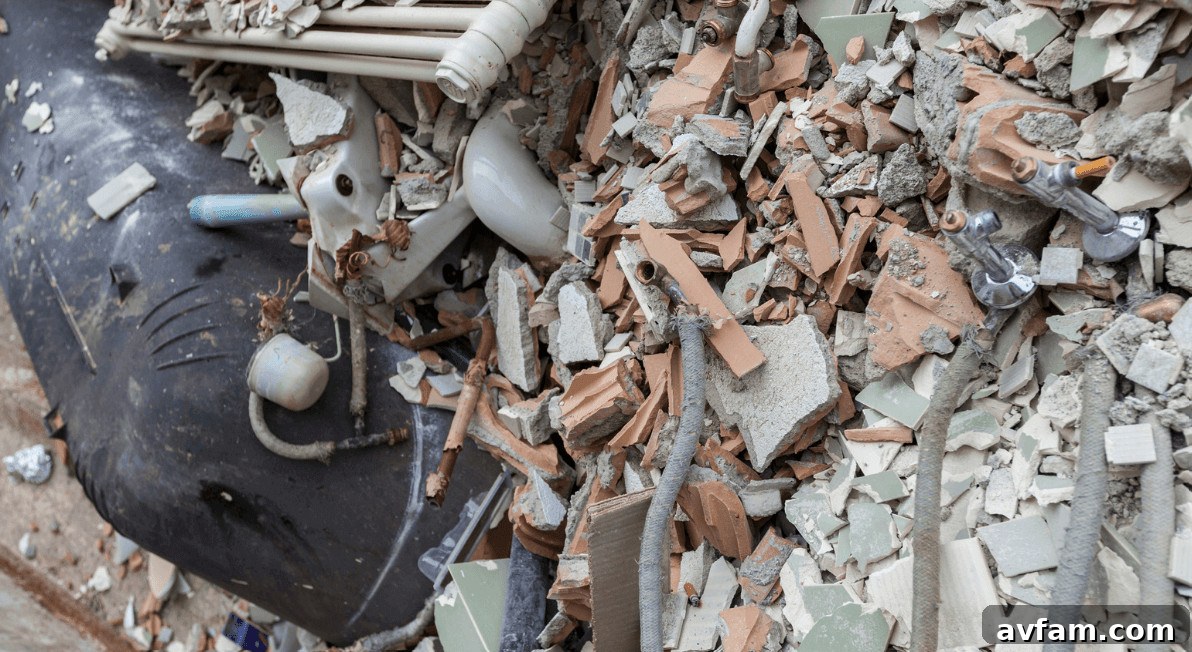
Home remodeling produces a lot of debris, from torn-out drywall and broken ceramic tile to scrap wood and heavy concrete. Without a clear cleanup plan, even small projects can become cluttered and unsafe. Old materials pile up once demolition begins, walkways get blocked, and dust, loose nails, and scattered fasteners increase the risk of injury.
Whether you’re doing demolition yourself or hiring contractors, decide where debris will go before the first wall comes down. A little planning at the start prevents a big mess later and keeps the project moving smoothly.

Set Clear Waste Goals Before Demolition Starts
Demolition can generate surprising volumes of material in a short time. Before you begin, identify items that can be recycled, donated, reused, or must be discarded. Clean lumber, metal, fixtures, and certain architectural elements are often salvageable. Drywall, broken tile, damaged cabinetry, and other ruined items will need disposal.
You don’t need an exact count. Assess the rooms and materials you’re removing—cabinets, hundreds of square feet of flooring, or stacks of drywall—to estimate container size and pickup frequency. That estimate helps prevent the container from filling unexpectedly.
Select the Right Disposal Container for the Project
Choosing a bin that matches your project size removes a major headache. Small containers can fill quickly during a kitchen tearout, while very large ones may take up more space than necessary. Local haulers can recommend container sizes based on the amount and type of material you’re removing.
Consider weight limits as well: masonry, brick, concrete, and wet plaster add weight fast. A container that looks only partially full can still exceed its weight allowance. Ask about weight restrictions and prohibited materials before delivery to avoid surprise fees.
Designate Specific Waste Zones on the Jobsite
It’s tempting to drop debris wherever there’s space. Instead, set up a few designated collection areas to keep active work zones clear. A simple system might include color-coded cans for drywall and wood scrap, heavy plastic totes for loose hardware and fasteners, and flat pallets for stackable cardboard.
Place containers close enough that workers will use them, but not where they block entrances or paths. Clear walking routes matter when you’re carrying tools, lumber, or bulky demolition pieces through the house. You don’t need a full recycling center in the garage—just a few clearly labeled spots for trash, salvageable items, and recyclables.
Sort Materials as You Work
Sorting at the end of a renovation is a large, unpleasant job. It’s far easier to separate materials as they come out. Keep clean lumber, metal, cardboard, general trash, and items for donation or recycling separate when practical. Avoid burying lightweight salvage under heavy rubble—separating dense materials like concrete from reusable items makes loading and disposal simpler.
Daily tidying habits add up when demolition spans several days. Spending a few minutes to sort and clear at the end of each day saves hours of labor later.
Set Aside Salvageable Supplies for Reuse or Donation
Not everything belongs in the landfill. Solid wood doors, copper pipe, vintage fixtures, intact cabinets, and trim may still be useful or have resale value. Designate a clean, dry staging area—such as a protected corner of the garage—to keep reusable items separate from general debris.
Before hauling salvaged materials away, check local salvage yards, donation centers, and scrap yards to see what they accept. Also consider whether an item could be repurposed elsewhere in your home instead of being given away.
Schedule Regular Waste Pickups to Keep Work Moving
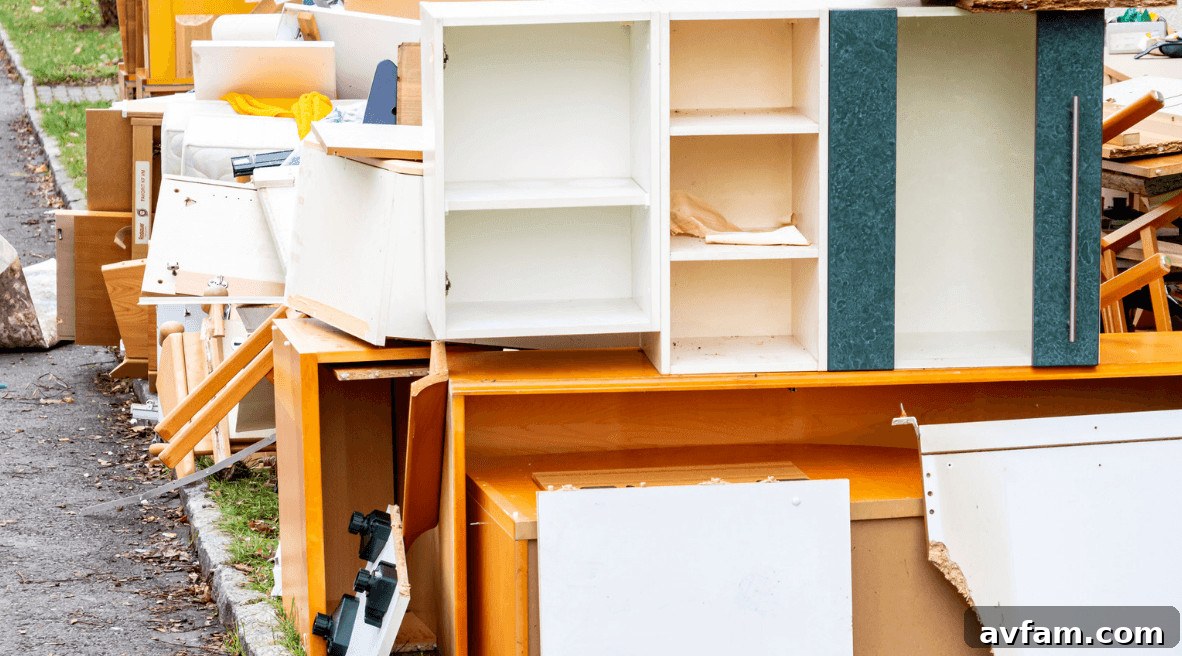
An overflowing dumpster can halt demolition. When the container is full, work areas often become ad hoc storage. Anticipate high-volume stages—kitchen demo, bathroom tearouts, flooring removal—and check container capacity before those phases begin. Scheduling pickups or exchanges early avoids delays and the scramble to find space for large, bulky items.
Communicate the Cleanup Plan to Everyone
Confusion breeds mistakes. If you have multiple trades and DIY work happening in the same window, point out waste and salvage areas before work starts. Simple labels are usually enough to mark general debris, metal, recycling, and items you plan to keep. That reduces the chance a reusable cabinet door or trim piece accidentally ends up in the dumpster.
At the end of each day, walk the site: clear walkways, pick up loose screws and nails, and correct any sorting errors while they’re small. Starting each morning with a tidy work area makes the day safer and more productive.

Handle Potentially Hazardous Materials Carefully
Older homes may contain materials that require special handling, such as lead-based paint, asbestos, or other hazardous products. If you suspect any hazardous material, don’t disturb it until you know the testing, removal, and disposal requirements. Some materials should be assessed and handled by qualified professionals rather than treated as routine cleanup.
Paints, solvents, batteries, oils, and similar products often have local disposal rules. Keep these items out of general debris and check with your local waste authority or disposal facility for proper handling.
Keep the Renovation Manageable from Start to Finish
Renovation debris will expand to fill whatever space you give it. Decide where it will go before demolition begins, separate anything worth saving, and schedule pickups before the dumpster overflows. Regular end-of-day cleanups, clear labeling, and a few designated waste zones will keep the jobsite safer and the project on schedule. You won’t keep the site spotless, but you can keep the mess under control.