
You spend a weekend on a shop knife. The grind is clean, the profile is exactly what you wanted, and the steel came out of the stock with good geometry. Then you run a file across the edge after heat treating, and it cuts right in. The blade is soft. All that work, and it’s basically a butter knife.
It happens more than most makers admit. Heat treatment is the step many DIY metalworkers either skip or approach with too much confidence, and that leads to disappointing or dangerous results.
A piece of high-carbon steel hardened incorrectly won’t just underperform — it can fail catastrophically. A glass-hard chisel with no temper will shatter when struck. A blade with uneven hardness will flex and snap under load.
Below is a straightforward guide: what heat treatment does to steel, how to do it correctly at home for projects a basic setup can handle, and an honest look at when a backyard forge is out of its depth.
What Heat Treatment Actually Does to Steel
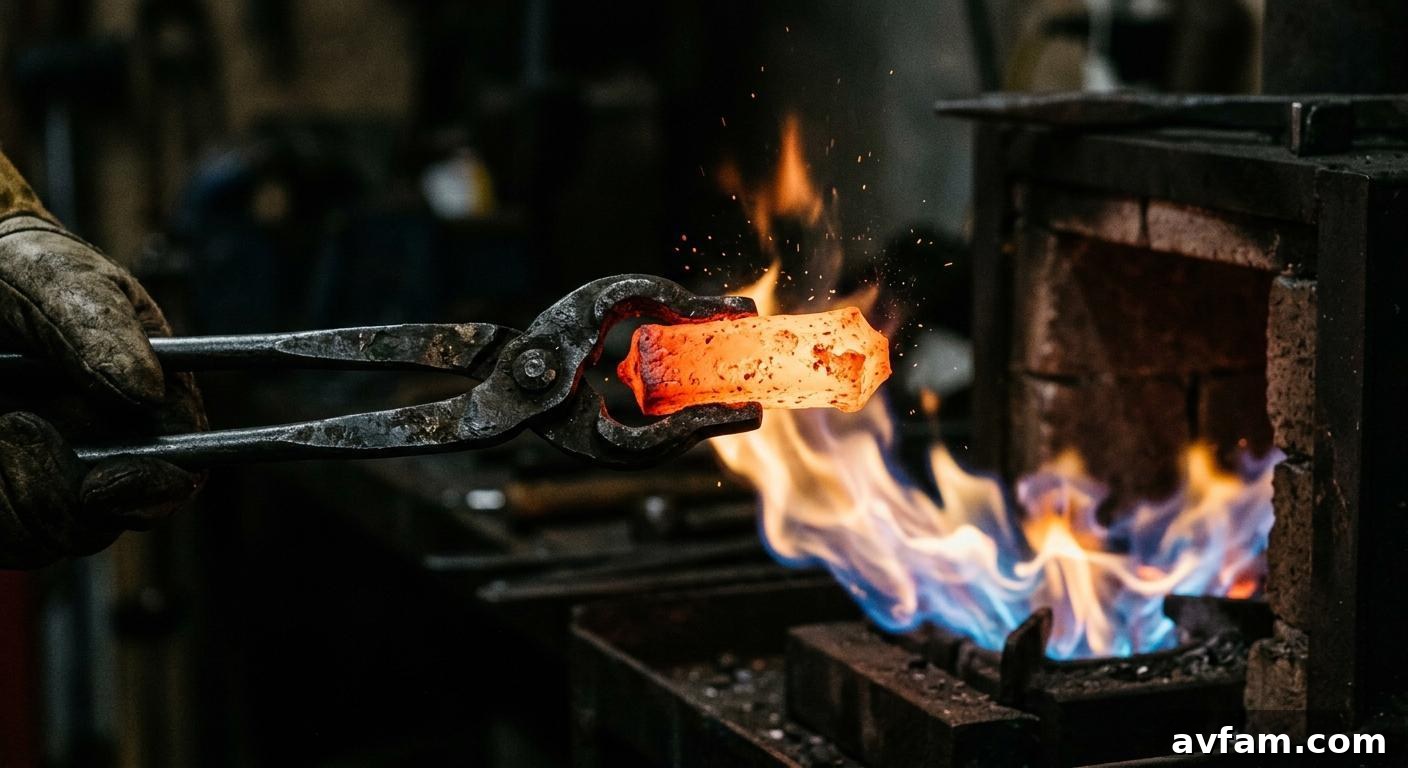
Heating high-carbon steel to the austenitizing range – the point where the metal becomes non-magnetic and ready to quench.
Heat treatment is controlled manipulation of a metal’s internal grain structure. Heating steel to the austenitizing range allows carbon atoms to dissolve into the iron matrix. If you quench the steel quickly from that temperature, you trap those carbon atoms in a hard, wear-resistant structure called martensite. If the steel cools slowly in air, it stays soft.
Martensite is hard but brittle. Tempering — reheating to a lower temperature — reduces internal stresses and trades a bit of hardness for toughness. A properly tempered blade won’t shatter on impact; a properly tempered chisel will hold an edge without crumbling. Skip or botch tempering, and you’ll have glass-like, dangerous tools.
Heat treatment is foundational to modern manufacturing and toolmaking. Understanding what happens at the molecular level is the difference between “I heat-treated it” and “it’s properly heat-treated.”
Choosing the Right Steel for Your Project
Different steel grades respond differently to heat treatment — matching steel type to your setup is the most important decision you’ll make.
Not all steel hardens. Mild steel contains too little carbon to respond to a quench-and-temper cycle. For cutting tools you generally want steel with at least ~0.4% carbon, preferably 0.6% or higher.
For home heat treating, favor simple high-carbon steels: 1084 and 1095 are forgiving and well documented, O1 is a reliable tool steel, and W2 performs well with a proper setup. These steels tolerate modest temperature variation without catastrophic failures.
High-alloy grades like D2, M2, H13, and CPM powder-metal steels require much tighter temperature control, precise soak times, and often atmosphere-controlled furnaces to avoid decarburization. Decarburization burns carbon from the surface during heating, leaving a soft outer layer where hardness matters most. A home forge is almost always an improperly controlled environment for these steels.
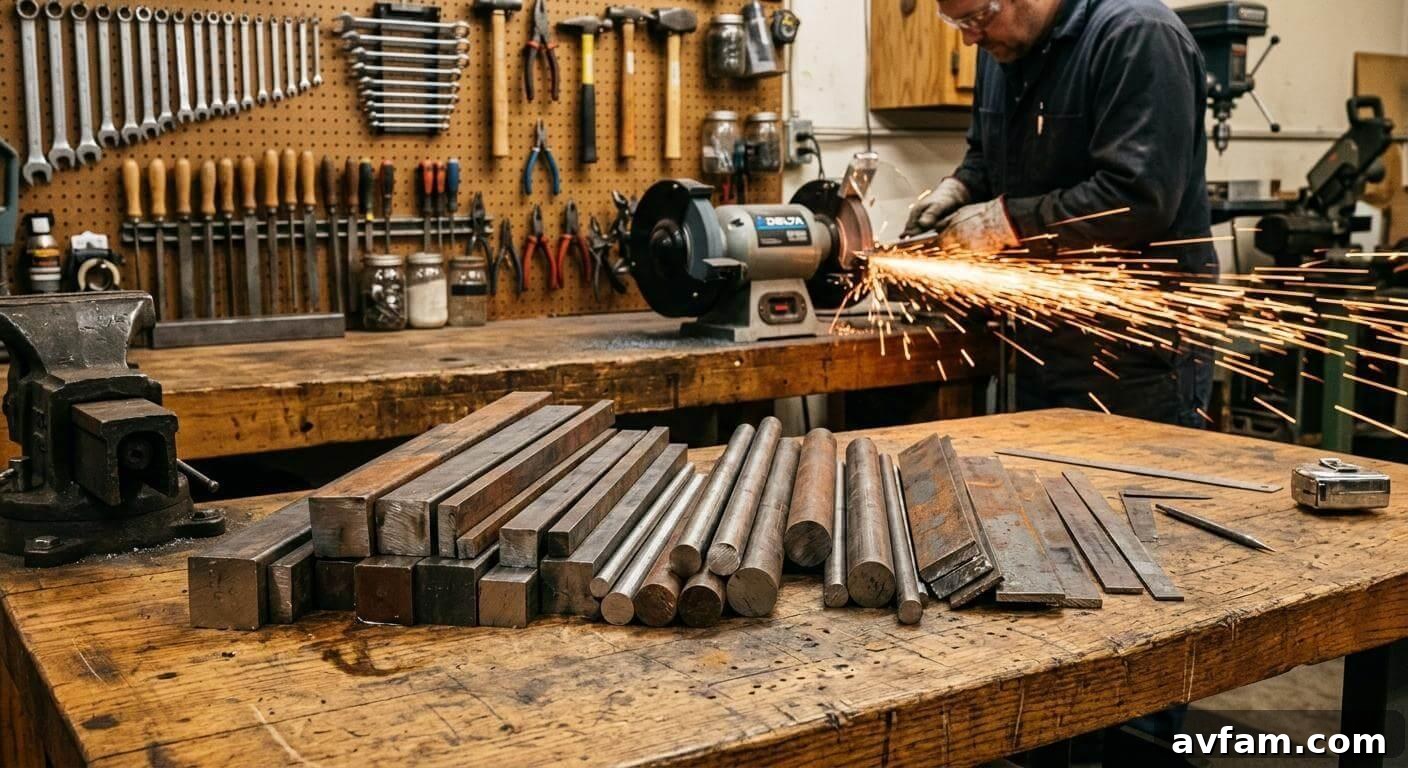
A quick field test: hold the steel to a bench grinder. Bright, bursting sparks typically indicate high carbon; fewer, duller sparks suggest mild steel that won’t harden. It’s a rough test but helps avoid wasting time on the wrong material.
The Home Heat Treating Process: Step by Step
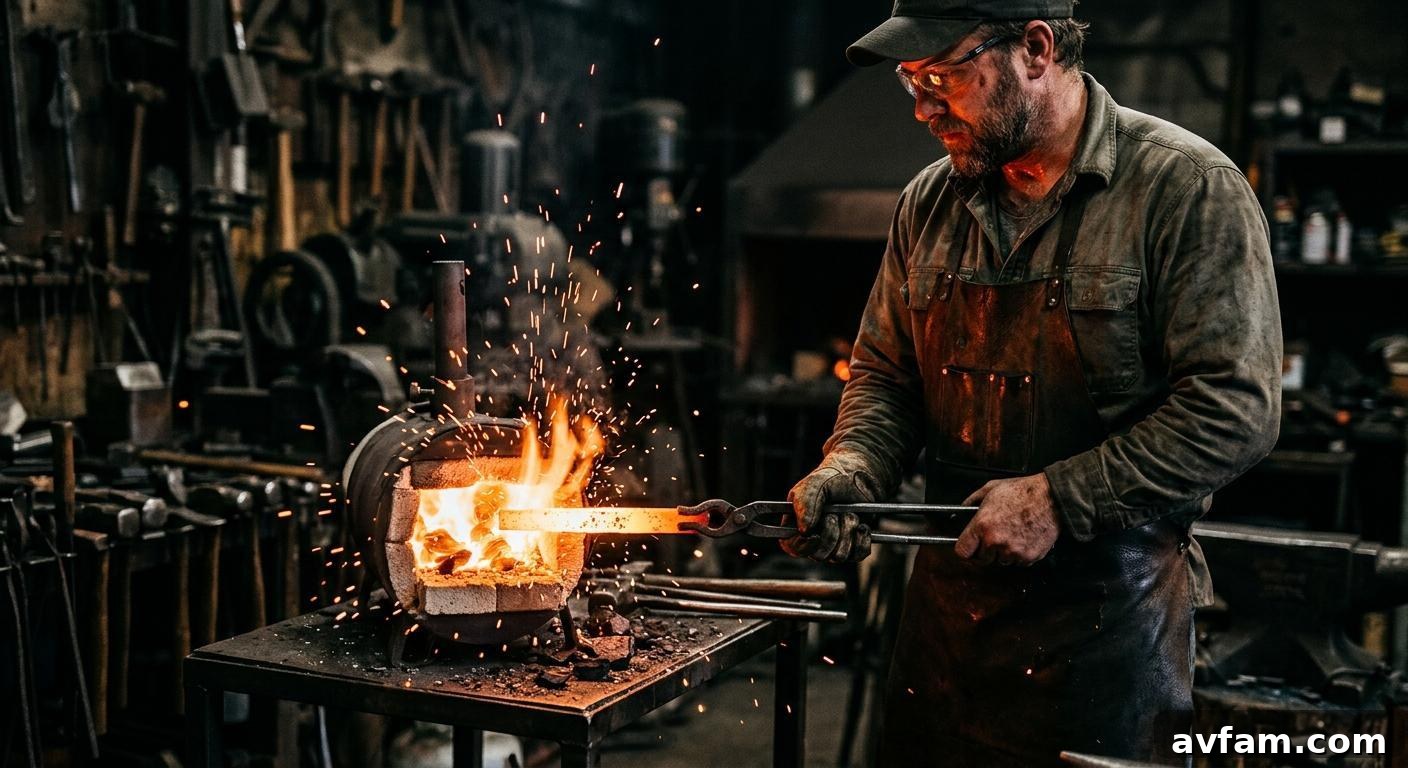
A home metalworker austenitizing high-carbon steel over a propane forge – the first step toward a properly hardened tool.
A basic home setup can be inexpensive: a propane forge or MAP-Pro torch, a quench tank (an old steel pipe section works), quench oil (canola works for many hobbyists, commercial quench oils are preferable), and a kitchen oven for tempering will handle most simple carbon-steel projects.
Begin with a preheat to 300–400°F to prevent thermal shock, especially with thicker stock. Heat slowly and evenly to the austenitizing temperature — for 1084 that’s roughly 1475–1500°F. Use the non-magnetic test: once a handheld magnet slides off, you’re near the austenitizing range. Hold the temperature for a minute or two; don’t instantly quench.
Quench in oil for most high-carbon steels. Move the piece up and down in the oil so fresh oil contacts the steel and to reduce warping; avoid violent side-to-side agitation. Water quenches cool faster but are harsher and increase cracking risk.
Temper immediately, ideally within an hour. A kitchen oven set to 375–450°F for two one-hour cycles (with a full cool to room temperature between cycles) produces good results for many knives and chisels. Color of tempering oxide is a rough guide; use an oven thermometer for accurate control.
Set up your workspace with safety in mind: remove flammables, keep a clear work area, and plan for safe quench and tempering operations. An organized, fire-safe bench makes the process safer and more repeatable.
The Honest Limits of a Home Setup
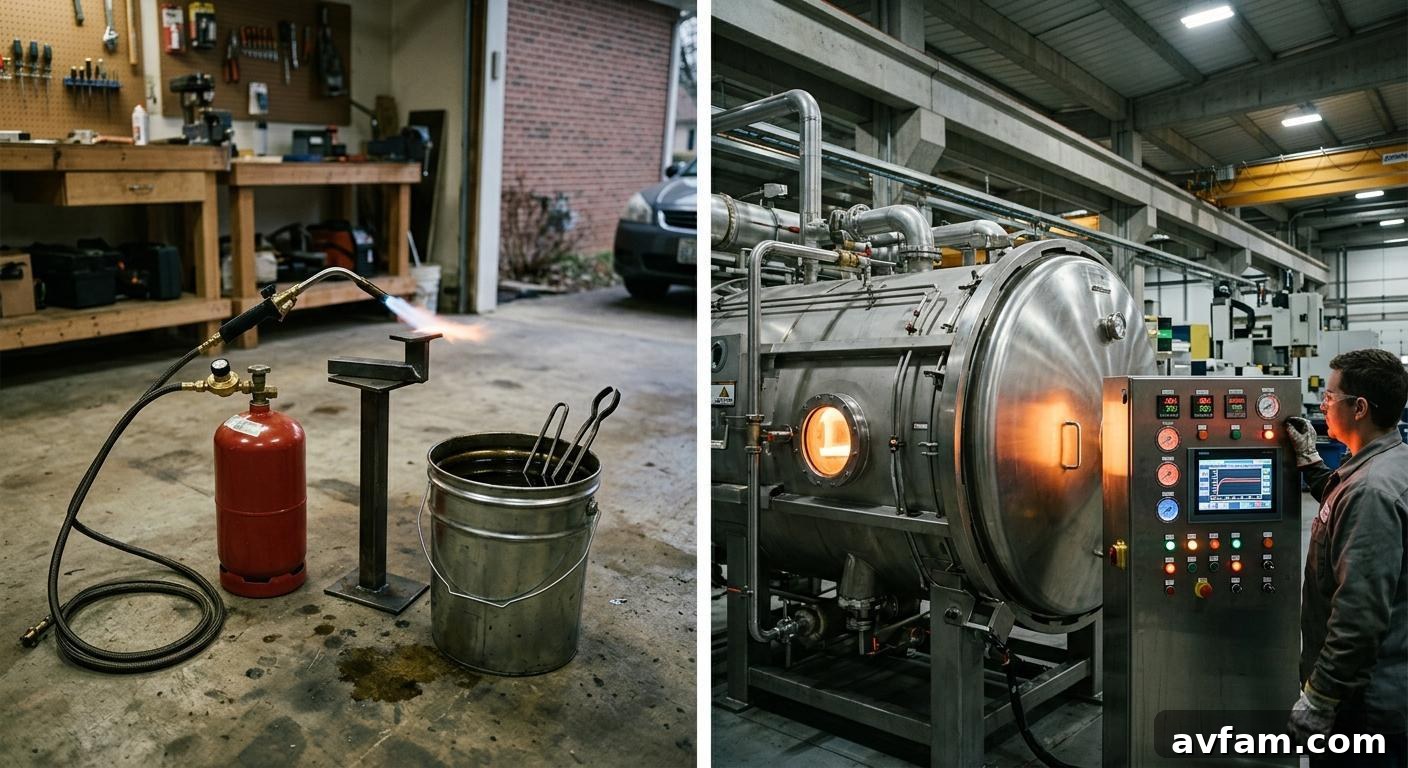
A backyard propane torch works for basic carbon steels, but high-alloy tool steels demand the temperature uniformity and atmosphere control of commercial equipment.
A propane forge has hot spots. For simple steels like 1084, that variation is often acceptable. For D2 or M2, uneven temperature is the difference between properly hardened metal and soft, unevenly treated parts. Commercial furnaces maintain tight temperature uniformity and use controlled atmospheres (neutral gas or vacuum) to prevent oxidation and decarburization. They also allow precise soak times to dissolve carbides fully — something hard to replicate reliably at home.
Professional heat treaters now commonly use precise controls and sensors. The precision required for high-alloy steels and the documentation they provide (time-temperature records, hardness testing) is beyond most DIY setups. That doesn’t make home setups useless — it defines their appropriate scope.
When to Send Your Steel Out
Outsourcing heat treatment is a practical choice, not a failure.
Send steel to a professional when working with high-alloy grades like D2, M2, or stainless steels that don’t tolerate imprecision. Outsource when you have batches of blanks, when parts have critical tolerances that must avoid warping, or when the material and labor invested make a failed DIY attempt costly.
Ask a service about furnace type (vacuum, atmosphere-controlled, salt bath), whether they document time-temperature records, if they perform Rockwell hardness testing and provide results, and their experience with your specific steel grade. Reputable shops will answer these questions directly.
Cost-wise, professional treatment can be cheaper than multiple failed attempts on expensive stock. Factor in your time and the cost of scrap when deciding whether to attempt heat treatment in-house.
Tempering Is Not Optional
The single most dangerous DIY mistake is hardening without tempering. Glass-hard steel will shatter when struck; fragments from a shattered punch or chisel can cause serious injury.
Temperatures vary by application: chisels and plane irons do well around 400–450°F, knives commonly around 350–400°F, and struck tools like punches and hammer faces often need 475–550°F for impact resistance. Do two tempering cycles (two one-hour cycles with a full cool between) to relieve stress more evenly than a single long cycle. After the second temper, allow full cooling to room temperature before testing or use.
Building the Heat Treating Habit Into Your Shop
Good heat treating is a repeatable practice, not a one-off trick. Keep a log for every heat treat: steel grade, stock thickness, austenitizing temperature, soak time, quench medium, temper temperature, number of cycles, and observations (warping, scale, colors). Over time you’ll build a reference specific to your tools and equipment that’s far more useful than general charts.
Start with forgiving steels like 1084 and O1, then move to tighter-tolerance grades once you have reliable results. Protect finished tools from moisture and humidity to prevent rust — store them off concrete and in dry conditions.
Design projects around your equipment: choose steels your setup can handle, outsource what you can’t, and be honest about where limits lie.
Final Thoughts
Heat treating is the invisible step between raw stock and a functional tool. You can get geometry and finish perfect and then ruin everything with a bad quench or a skipped temper — or worse, end up injured from brittle parts.
The good news: for the right steels and projects, home heat treating works. Simple high-carbon steels like 1084 and O1 respond well to a propane forge, oil quench, and oven temper. The technique is learnable and affordable.
The honest news: know the limits of your setup. When a job requires controlled atmosphere, precision furnaces, and documented hardness results, send it to a pro. That’s experienced decision-making, not weakness.