
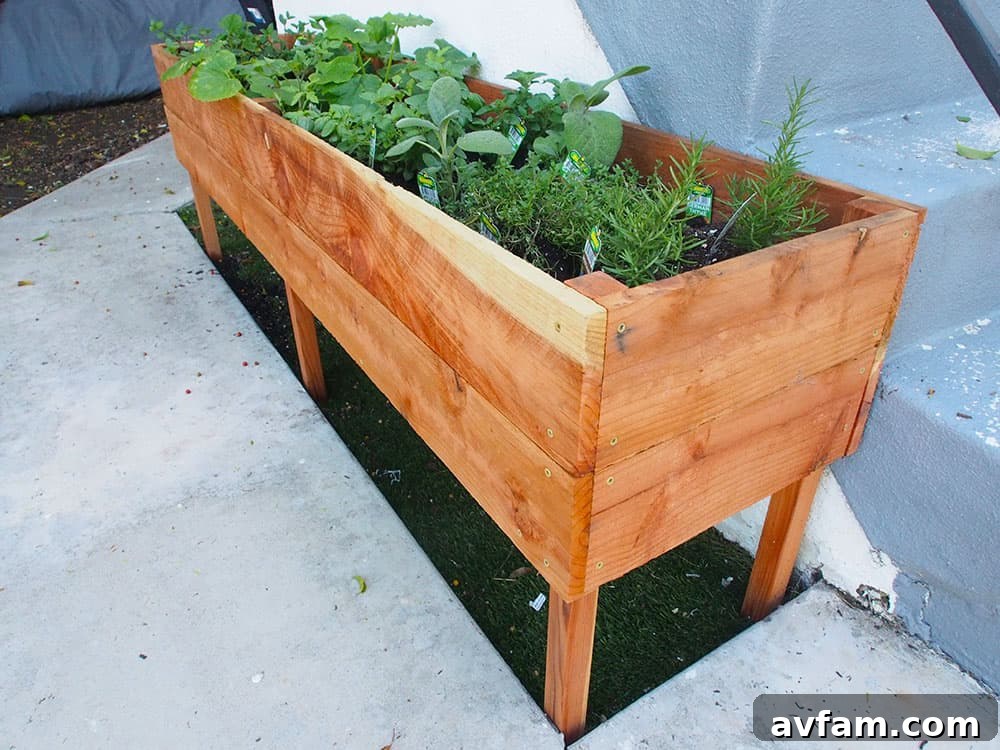
Transforming your backyard into a lush, productive garden space doesn’t have to be a daunting task. A raised planter box offers an ideal solution for gardeners of all levels, making cultivation accessible, efficient, and incredibly rewarding. Whether you’re a seasoned green thumb or introducing your children to the joys of gardening for the first time, building a raised garden bed is a fulfilling DIY project that yields beautiful results—and delicious produce!
For us, the dream of a family garden has always been a cherished one. We envisioned a space where our son could learn about nature, understand the responsibilities of tending living things, and ultimately enjoy the literal fruits of his labor. Our previous home lacked the necessary space and sunlight for a proper garden, but our new residence presented a perfect opportunity: a sun-drenched nook at the base of our stairs, practically begging for a custom-built raised planter box.
Years ago, we embarked on a similar project with our godchildren, converting an old wheelbarrow into a charming herb garden. While that was a fun, temporary solution, this time we aimed for something more robust and enduring. We wanted to construct a raised garden bed that would not only last for many years but also be simple enough to build over a single weekend, with ample help from our enthusiastic 7-year-old.
Why Choose a Raised Planter Box? The Benefits Explained
Raised garden beds offer a multitude of advantages over traditional in-ground gardens. They provide a controlled environment for your plants, ensuring optimal growing conditions and making gardening a more enjoyable experience. Here are some key benefits:
- Improved Soil Quality: You get to choose and create the perfect soil mix for your specific plants, free from compacted native soil, rocks, or weeds. This leads to healthier root development and more vigorous plant growth.
- Better Drainage: Raised beds naturally offer superior drainage, preventing waterlogging that can harm plant roots. This is particularly beneficial in areas with heavy clay soil.
- Extended Growing Season: The soil in raised beds warms up faster in the spring and stays warmer longer into the fall, allowing you to plant earlier and harvest later.
- Easier Accessibility: The elevated height reduces the need for bending and kneeling, making gardening more comfortable, especially for individuals with mobility issues or back problems.
- Pest and Weed Control: Raised sides can deter some common garden pests, and the contained nature of the bed makes it easier to manage weeds, keeping your garden cleaner and healthier.
- Aesthetic Appeal: A well-built raised planter box can add significant beauty and structure to your outdoor living space, turning a simple garden into a focal point.
- Educational Opportunity: They are perfect for teaching children about gardening, as the contained space is manageable and provides a clear area for their plants.
Selecting the Perfect Material: The Redwood Advantage
When it comes to building a raised planter box, material selection is paramount. Common options include cedar, treated lumber, stone, or even galvanized metal. However, for this project, our choice was clear: Redwood. We believe it’s the ultimate choice for several compelling reasons, blending functionality with natural beauty.
Redwood is a 100% natural, sustainable material renowned for its inherent resistance to rot, decay, and insect infestation. This incredible durability comes from natural tannins present in the wood, making it an ideal choice for anything in close contact with soil and moisture, like a raised garden bed. Unlike many other lumber types, redwood doesn’t require chemical treatments to withstand the elements, which was a crucial factor for us.
With a small dog and two young boys, we are deeply committed to using materials that are free from added chemicals, colorants, or plastics, especially for growing edible plants. Redwood perfectly aligns with this philosophy, offering a safe and healthy environment for our garden and our family. Furthermore, we’ve always admired the natural beauty of redwood; we even used it to build a fence at our previous home, appreciating its warm tones and rustic elegance.
Our goal for our new outdoor space is a modern and contemporary aesthetic. We know a redwood planter box will beautifully complement our existing outdoor furniture and other recent builds, such as our sleek pool equipment shed. Its timeless appeal and natural resilience make it a smart investment for any garden project.
Planning Your DIY Raised Planter Box
1. Choose a Location
The first and most critical step in building any garden is selecting the right location. For most herbs and vegetables, “full sun” is a non-negotiable requirement, meaning at least 6-8 hours of direct sunlight per day. This significantly narrows down potential spots in many yards. Beyond sunlight, consider accessibility – your garden should be easy to reach for planting, watering, and harvesting, but ideally not in a high-traffic area where it could be accidentally damaged. We found a perfect small, narrow space at the bottom of our patio stairs that receives abundant sunshine and is safely out of the path of errant soccer balls or nerf gun battles.
2. Find and Adapt a Plan
The internet is a treasure trove of resources for DIY enthusiasts. A quick search for “raised planter box plans” on Google or YouTube will yield countless options, from simple designs to elaborate multi-tiered structures. The key is not to follow a plan rigidly, but to use it as a starting point. Identify a design that appeals to you and then adapt it to fit your specific space, desired dimensions, and gardening needs. Being flexible with plans allows you to truly customize your project, ensuring it’s perfect for your home.
3. Choose Your Building Material (Redwood Grades)
As emphasized, redwood was our material of choice for its natural durability and aesthetic appeal. Redwood is available in several grades, each suited for different applications and budgets. For our garden bed, a “heartwood garden grade” made the most sense. This grade offers excellent natural resistance to rot and insects because it comes from the durable heartwood of the tree, typically containing knots and natural characteristics that give it a rustic charm.
If you’re aiming for a more refined, sleek, and minimalist look, “clear redwood” might be a better option. This premium grade is virtually knot-free and offers a smoother, more uniform appearance. While we appreciate the sophisticated look of mixed-medium planter boxes, perhaps incorporating steel legs with wooden sides, for this particular build, we opted for the classic simplicity and strength of an all-redwood box.
Step-by-Step Guide: Building Your Redwood Raised Planter Box
4. Assemble Your Tools and Materials
Having all your tools and materials ready before you start will make the building process much smoother and more efficient. Here’s what you’ll need:
Tools:
- Cordless Drill/Driver: Essential for pre-drilling holes and driving screws with ease.
- Drill and Driver Bits: Various sizes to match your screws and pre-drilling needs.
- Jigsaw or Circular Saw: For precise cuts on your redwood boards. A circular saw is great for long, straight cuts; a jigsaw offers more versatility for intricate work or trimming.
- Tape Measure: For accurate measurements of all your cuts.
- Heavy-Duty Stapler: To secure the hardware cloth and landscape fabric.
- Metal Shears: Specifically for cutting the hardware cloth.
- Pencil: For marking cut lines and screw points.
- Wood Glue: (Optional but recommended) To strengthen joints for a more durable box.
- Sanding Block: For smoothing rough edges after cutting.
- Woodworking Clamps: To hold boards securely in place during assembly.
Materials:
- 6 – 1-inch x 6-inch x 6-foot Humboldt redwood fence boards: These will form the sides and ends of your planter box. Available at most local lumber yards and Home Depots.
- 2 – 2-inch x 2-inch Humboldt redwood lumber: This will be cut to form the legs and internal supports, connecting the side and end panels and supporting the bottom hardware cloth.
- 1/2-inch Hardware Cloth: A sturdy wire mesh that will support the soil while allowing excellent drainage.
- Landscape Cloth: Placed over the hardware cloth, this fabric provides additional drainage and, crucially, prevents soil from seeping out of the box.
- 1 1/4-inch Corrosive-Resistant Outdoor Screws: It’s vital to use screws specifically designed for outdoor use and corrosion resistance. Avoid standard black or silver screws, as they will be highly visible and may rust over time, staining your beautiful redwood. Stainless steel or coated deck screws are excellent choices.
5. Cut Boards to Length
Precise cuts are key to a well-fitting and sturdy planter box. For our specific space, we utilized the full 6-foot length of the fence boards for the long sides, after trimming off their tapered ends. We then used a jigsaw to cut four additional foot-length boards for the ends of the planter.
The 2×2 redwood lumber was cut into 24-inch lengths. You’ll need four of these for the corner legs of the planter and two additional pieces for the middle supports, which will add extra stability to the long sides. After all cuts are made, take a moment to use a sanding block to smooth any rough edges. This not only makes the box look cleaner but also prevents splinters during assembly.
6. Assemble the Planter Box Frame
Assembly is where your planter box truly takes shape. Always remember to pre-drill holes before driving screws into redwood to prevent the wood from splitting, especially near the ends. While not strictly necessary, applying a bead of wood glue to each joint before screwing them together will significantly increase the box’s overall strength and longevity. Use woodworking clamps to hold the boards firmly in place while the glue sets and you drive the screws.
Begin by attaching the legs to one of the side panels, ensuring they are flush with the ends and top/bottom edges. Then, attach the opposite side panel. Next, add the end panels, securing them to the legs. Finally, incorporate the two additional 2×2 supports in the middle of the long sides. These internal supports are crucial for the structural integrity of a longer planter box, preventing the sides from bowing outwards under the weight of the soil. Once the main frame is complete, cut smaller 2×2 pieces to fit horizontally inside the bottom of the box, spanning the width between the legs. These will serve as rails for supporting the hardware cloth.
7. Install Hardware Cloth and Landscape Fabric
The base of your raised planter box is vital for proper drainage and soil retention. Unroll your 1/2-inch hardware cloth and use metal shears to trim two pieces that perfectly fit the length of the inside of your planter box. It’s important to place the hardware cloth *inside* the box and staple it securely to the 2×2 rails you just installed. We initially made the mistake of stapling it to the bottom from underneath, but the sheer weight of the soil can cause those staples to pull out over time. Fastening it to the internal rails provides much greater support.
While hardware cloth offers exceptional strength and drainage, its mesh is too large to prevent soil from washing out. This is where landscape cloth comes in. Unroll and cut a piece of landscape cloth to fit over the hardware cloth, extending slightly up the sides of the box. Staple this firmly to the top edge of the 2×2 rails and the inside perimeter of your planter box. This dual-layer system ensures excellent drainage while keeping your precious garden soil contained.
8. Add High-Quality Garden Soil
With the structure complete, you’re almost ready to plant! The next crucial step is filling your raised planter box with high-quality garden soil. Avoid using regular topsoil from your yard, as it can be too dense and lack the nutrients needed for optimal plant growth in a raised bed. Instead, opt for a good raised bed mix or create your own blend of compost, topsoil, and perlite or vermiculite for drainage. Fill the planter box to about two inches from the top, then lightly tamp it down to settle the soil.
9. Plant Your Herbs and Vegetables
Now for the most exciting part: bringing your garden to life! Carefully arrange your chosen herbs and vegetables, keeping their individual needs in mind. Consider sun requirements, mature size, and spacing when planning your layout. For instance, we kept the herbs on one side and the vegetables on the other, knowing some veggies require more room to grow. Gently plant your seedlings or sow seeds according to package directions.
After planting, lightly water your garden daily for the first week, ensuring the soil remains consistently moist but not waterlogged. This initial period is crucial for establishing the plants’ root systems and ensuring their long-term health and vitality.
Our son immediately embraced his new role as gardener-in-chief. Not only did he help us build the box, but he also joined us at the nursery to select the seedlings and planted them himself with great care. He’s now proudly in charge of daily watering and tending to the garden (with a little supervision, of course!). We’re eagerly anticipating using the fresh rosemary, thyme, and sage as seasonings in countless future meals. He, however, is most fascinated by the strawberries and cucumbers he planted, learning a valuable lesson in patience as he watches them slowly grow and ripen.
More Raised Planter Bed Ideas for Inspiration
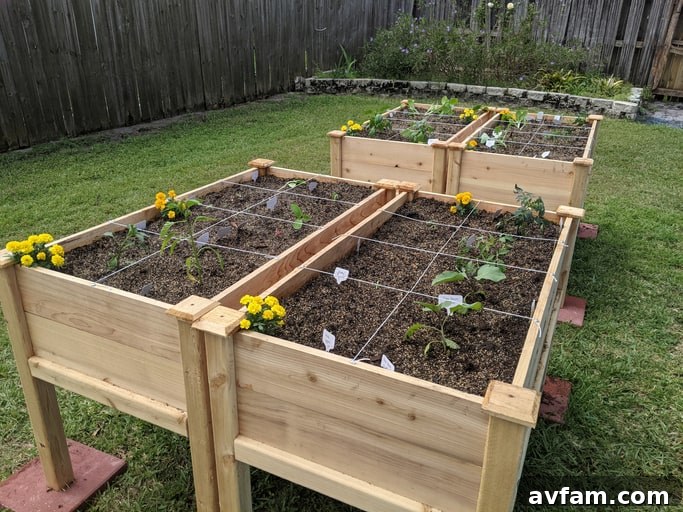
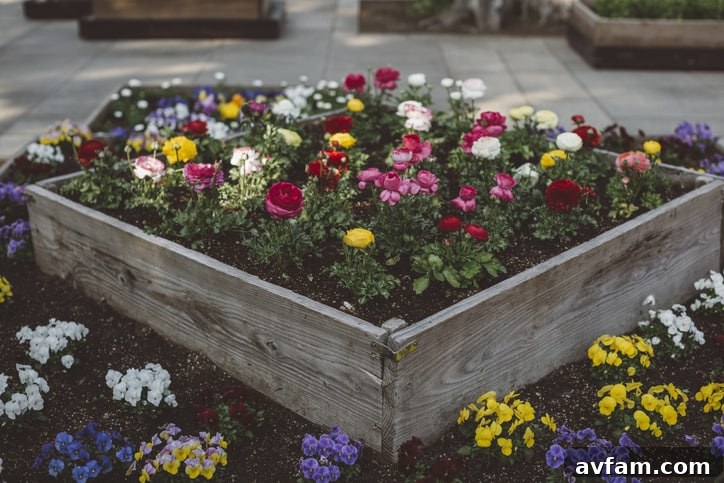
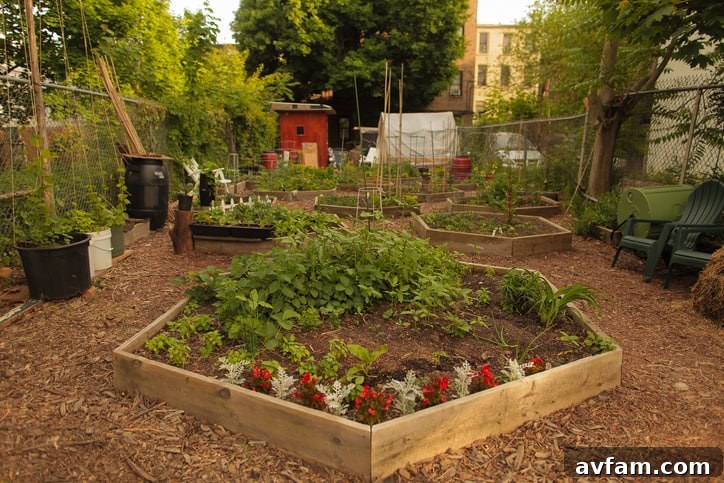
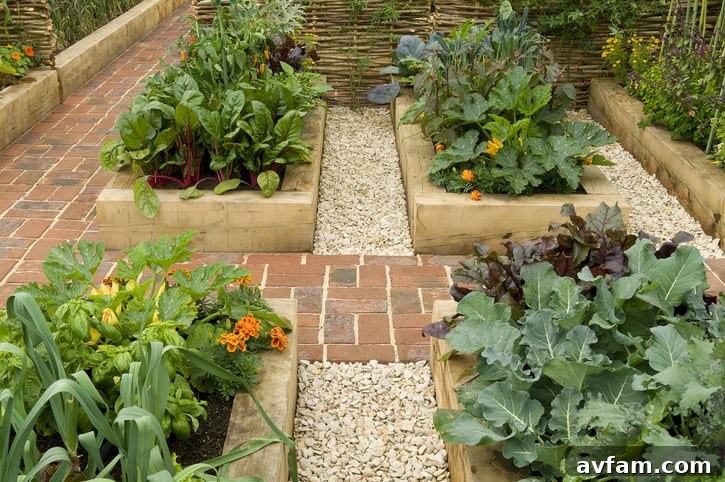
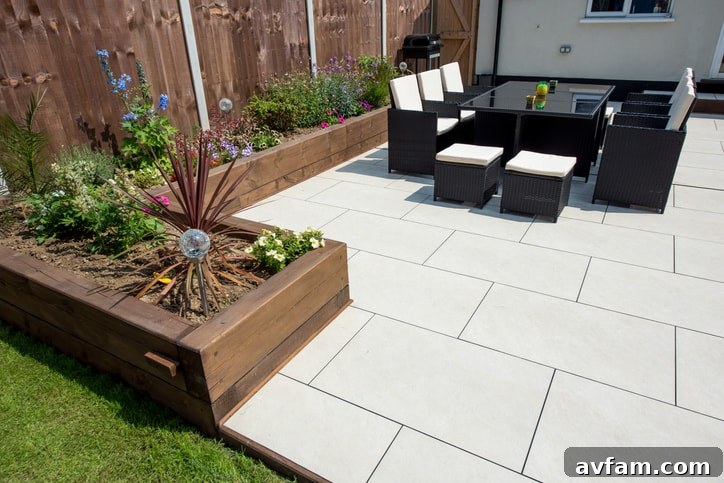
If our redwood planter box project has sparked your imagination, here are some additional raised garden bed ideas to inspire your next DIY endeavor. From multi-tiered designs to innovative material combinations, the possibilities are endless for creating a beautiful and functional garden space tailored to your needs.
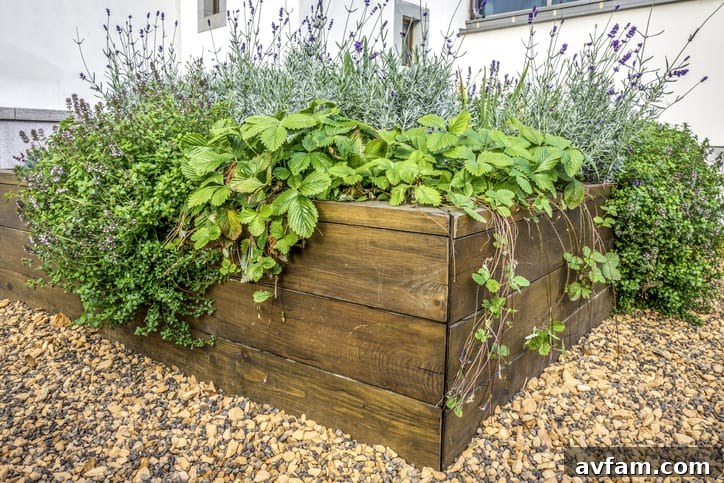
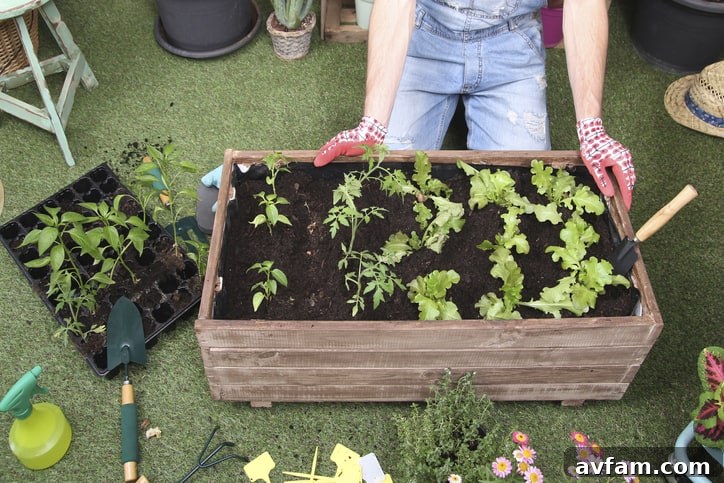
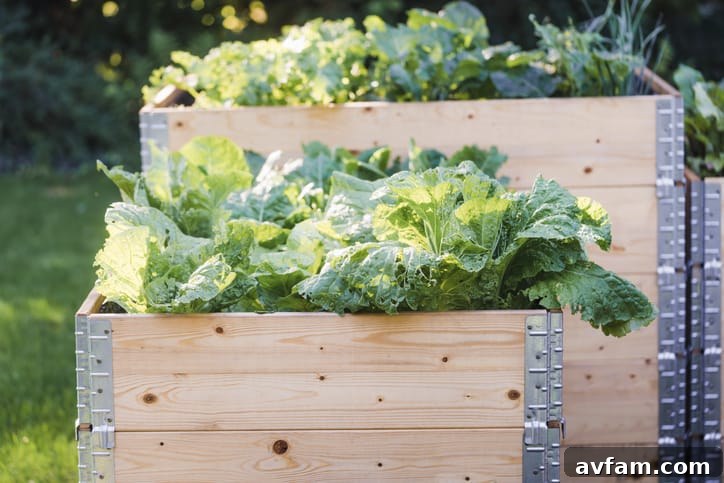
This post is proudly sponsored by Humboldt Redwood. All opinions and experiences shared are 100% those of Timothy Dahl of Charles & Hudson.