
Professional window installation often looks deceptively simple: a crew lifts a unit into an opening, secures it, and moves on. The real difference between a tidy, long-lasting job and one that leaks or binds over time is the equipment and how it’s used. The right tools remove guesswork, speed the process, and prevent common failures that show up months or years later.
Many how-to guides concentrate on the basic steps and downplay the tools that ensure accuracy and longevity. In climates with hot summers and freezing winters, like Boise, small mistakes in fitting or sealing become obvious as drafts, sticking sashes, or water damage. Before you approve a window replacement project, it helps to understand the tools installers rely on and what each tool contributes to the final result.
Why the right tools change everything
Experienced crews aren’t fast simply because of skill; they design their process around tools that eliminate uncertainty. Laser levels check plumb, level, and square in seconds. Foam guns dispense consistent amounts of insulating foam. Quality caulking guns produce smooth, durable beads. Each specialized tool prevents a type of failure that costs time and money if skipped or improvised.
For a typical multi-window job, crews bring more than a drill and good intentions. They invest in equipment because poor installation shows up later—drafts, misaligned frames, binding sashes, or moisture behind trim. A portion of the installation cost covers this tooling and the craftsmanship that uses it correctly.
Essential professional window installation tools
Professional laser levels (typically $150–$400) provide durable, multi-plane accuracy for frequent use. For a single window, a reliable consumer laser ($50–$80) can be accurate enough but takes more hands-on calibration. Even a quarter-inch misalignment compounds into glass stress, air leaks, and water ingress. Using a laser to check all planes simultaneously saves time and prevents those problems.
Longevity shows after installation: a square, plumb window will operate smoothly for decades, while an off-square unit becomes increasingly difficult to open and close until it fails.
Pry bars and removal tools
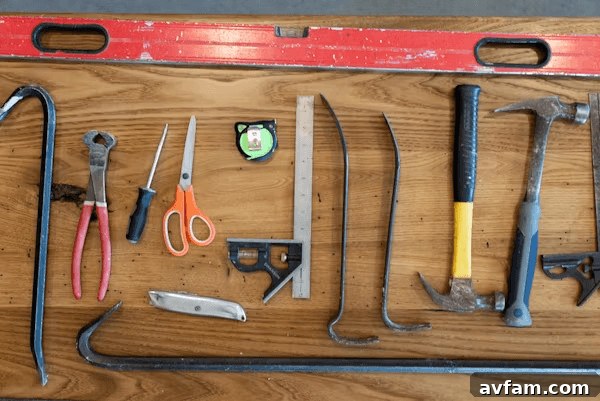
Removing an existing window can quickly become destructive without the right tools. Professionals use flat pry bars with protective pads and oscillating multi-tools with cutting attachments to separate fasteners and sealants cleanly. The aim is controlled extraction that preserves surrounding drywall, trim, and the sill. Home improvised methods often damage finishes and create repair work that’s unnecessary.
Using proper removal tools protects what remains in place while allowing safe extraction of the old unit.
Expanding foam guns
Expanding foam application is a key distinction between pros and DIYers. A basic foam gun looks simple and costs $15–$30, but poor technique can cause problems: too much foam bows the frame, too little leaves insulating gaps. Professional-grade dispensers and a practiced hand deliver precise, measured fills that secure the unit without distorting the frame. Properly trimmed foam contributes to long-term airtightness and thermal performance.
A skilled installer applies small, controlled bursts and trims excess for a neat finish—details that matter when you’re investing in quality installation.
Caulking and sealant systems
Good caulking guns ($25–$40) and the right sealants make the difference between professional beads and messy joints. Installers typically have several guns loaded with different products—exterior-grade sealant under the sill, paintable interior sealant, and specialized flashing materials. Choosing the wrong sealant for the application leads to premature failure, especially through freeze-thaw cycles.
Window fitting tools: the overlooked essentials
| Tool | Cost | Why It Matters |
| Shim stock (cedar or plastic) | $5-10 | Precise leveling and stable support without gaps |
| Finish nailer (casing nailer) | $80-120 | Secure trim cleanly without splitting or visible damage |
| Utility knife (sharp) | $8-15 | Clean cuts for caulk and trim for a finished look |
| Oscillating multi-tool | $50-150 | Precise cutting, trimming shims, and removing old sealant |
| Cordless impact driver | $60-150 | Controlled fastening with adjustable torque to protect frames |
Shims: the unsung heroes
Shims—small cedar or plastic wedges—fill gaps between the window frame and the rough opening. DIYers sometimes use cardboard or scrap wood, which compresses or degrades. Pre-cut shim sets let installers position frames plumb and level so the unit operates smoothly for years. Proper shimming prevents the slight movements that lead to sticky sashes and reduced lifespan.
Impact driver and torque control
A cordless impact driver is common on every job, but torque control is critical. Over-torquing strips fasteners or deforms frames; under-torquing leaves the unit insecure. Professionals adjust torque for materials—vinyl, wood, or aluminum—and for fastener length. That experience preserves the frame and ensures a secure, lasting installation.
The oscillating multi-tool
The oscillating multi-tool is versatile and handles a large share of detailed tasks: cutting old caulk, trimming shims flush, and making small trim adjustments. It reduces tool changes and speeds work, turning what might be a full day into a half-day when used by someone who knows how to employ it effectively.
What works for DIY window projects without overspending
You don’t need a pro’s full arsenal to replace a single window, but having a targeted set of quality tools matters. A practical DIY kit includes a reliable laser level, a pry bar set, a good caulking gun with exterior caulk, an expanding foam gun, a drill-driver with impact capability, a sharp utility knife, and shim stock. Altogether, these essentials typically total $245–$255—an investment that pays off if you plan multiple projects.
- Quality laser level – $50-80
- Pry bar set – $30-40
- Caulking gun + exterior caulk – ~$25
- Expanding foam gun – ~$20
- Drill-driver with impact setting – $60-80
- Sharp utility knife – ~$10
- Shim stock – ~$8
Total investment: approximately $245–$255 for a practical, reusable toolset that supports a proper installation.
The honest conversation about hiring professionals
Deciding between DIY and hiring a professional depends on your comfort level, time, and whether you’ll reuse the tools. Each route has trade-offs. Professionals have made equipment investments and learned techniques that avoid common failures—off-square frames, improper seals, or rushed caulking—that can ruin otherwise good windows. Asking contractors about the tools they use, whether they own them, and how they apply foam and sealants reveals their commitment to quality control.
A properly installed window should operate smoothly, be well supported, and form a weather-resistant barrier. The tools themselves go back into the truck, but the quality they enable remains every time the window opens, closes, or keeps out the elements.
Understanding the equipment and process helps homeowners evaluate bids and set reasonable expectations. When contractors demonstrate a staged method—measurement, careful installation, and a walkthrough inspection—it shows attention to detail and reduces the chance of costly callbacks.
Final take: tools define quality
Tools aren’t just about speed; they ensure the job is done right the first time. Whether you hire a professional or tackle a window replacement yourself, knowing which tools matter and why will help you make smarter choices and get lasting results. Proper equipment and experienced use prevent drafts, sticking sashes, and water damage—outcomes that define a quality window installation.