
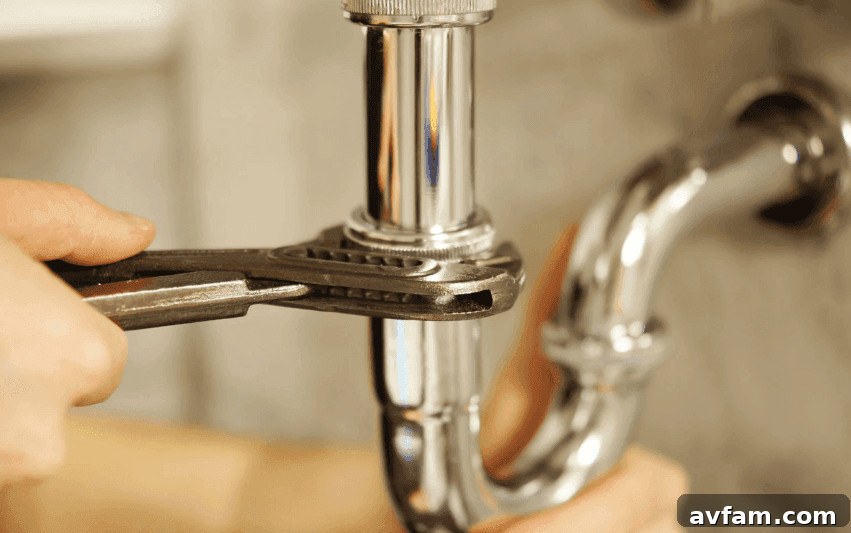
Even the smallest plumbing task in a home is often more complicated than it looks at first glance. A straightforward vanity swap can stall when a shutoff valve won’t budge. A simple shelf or laundry-room project can become frustrating if a supply line behind the washer is sweating. A brief, methodical inspection before you start work can save time, money, and a lot of headaches.
For a quick pre-job check, you don’t need fancy tools. A flashlight, a towel, a small adjustable wrench, a phone for photos, and a well-used bucket are usually enough. If anything about the setup looks questionable, it’s better to know before you remove cabinets, open floors, or find the house without a working sink.
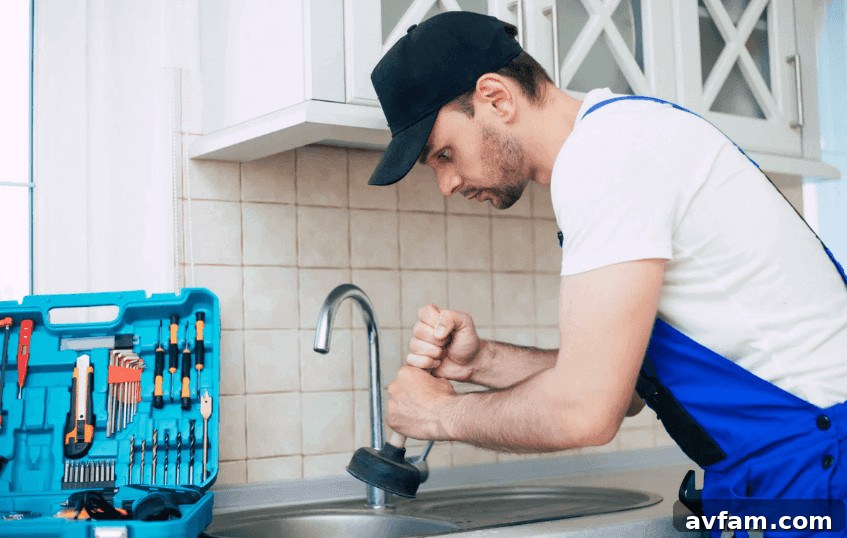
Start with the shutoff valves.
Always begin by checking the shutoff valves, not the fixture itself. If you can’t stop the water cleanly, don’t start the project. Under-sink valves may look fine until they are turned after years of inactivity. Some close smoothly, some drip, and some handles feel like they may break. Toilets can behave the same way. Finding a frozen or leaky valve during a quiet inspection is far better than discovering it after the tank or sink is already disassembled.
Look under the cabinet before buying parts.
It’s tempting to buy the attractive faucet or vanity first, but the real story is under the cabinet. Old supply lines, the drain trap, wall pipes, and shutoffs determine whether the installation will be straightforward. Before you purchase anything, use a flashlight to inspect the space for water stains, swollen cabinet floors, mineral buildup, soft drywall, rusted fittings, or trap assemblies that have been patched repeatedly.
| What to check | What should look good | What should make the project pause |
| Shutoff valves | Dry, accessible, smooth operation | Drips, seized handles, corrosion |
| Supply lines | Flexible, clean, free of kinks | Cracks, rust, bulging |
| Drain trap | Tight joints, proper alignment | Leaks, tape patches, awkward angles |
| Cabinet floor | Dry wood or solid paneling | Swelling, stains, soft spots |
| Wall opening | Clean pipe entry, dry drywall | Damp drywall, musty odor |
Know when to call a professional.
Some repairs are appropriate for a confident DIYer: swapping a faucet, replacing a supply line, clearing a simple trap, changing a toilet fill valve, or tightening an accessible leak are all manageable when the work is straightforward and visible. But not every plumbing task belongs on the weekend project list.
Call a licensed plumber for gas lines, sewer-line problems, water heater failures, hidden or chronic leaks, old galvanized piping, slab leaks, or any work that requires code knowledge or a permit. Having a local professional’s number saved before you pull fixtures or open walls avoids delays and stress when a problem turns out to be larger than expected.
Check the water heater even if your work is elsewhere.
Homeowners often forget the water heater until it causes trouble. If your project involves multiple fixtures or may affect water supply, take a moment to inspect the heater. Check the drain pan, floor area, valve condition, and signs of rust or mineral deposits. If the unit is in a closet or tucked away, a quick look is still worthwhile. A visibly corroded or leaking water heater should pause additional plumbing work until the condition is assessed.
Age alone doesn’t guarantee failure, but rust or crusting around fittings, leaking connections, or a saturated pan are red flags. Address those issues first or consult a professional before proceeding with other plumbing tasks.
Don’t forget outdoor plumbing.
Outdoor spigots, hose bibs, irrigation lines, and exposed pipes take a beating from sun, temperature changes, lawn equipment, and general use. Small leaks at hose connections can soak soil for weeks before they are noticed. Before spring yard work or washing projects, turn on the spigot and watch the siding and foundation. Water should flow from the spout only; if it runs behind siding, down the wall, or back through the handle, repair it before it causes damage.
Outdoor plumbing matters for anyone who stores gear, uses a utility sink, or relies on an outdoor shower or hose station. Addressing leaks early prevents them from getting worse when you need the system most.
Pack a small plumbing kit.
Keeping a basic kit ready prevents a job from turning into an emergency trip to the hardware store. A simple kit should include an adjustable wrench, tongue-and-groove pliers, a flashlight or headlamp, a small bucket, old towels, plumber’s tape, a replacement supply line, a utility knife, gloves, and a phone for photos.
Photos are especially useful. Document connections and pipe layouts before disconnecting anything, so reassembly is straightforward and less stressful.
Watch the first hour after the repair.
Finishing a repair means more than turning the water back on. Test faucets, flush toilets, fill and drain sinks, and check every joint with a dry paper towel. If the towel picks up moisture, fix the leak before putting tools away. Recheck the repair after some time under pressure; a connection that seems dry at first can start to weep after the system sits under pressure for a while.
The repair you skip usually returns.
Rushed plumbing work often comes back to cause headaches. A loose trap, a worn valve, or a tiny ignored leak may seem insignificant during a busy weekend, but water only needs time to create damage. DIY plumbing is sensible when the job is clear, low-risk, and visible. Knowing your limits and taking a careful approach keeps the house dry, the project on schedule, and a small repair from becoming a major problem.