
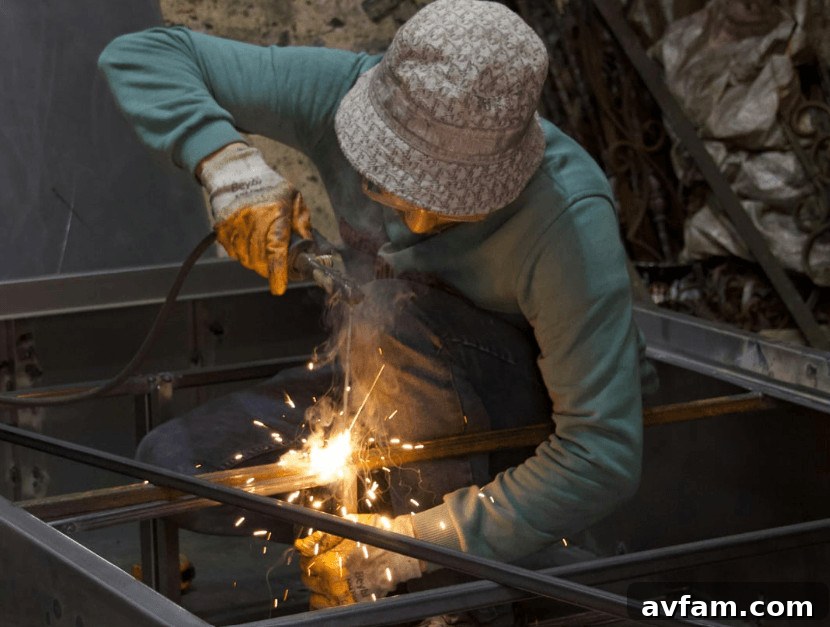
If you spend enough time building and repairing things in your garage, you eventually reach a point where wood, standard fasteners, and off‑the‑shelf hardware no longer meet your needs.
There’s a natural “hard way to easy way” progression in any trade or serious hobby: once basic materials limit your results, it’s time to move up to new techniques and tools.
Learning metalworking changes the game. It lets you repair broken trailer brackets, build heavy workbench frames, modify truck parts to fit precisely, and fabricate small replacement parts instead of making repeated trips to the hardware store for compromises.
Researching metalworking tools for a home workshop can feel like leafing through an industrial catalog, but it doesn’t have to be overwhelming. You don’t need a full manufacturing plant to do meaningful work.
What you need is a practical setup that fits the projects you actually want to tackle—one that lets you cut, grind, and join metal effectively and safely.
Start With the Projects You Actually Want to Build or Repair
When beginning, avoid the temptation to buy every flashy tool you see. Let the projects you intend to build or repair determine which tools you buy first.
Think in terms of capability. If your focus is outdoor home repairs—loosening seized bolts on a gate, modifying grill hardware, or replacing simple brackets—basic cutting and drilling tools will carry you a long way.
If your plans include building a utility trailer from structural tubing or producing repeatable custom spacers and bushings, you’ll need machines that deliver precision and repeatability.
The equipment list for someone who does occasional garage repairs looks very different from the list for a weekend warrior who modifies off‑road truck gear constantly. Look at the projects on your bench now and let those tasks guide your first purchases.
Make Space for Metal Before Buying More Tools
Metalworking requires a different workspace mindset than woodworking. Before bringing in new equipment, prepare your shop so metal cutting, grinding, and assembly can happen safely.
Start with a heavy, sturdy workbench and a securely mounted bench vise. Create a dedicated fire‑safe work zone: sparks travel farther than you expect, and safe hot‑work practice commonly calls for a wide clearance around combustible materials.
Keep sparks away from sawdust, solvents, and any cardboard templates. Ensure good, even overhead lighting for marking, drilling, and fitting parts. Ventilation is essential—make sure exhaust fans provide adequate fresh makeup air and remove grinding dust effectively.
Invest in heavy‑duty electrical safety: use properly rated extension cords, replace damaged cords, and add GFCI protection where moisture or grounded metal increases shock risk.
The Starter Metalworking Tools to Add First
Begin with tools that let you hold, cut, drill, shape, and measure metal reliably. A high‑quality angle grinder, a solid bench vise, a good cordless drill system, and a reliable drill press form a practical foundation.
Add layout essentials: a spring‑loaded center punch to prevent drill bit wander, a combination square, and calipers. Stock cutoff wheels, deburring files, clamps, and nonnegotiable hearing and eye protection.
As you move from modifying parts to making them, accuracy becomes more important. A grinder and drill handle many fixes, but producing small spacers, bushings, sleeves, knobs, and threaded parts is where a bench or toolroom lathe becomes valuable.
Cutting, Drilling, Grinding, and Joining Are the Core Capabilities
Most home metalworking comes down to four basic skills: cutting metal to size, drilling accurate holes, grinding edges and surfaces, and joining components.
For cutting, options include hacksaws, metal‑cutting circular saw blades, bandsaws, or an angle grinder with cutoff wheels. A drill press improves hole accuracy over hand‑held drilling by keeping the bit aligned and perpendicular when set up correctly.
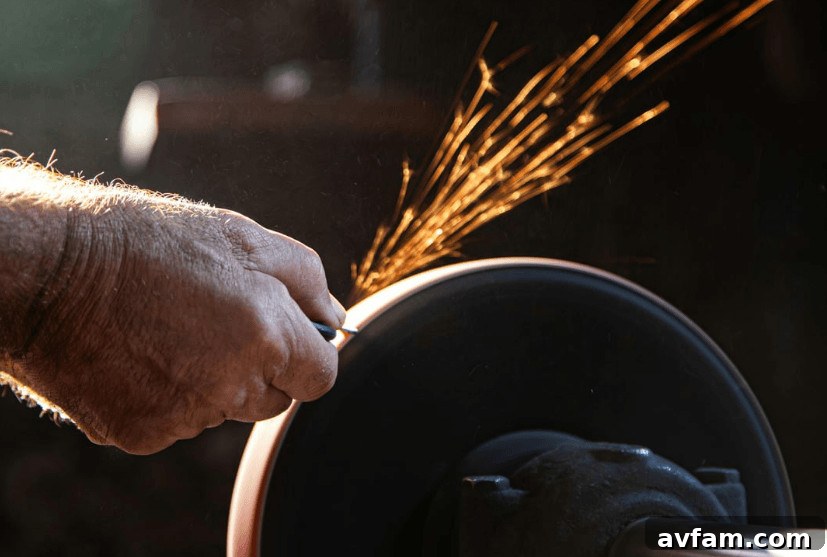
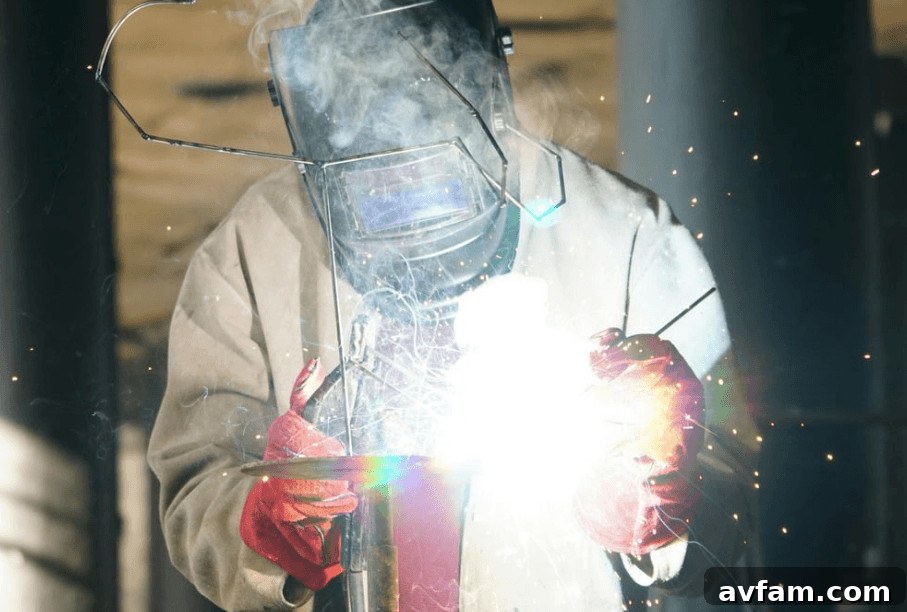
Grinding smooths sharp edges, removes surface rust, and cleans mill scale from hot‑rolled steel. Joining creates structures: welding is powerful, but mechanical fastening with heavy bolts, rivets, or custom brackets often solves many problems without a welder.
In practice, a typical repair might look like slicing off a rusted trailer bracket with a cutoff wheel, grinding the frame clean, and drilling fresh holes to bolt on a stronger mounting plate.
When Basic DIY Tools Are Not Enough
Basic tools are great for rough fabrication, but precision work requires more mechanical control. You’ll outgrow a simple setup when you need repeatable parts, turned cylindrical components, or tightly fitting spacers and bushings.
Rough fabrication cuts and joins shapes; precision machining lets you repair older equipment, modify tools, or build custom hardware for demanding projects. Serious machines—lathes, milling machines, and heavy drill presses—are investments that deserve consideration only when repeated project needs justify the space, cost, and learning curve.
Beginner Metalworking Projects That Build Real Skill
The fastest way to build confidence is to tackle practical projects that solve problems in your own garage or yard. Start small and focus on projects that teach specific skills:
- A welded or bolted workbench frame: teaches layout, measurement, and squaring heavy parts.
- A simple wall‑mounted tool rack: builds skills in cutting light steel, drilling evenly spaced holes, and deburring.
- A trailer tie‑down bracket: introduces thicker materials, prepping rusty metal, and using heavy fasteners or structural welds.
- A gate latch repair: forces you to learn grinding techniques and safe removal of seized hardware without damaging surrounding structure.
- A replacement spacer or bushing: perfect for learning precision measuring, drilling, and finishing round stock.
- A shop jig or garden‑tool holder: refines layout skills—using templates, center‑punching, and secure fastening.
Each project builds practical muscle memory and increases competence step by step.
Safety Habits Matter More Than Fancy Equipment
Metalworking brings heat, sparks, sharp edges, loud noise, airborne dust, and heavy materials into your workspace. Safety must guide every action rather than be an afterthought.
Keep a properly rated fire extinguisher handy. Allow hot metal to cool naturally and deburr edges right after cutting to avoid accidental cuts later. Always wear eye protection; a face shield is a useful supplement but never a substitute for safety glasses. Use hearing protection for grinders and wear appropriate respiratory protection when producing dust.
Ensure strong ventilation, clamp work securely, avoid loose clothing near rotating tools, and use heavy gloves when handling hot or rough parts. These habits reduce risk far more than any single fancy tool.
Build Capability in Stages, Not All at Once
Your home workshop doesn’t need to become a commercial machine shop overnight. The most efficient path is to expand in deliberate stages:
- Stage 1: Basic holding, measuring, and cutting tools—bench vise, tape measure, cutoff wheels.
- Stage 2: Better drilling, grinding, and layout tools—drill press, flap discs, center punches.
- Stage 3: Heavy‑duty joining tools—mechanical fastening setups or a reliable MIG welder.
- Stage 4: Precision machinery—lathe or milling machine, added only when projects demand them.
Upgrade when repeated problems justify a new capability. A tool earns its place in your shop by solving real, recurring issues.
Next Steps
Adding metalworking capability makes you more self‑reliant and precise with custom builds and repairs. Start with a single real project, identify the metalworking steps it requires, and upgrade tools accordingly. A well‑grown workshop gains one useful capability at a time.