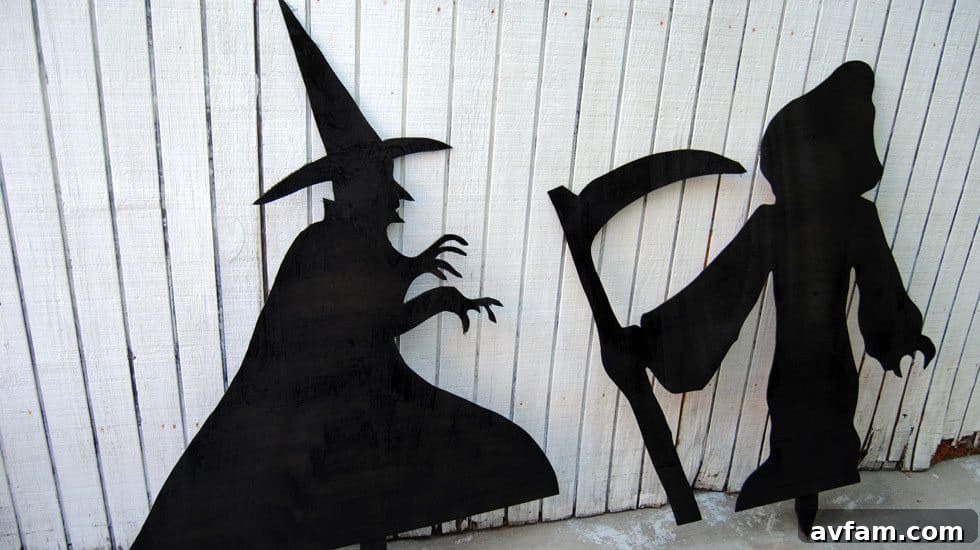
As the leaves begin to turn and a crisp chill fills the air, Halloween emerges as the beloved kick-off to the holiday season. Instead of relying on generic, store-bought decorations, imagine transforming your yard into a uniquely spooky spectacle with handmade Halloween silhouettes. These captivating and eerie creations are not only perfect for adorning your outdoor space but are also surprisingly simple to craft, requiring only a few basic supplies readily available at your local home improvement store. Embrace your inner ghoul and get ready to impress trick-or-treaters and neighbors alike with custom yard art that truly embodies the spirit of the season.
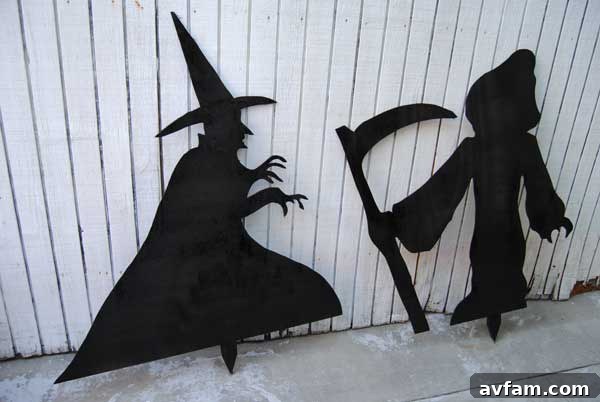
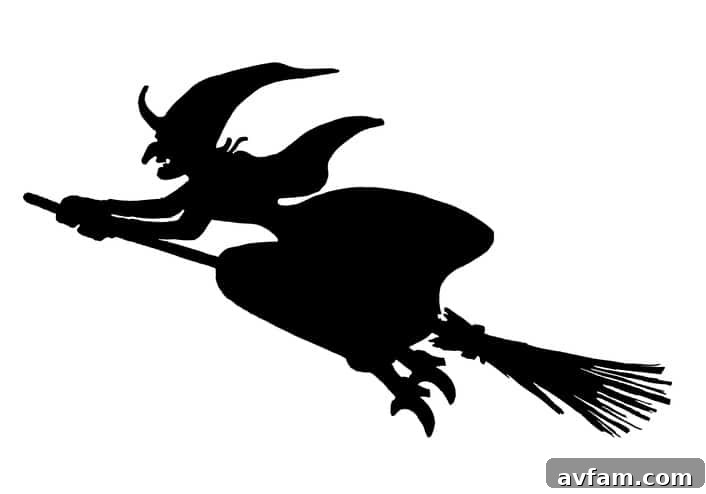
For us, a classic Witch and a menacing Grim Reaper proved to be the quintessential scary characters to bring to life. However, the possibilities for creating your own terrifying figures are virtually limitless. Envision a lurking black cat with glowing eyes, a chilling headless horseman galloping across your lawn, or even a spectral ghost hovering by your doorway. The true magic lies in your imagination. Dive into your creative reserves and choose a silhouette character that you believe will cast the most frightful shadow and send delightful shivers down the spines of both you and the neighborhood kids.
Looking for more ways to celebrate the spooky season with your hands? Discover an array of other Halloween Projects designed for every skill level, all available on Built by Kids.
Essential Tools and Materials for Your Spooky Silhouettes
Before you embark on your journey to create unforgettable Halloween yard art, it’s crucial to gather all the necessary tools and materials. Many of these items you might already own, or they can be easily purchased from your local hardware store or craft supply shop. Prioritizing safety is paramount, especially when working with power tools, so ensure you have the appropriate personal protective equipment (PPE) on hand.
Tools You’ll Need:
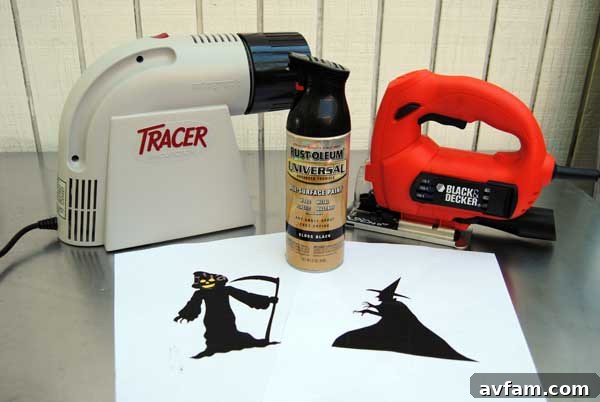
- Jigsaw: This is your primary cutting tool for intricate shapes. A quality jigsaw with various blade options will make the job much smoother.
- Screwdriver or Screw Gun: Essential for attaching stakes securely to your plywood figures. A screw gun (cordless drill) will significantly speed up this process.
- Tracer (Projector): A projector is invaluable for easily scaling and tracing your chosen patterns onto large sheets of plywood.
- Sharpie Pen: For outlining your characters on the plywood, a thick, permanent marker ensures clear lines for cutting.
- Safety Goggles/Glasses: Absolutely vital to protect your eyes from sawdust and debris during cutting.
- 3M TEKK Valved Respirator: Protects your lungs from fine dust particles generated during cutting and paint fumes during spraying.
- 3M TEKK Corded Earplugs: Power tools like jigsaws can be loud; ear protection is crucial to prevent hearing damage.
- Work Gloves: Protect your hands from splinters, sharp edges, and paint.
Materials to Acquire:
- Plywood (1/4″ or 1/2″ thick): One sheet of plywood (typically 4’x8′) should be sufficient for two standard-sized characters, as each character generally requires a 4’x4′ section. For increased durability and resistance to weather, consider using 1/2″ thick plywood. Sanded plywood will give you a smoother finish but comes at a higher cost.
- Self-Tapping Wood Screws (approx. 1 inch): You’ll need about 6-8 screws per character to securely attach the stakes. Choose screws that are long enough to hold firmly but not so long they protrude too far through the other side of the stake.
- Stakes (2 per character): Wood furring strips (1″x2″ or 2″x2″) or metal fence stakes are suitable. Metal stakes offer superior durability and can be driven deeper into the ground for greater stability.
- Patterns: Digital or printed patterns of your chosen Halloween silhouettes.
- Exterior Paint (e.g., Rust-Oleum all-purpose spray paint or exterior house paint): Black is classic for silhouettes, but feel free to experiment with other dark colors. Ensure the paint is suitable for outdoor use and weather resistance.
- Primer (Optional but Recommended): Especially if using lighter paint colors or if you want to ensure better adhesion and coverage on plywood.
This project is designed to be completed in just a few hours, making it a perfect weekend activity. While kids of all ages can enthusiastically participate in many aspects—like choosing patterns, tracing (with supervision), and especially painting—operating the jigsaw is strictly recommended for skilled teenagers and adults who are fully aware of and observe proper safety protocols. For those without a jigsaw, a hand saw can be used, though it will require more time and effort to cut out the shapes, particularly for intricate details.
During our material run, in addition to the plywood and wooden stakes we picked up at Lowe’s, we also made sure to grab a valved respirator and corded earplugs. These essential safety items are a small investment for protecting your health during DIY projects.
Don’t stop the Halloween crafting fun here! Our other favorite DIY Halloween Projects include detailed guides like How to Make Halloween Ghosts and Apparitions and expert advice on the Best Pumpkin Carving Tools for Kids, ensuring your holiday is filled with handmade frights and delights.
Step 1 – Finding or Creating Your Perfect Patterns
The foundation of any great Halloween silhouette lies in a compelling design. Fortunately, the internet is a treasure trove of silhouette patterns. A quick search for “Halloween silhouette patterns,” “witch silhouette,” or “grim reaper outline” will yield countless options. Choose designs that are clear, distinct, and suitable for scaling up. We opted for classic witch and grim reaper designs, which we’ve conveniently provided links for here. For ease of initial printing and scaling, download and print your chosen patterns so they are approximately 5 inches across.
Download the Witch and Grim Reaper patterns we used to get started.
If you’re feeling extra creative, you can even draw your own unique characters. Start with a small sketch, then refine it into a bold outline. Remember, simpler shapes are often more impactful as silhouettes and easier to cut.
Step 2 – Transferring Your Design to Plywood
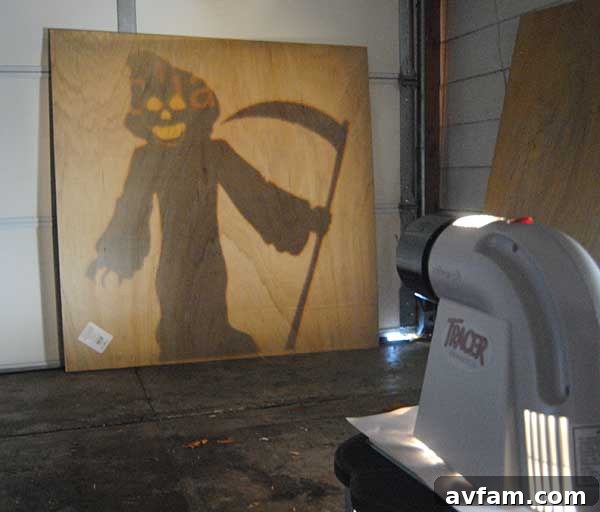
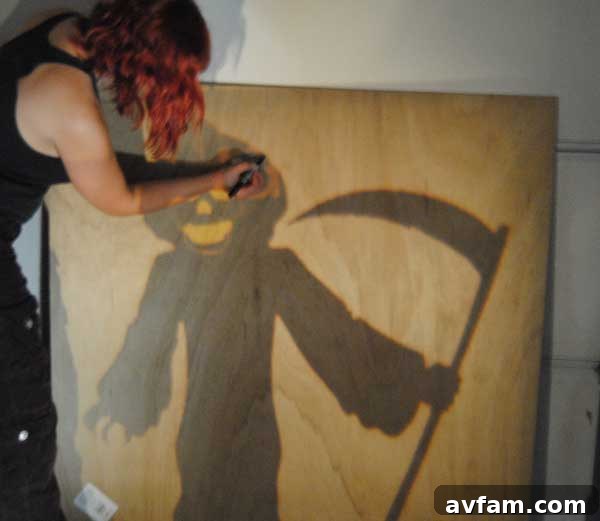
Once you have your desired pattern, the next crucial step is to transfer it accurately onto your plywood. Tracers, often referred to as projectors, are incredibly useful tools for scaling small patterns onto larger surfaces and can be found at most hobby or craft stores. They make creating large-scale projects like these much simpler and more precise.
To use a projector, find a dimly lit space, such as a garage or basement. Position your plywood against a flat surface, like a wall or garage door. Set up your projector at an appropriate distance to project your small pattern onto the plywood, adjusting the focus and size until your character is the desired height and width for your yard. Using a bold Sharpie pen, carefully trace the projected outline onto the plywood. Take your time to ensure all details are captured accurately. A steady hand here will lead to a cleaner cut in the next step.
Alternative Tracing Methods:
- Grid Method: If you don’t have a projector, you can use the grid method. Draw a grid over your small pattern and a corresponding larger grid (scaled up) onto your plywood. Then, draw the design square by square, referring to your small pattern.
- Carbon Paper: For smaller or less complex designs, you can tape carbon paper to the plywood, place your printed pattern on top, and trace over the lines with a pencil, transferring the image.
Step 3 – Precision Cutting for Spooky Shapes
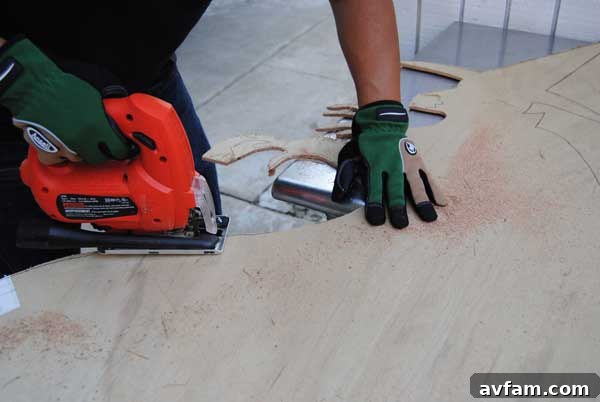
This step requires the most caution and adherence to safety protocols. Before starting your cuts, ensure you are wearing all your personal protective equipment: safety goggles, earplugs, a respirator, and work gloves. A well-ventilated workspace is also essential to disperse sawdust and paint fumes.
Using your jigsaw, carefully cut along the outline you’ve traced on the plywood. It’s important to have adequate clear space around your workpiece so you can easily maneuver the plywood as you cut, especially around curves and tight corners. Always keep your hands a safe distance away from the cutting blade, either even with or behind your cut line, and always cut away from your body. Never force the jigsaw; let the blade do the work, guiding it smoothly along the lines.
Cutting Tips for Success:
- Start with Larger Pieces: Begin by cutting out the main, larger sections of your character. This makes the piece more manageable.
- Tackle Smaller Details Last: Once the main shape is free, go back and carefully cut out the smaller, more intricate details, such as fingers, pointed hats, or flowing cloaks.
- Support Your Work: Ensure the plywood is well-supported on saw horses or a sturdy workbench. If a section is unsupported, it might splinter or break off prematurely.
- Blade Choice: Use a blade designed for cutting wood. Finer-toothed blades will result in cleaner cuts but might cut slower.
- Pilot Holes: For internal cuts (e.g., inside a witch’s hat), drill a pilot hole large enough to insert your jigsaw blade before starting the cut.
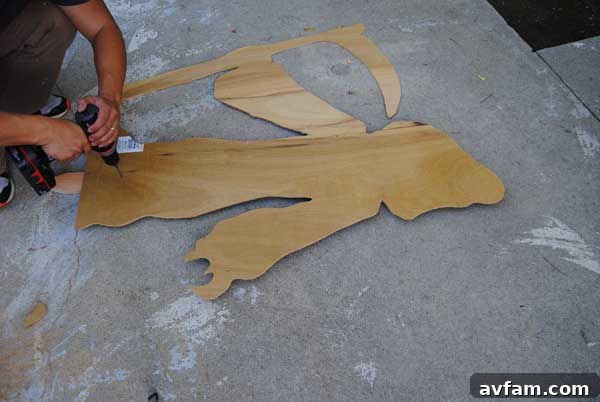
Step 4 – Securing Your Silhouettes: Attaching the Stakes
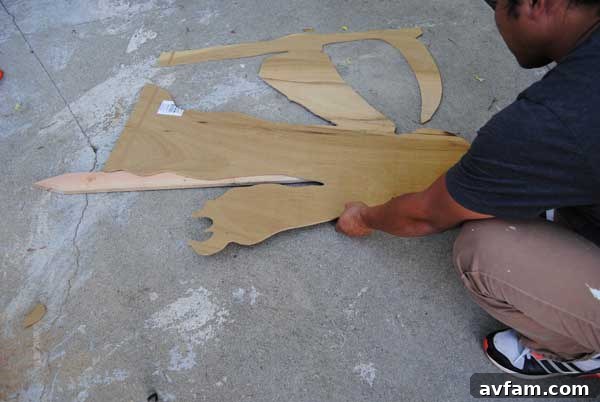
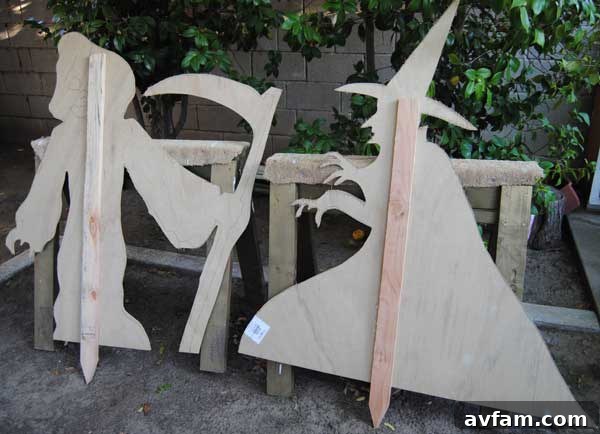
This step is essential for displaying your spooky creations outdoors. If you plan to simply lean your characters against a wall or fence, you can skip this step. However, for freestanding yard decorations that will withstand the elements, attaching sturdy stakes is crucial.
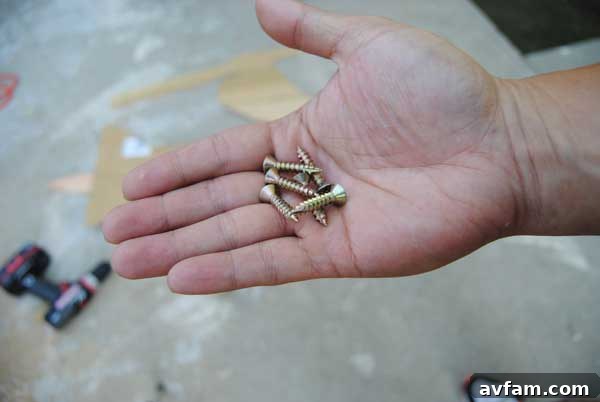
Position two stakes vertically on the back of each plywood character. For optimal stability, place one stake near the bottom and another closer to the middle or top, ensuring they are evenly spaced and provide good balance. Using your screwdriver or screw gun, attach the stakes to the plywood with self-tapping wood screws. Drive at least three screws into each stake to ensure a firm connection.
Important Safety Note: When selecting and inserting screws, make sure they are not so long that they will pass entirely through the stake and potentially protrude from the front, which could damage your character’s appearance or, more importantly, pose a hazard to anyone handling it. Measure carefully before driving the screws.
Stake Alternatives and Tips:
- Wooden Furring Strips: These are economical and easy to attach. Ensure they are treated for outdoor use or paint them along with your silhouettes for added protection.
- Metal Fence Stakes or Rebar: For superior durability and stability, especially in windy conditions or softer ground, consider using metal stakes. These can be driven deeper into the earth. You might need metal brackets or U-bolts to attach them securely to the plywood.
- L-Brackets: For very wide or heavy silhouettes, you might consider using small L-brackets in addition to screws to provide extra support between the plywood and the stakes.
Step 5 – Bringing Them to Life with Paint
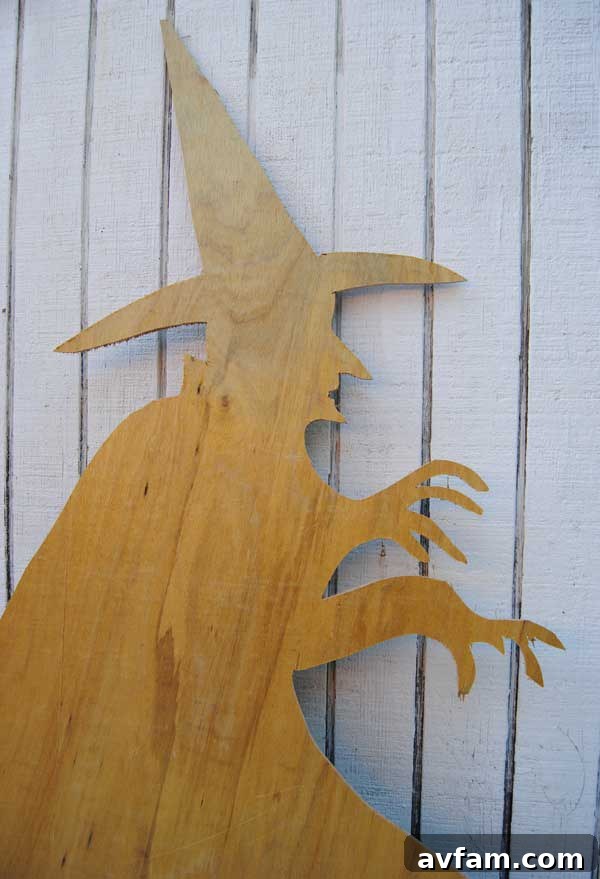
Now comes the artistic part – transforming your raw plywood cutouts into eerie figures with paint! While black is the traditional and most effective color for creating a stark silhouette effect, don’t hesitate to get creative if you envision something different. We used Rust-Oleum all-purpose spray paint, which is an excellent choice for its ease of application, quick drying time, and superior weather resistance, making it ideal for outdoor decorations.
Before painting, ensure your silhouettes are clean and free of sawdust. For best results, especially if you’re using a lighter color or want to ensure maximum adhesion and coverage, consider applying a coat of exterior primer first. Primer helps seal the wood, prevents the grain from showing through, and provides a uniform surface for your topcoat.
Painting Tips for Best Results:
- Work in a Well-Ventilated Area: This is especially important when using spray paint.
- Apply Thin, Even Coats: Multiple thin coats are always better than one thick coat, as thick coats can drip, run, and take longer to dry.
- Paint Both Sides: To significantly extend the life of your silhouettes and protect them from moisture (rain, snow, dew), paint both the front and back of each character. This acts as a protective seal against the elements.
- Consider Edge Painting: Don’t forget to paint the edges of your plywood for a complete and polished look.
- Get Creative: While black creates the classic silhouette effect, you could experiment with dark grays, deep purples, or even glow-in-the-dark paint for specific details if you wish.
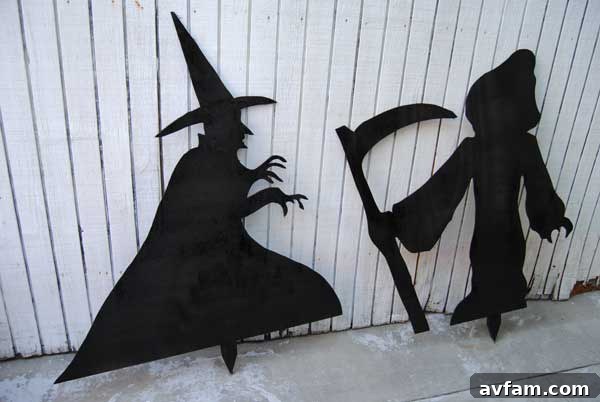
Step 6 – Drying and Strategic Setup
Patience is a virtue, especially when it comes to paint drying. Allow your newly painted Halloween silhouettes to dry completely, ideally overnight, or according to the paint manufacturer’s instructions. Rushing this step can lead to smudges, tackiness, or compromised durability.
Once thoroughly dry, it’s time for the most exciting part: choosing the perfect location in your yard to display your creations! Consider areas where they will be most visible to trick-or-treaters and passersby. Think about how natural light and any planned artificial lighting will interact with them to cast eerie shadows or highlight their spooky forms. Positioning them near shrubs, trees, or even against your house can enhance the overall haunted effect. Drive the stakes firmly into the ground, ensuring your characters stand upright and securely.
Halloween is undoubtedly the best time of the year to unleash your inner crafter, and there’s immense satisfaction in knowing that the most impressive and memorable Halloween decorations are often those you make yourself. These DIY silhouettes not only add a unique charm to your yard but also create lasting memories for your family and community.
More Tips for Building and Maintaining Your Halloween Silhouettes
After enjoying our Halloween silhouettes for several seasons, we’ve gathered a few valuable insights and improvements we’d strongly suggest for both their initial construction and long-term storage. These tips will help ensure your spooky creations last for many Halloweens to come, enduring various weather conditions and maintaining their frightful appeal.
- Upgrade Plywood Thickness: If you want your silhouettes to endure longer and withstand more severe weather conditions (wind, rain, light snow) better than 1/4″ plywood, opt for 1/2″ thick plywood. It provides significantly more durability and stability. For the cleanest, smoothest finish, especially if you plan detailed painting, check out sanded plywood, though be aware it will be more expensive.
- Seal with Paint on Both Sides: This cannot be stressed enough. Painting both sides of your silhouettes is critical for protecting the wood from moisture. Rain, snow, morning dew, and even general humidity can degrade unprotected plywood over time, causing it to warp, swell, or rot. A complete paint seal acts as a barrier, vastly extending their lifespan.
- Utilize Metal Fence Stakes: While wooden stakes are functional, metal fence stakes (like T-posts or rebar) offer superior longevity and stability. You can drive these stakes much deeper into the ground, providing a more robust anchor that will keep your spooky creations upright and secure throughout the entire Halloween season, even in blustery conditions. Attach them using U-bolts or strong metal straps if direct screwing isn’t possible.
- Proper Storage for Longevity: When the spooky season concludes, proper storage is key to preserving your decorations. Keep these flat decorations stored in a dry location, such as a garage, shed, or attic. Because they are flat, they can often be secured upright behind a workshop table, against a wall in a storage closet, or even hung flat against ceiling joists. Just make sure they are placed where they won’t be a tripping hazard or easily damaged by other stored items. Storing them flat and protected from moisture will prevent warping and paint chipping.
- Add Lighting for Enhanced Effect: Consider adding subtle LED spotlights, string lights, or even backlighting to your silhouettes. This can dramatically enhance their spooky presence at night, casting long, eerie shadows and making them truly stand out.
More Halloween Silhouette Ideas to Spark Your Imagination
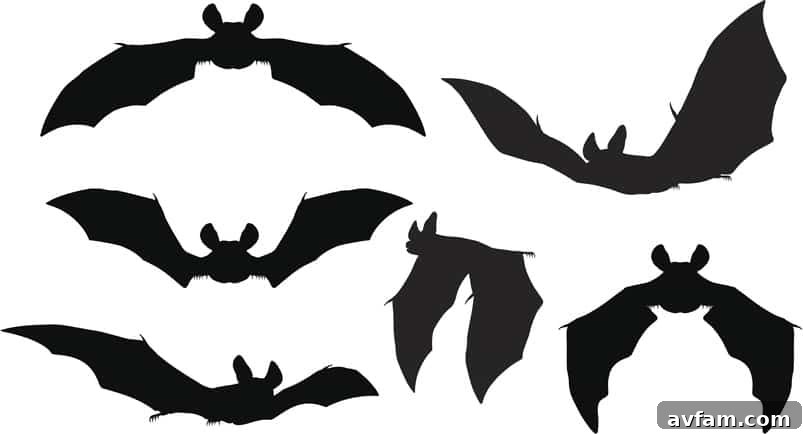
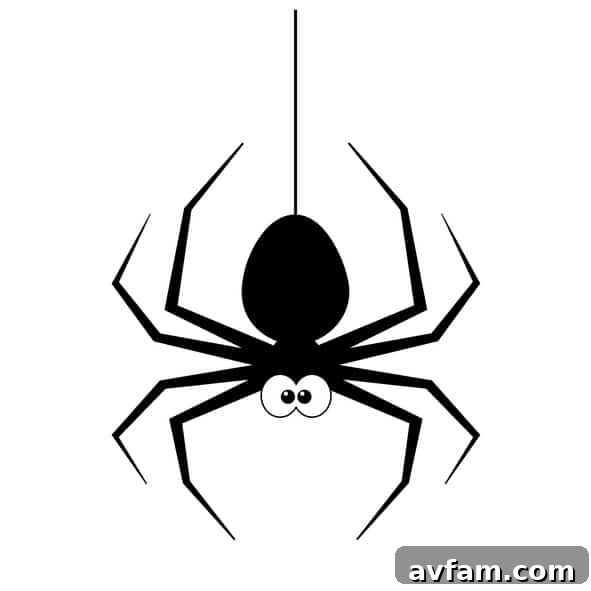
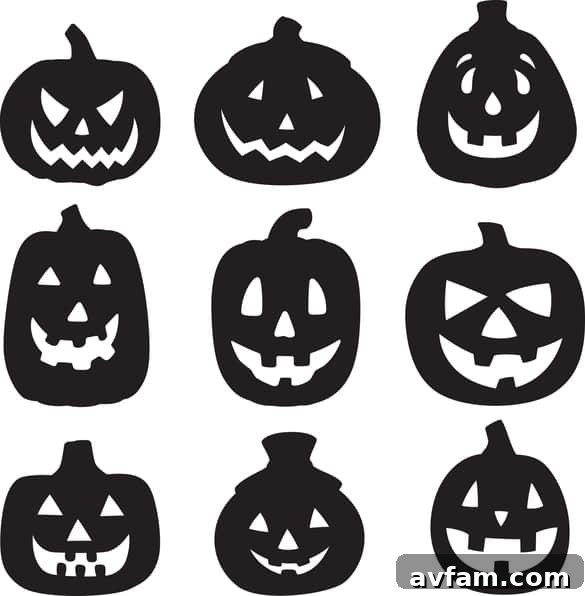
While witches and grim reapers are classic choices, the world of Halloween silhouettes is vast and wonderfully terrifying. Let these additional ideas, including bats, ghosts, jack-o’-lanterns, and spiders, inspire your next DIY project. Mix and match these elements to create a truly immersive and spooky scene in your yard!