
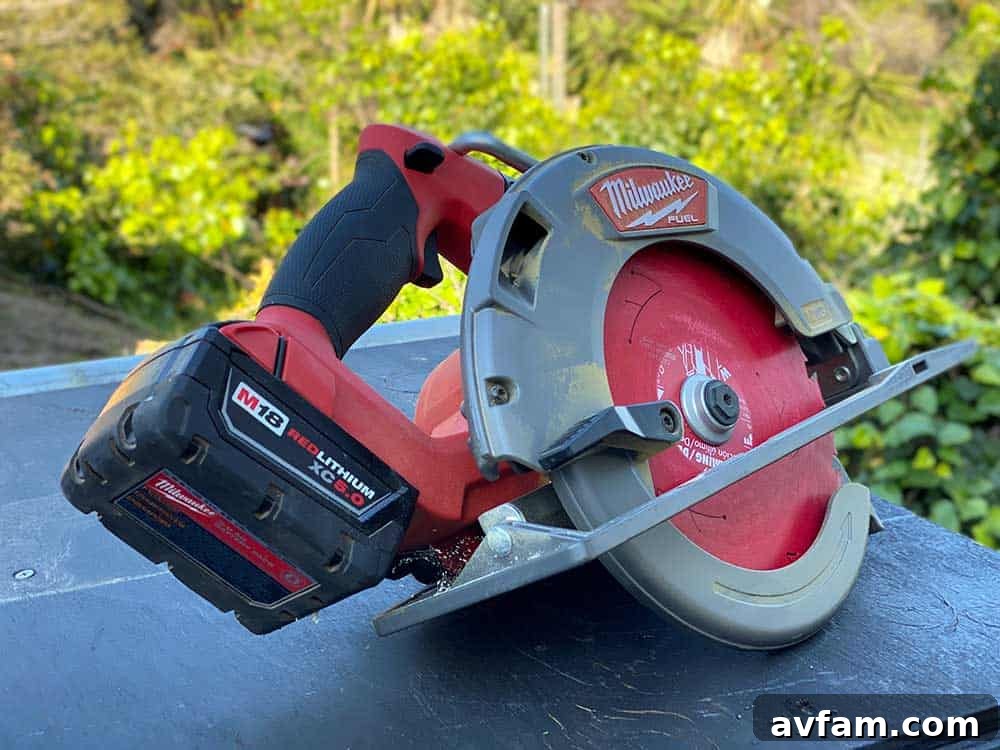
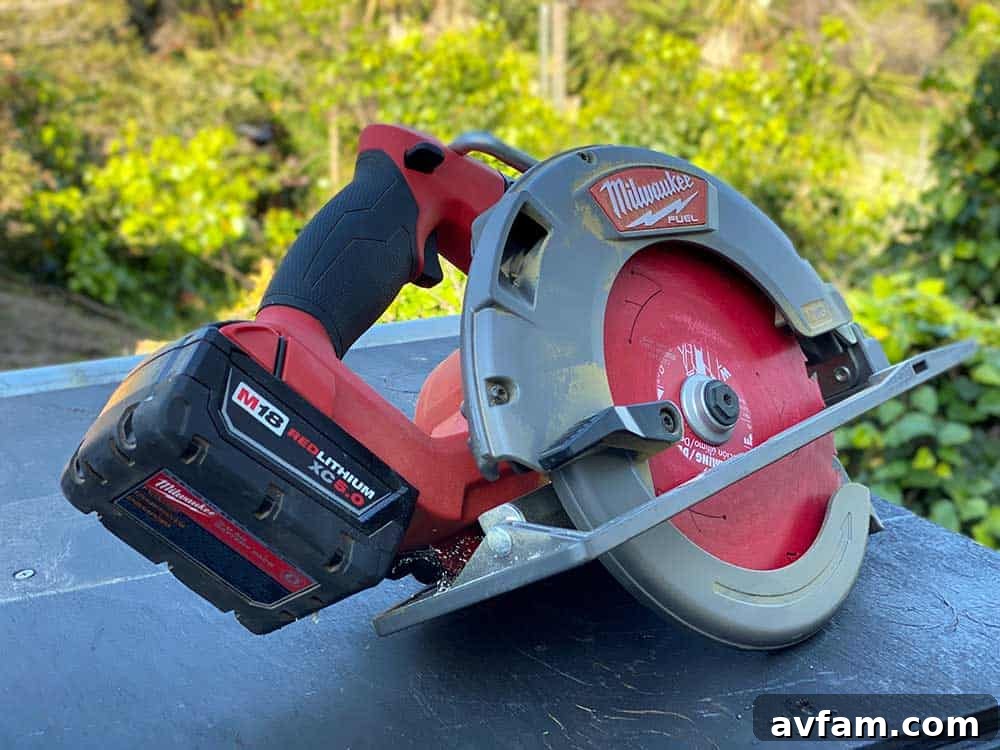
In any professional or DIY setting, tools are an extension of the worker. From busy construction sites and bustling mechanics’ garages to quiet home workshops, these instruments are constantly handled, shared, and exposed to various elements. What often goes unnoticed, however, is the invisible world of germs, bacteria, and viruses that can quickly accumulate on tool surfaces. Regular and proper tool cleaning isn’t just about aesthetics; it’s a critical practice for maintaining health, safety, and the longevity of your valuable equipment.
The importance of tool hygiene becomes even more pronounced in environments where tools are shared among multiple users throughout the day. Imagine a single wrench passing through numerous hands, each potentially transferring microscopic contaminants. Without a robust cleaning protocol, these tools can become unwitting vectors for illness, posing a risk not only to individual users but to entire teams. This comprehensive guide will delve into the best practices for cleaning your tools, ensuring they remain safe, functional, and free from harmful pathogens.
Why Tool Hygiene is Non-Negotiable
Maintaining clean tools extends beyond simple neatness; it’s a fundamental aspect of workplace safety and health. Uncleaned tools can harbor a surprising array of microorganisms, including common cold and flu viruses, bacteria like E. coli or Staphylococcus, and even more resilient pathogens. These contaminants can easily transfer from tool surfaces to hands, and subsequently, to the face, eyes, or mouth, leading to illness. This risk is particularly elevated in environments where cuts or abrasions are common, as pathogens can directly enter the bloodstream.
Beyond the direct health risks, neglected tool hygiene can also impact the tools themselves. Grime, dust, grease, and other residues can accumulate, hindering moving parts, obscuring critical markings, and even accelerating corrosion or wear. Regular cleaning helps preserve the functionality and extends the lifespan of your tools, protecting your investment and ensuring consistent performance. Adopting a proactive approach to tool cleaning is an investment in both personal well-being and operational efficiency.
Fundamental Personal Protective Measures
Before even beginning the cleaning process, or indeed, before handling any tools that might be contaminated, personal protective equipment (PPE) is your first line of defense. The most basic and essential piece of PPE for handling tools, especially if their cleanliness is uncertain, is a pair of gloves. Gloves create a barrier between your skin and potential contaminants, significantly reducing the risk of germ transmission. However, wearing gloves is not a license for complacency; it’s crucial to avoid touching your face while wearing them.
Immediately after removing your gloves, regardless of whether you believe they encountered contaminants, thorough handwashing with soap and water for at least 20 seconds is imperative. This step removes any residual pathogens that might have transferred to your hands during glove removal or through microscopic tears. If soap and water are unavailable, an alcohol-based hand sanitizer with at least 60% alcohol content can serve as a temporary alternative. For situations requiring direct handling of tools with bare hands, the cleaning protocols detailed below become even more critical to ensure the tools themselves are thoroughly sanitized.
Milwaukee Tool’s Recommended Cleaning Protocol for Non-Biohazard Contamination
Leading manufacturers like Milwaukee Tool provide clear guidelines to ensure the effective and safe cleaning of their products. The following protocol is specifically designed for tools that do NOT have blood or visible bodily fluids present. It’s vital to remember that these recommendations are harmonized with and subject to the broader advisories from esteemed public health organizations such as the Centers for Disease Control (CDC), the Occupational Safety and Health Administration (OSHA), and relevant state and local health departments. Always prioritize and adhere to the most current and applicable guidelines issued by these agencies for optimal safety.
- Prioritize Hand Hygiene: All individuals handling tools should rigorously wash their hands with soap and water or utilize an appropriate hand sanitizer both before and after tool use. This proactive measure significantly mitigates the risk of cross-contamination, protecting both the user and future users of the tool.
- Mandatory Personal Protective Equipment (PPE) and Training: Personnel engaged in tool handling, and especially those performing cleaning tasks, must be adequately trained in proper hygiene practices and the correct application of necessary Personal Protective Equipment (PPE). This may include gloves, safety glasses, and other protective gear pertinent to the task and environment. Proper training ensures effective protection against potential exposures.
- Approved Cleaning Agents are Key: Tools should be cleaned with a mild soap and a clean, damp cloth. Where disinfection is required, an approved, properly diluted bleach solution may be used, but only as specified. It is crucial to understand that many common cleaning agents and industrial solvents contain harsh chemicals that can severely damage tool components. Plastics, rubberized grips, and other insulated parts can degrade, crack, or become compromised when exposed to inappropriate cleaners. Always verify the compatibility of any cleaning agent with your specific tool materials.
- Avoid Harmful Conductive or Corrosive Materials: Milwaukee Tool explicitly advises against the use of cleaners that contain conductive or corrosive materials, particularly those containing ammonia. Substances like gasoline, turpentine, lacquer thinner, paint thinner, chlorinated cleaning solvents, undiluted ammonia, and household detergents containing ammonia are strictly prohibited. These chemicals can not only corrode metal components and compromise electrical insulation but also pose significant health and safety risks to the user through fumes and skin exposure.
- Never Use Flammable or Combustible Solvents: For obvious safety reasons, the use of flammable or combustible solvents in proximity to tools, especially power tools, is extremely dangerous and strictly forbidden. Such solvents present a severe fire and explosion hazard, which can lead to catastrophic injuries or property damage. Always work in well-ventilated areas and use non-flammable cleaning solutions.
Understanding Your Tool Cleaning Options
Depending on the level of contamination and the type of tool, different cleaning approaches may be more suitable. Below are two primary methods recommended for general tool cleaning, specifically when no blood or visible bodily fluids are present.
1. Mild Soap, Damp Cloth & Rest Period (Recommended for Batteries)
This method leverages the natural degradation period of certain viruses on surfaces, as advised by public health experts. If no blood or biohazardous material was present on the tool, a simple but effective approach involves physical cleaning followed by a resting period. The scientific basis for this method stems from research, such as findings from the CDC, indicating that many viruses may only remain viable and harmful on plastic and metal surfaces for a limited duration, often up to 72 hours (three days).
Procedure for Mild Soap & Rest:
- Initial Cleaning: Begin by gently cleaning the product surface with mild soap and a clean, damp cloth. The goal here is to physically remove any dirt, grease, grime, and other visible residues from the tool’s exterior. Ensure the cloth is damp, not dripping wet, to prevent excess moisture from entering sensitive components.
- Thorough Wiping: Carefully wipe down all accessible surfaces, including handles, grips, and housing, paying attention to crevices where dirt might accumulate.
- Air Drying: Allow the tool to air dry completely after the initial cleaning.
- Implement Resting Period: Once dry, the tool should be set aside and left undisturbed for a minimum of three full days (72 hours). This resting period allows any remaining viral particles to naturally degrade to a non-harmful state.
- Optional Secondary Cleaning: After the three-day rest period, the tool can be cleaned again with mild soap and a damp cloth if desired, particularly for aesthetic reasons or to remove any settled dust.
- Special Note for Batteries: This “Mild Soap & Rest” method is particularly recommended for cleaning tool batteries. Batteries contain sensitive electronic components that can be easily damaged by direct exposure to liquid disinfectants like bleach solutions. The primary concern for batteries is surface contamination, which this method effectively addresses without risking internal damage.
2. Mild Soap & Diluted Bleach Solution (Not Recommended for Batteries)
For a more immediate and potent disinfection, a diluted bleach solution can be highly effective, consistent with CDC guidelines for surface decontamination. This method is suitable for most tool surfaces, but extreme caution must be exercised to prevent the solution from entering the tool’s internal mechanisms, especially for power tools. It is explicitly NOT recommended for cleaning batteries due to the corrosive nature of bleach.
Detailed Procedure for Mild Soap & Diluted Bleach Solution:
- Pre-Clean the Product Surface: Before applying any disinfectant, it is crucial to first clean the product surface with mild soap and water. Use a clean, damp cloth to remove all visible dirt, grease, and grime. Bleach is a disinfectant, not a cleaner; its efficacy is significantly reduced in the presence of organic matter. This initial cleaning step ensures the bleach can act directly on microscopic pathogens.
- Prepare and Dip Cloth: Once the tool is clean, prepare your properly diluted bleach solution (mixing instructions below). Dip a clean, dedicated cloth into the dilute bleach solution. It is essential to use a separate cloth for the bleach application to avoid cross-contamination.
- Wring Out Excess Solution: Thoroughly wring out the cloth so that it is merely damp, not dripping wet. Excessive liquid can seep into electrical components or sensitive areas of the tool, leading to damage, corrosion, or electrical hazards. The goal is to apply a thin, even film of disinfectant.
- Gently Wipe Surfaces: Carefully wipe each handle, grasping surface, and all accessible outer surfaces of the tool with the damp, bleach-infused cloth. Exercise extreme care to ensure that no liquids flow into any openings, vents, battery terminals, or other internal parts of the tool. Pay close attention to textured grips and seams where germs might hide.
- Maintain Solution Purity: It is critically important that the diluted bleach solution should NEVER be mixed with ammonia or any other cleansers. Mixing bleach with ammonia, or with acids found in many household cleaners, can produce toxic gases (like chloramine gas) that are extremely dangerous, potentially causing severe respiratory damage or even death. Use the diluted bleach solution alone.
- Allow Surface to Air Dry Naturally: After wiping, allow the tool surface to air dry completely. Do not rinse the tool with water, as this will remove the disinfectant before it has had sufficient time to act. The bleach solution needs a contact time (usually a few minutes) to effectively kill pathogens.
- Post-Procedure Hand Hygiene: After completing the cleaning process, the cleaner must avoid touching their face with unwashed hands. Immediately and thoroughly wash hands with soap and water for at least 20 seconds. This prevents any potential transfer of chemicals or residual pathogens from the cleaning process.
Preparing a Properly Diluted Bleach Solution
Correct dilution is paramount for effective disinfection without causing unnecessary damage to tools or risks to the user. Using too strong a solution can be corrosive and dangerous, while too weak a solution will be ineffective. Always use regular, unscented household bleach (typically 5-6% sodium hypochlorite) and avoid “splash-less” or scented bleaches, which may contain additional ingredients that reduce efficacy or cause damage.
A properly diluted bleach solution can be made by mixing:
- 5 tablespoons (1/3rd cup) of bleach per gallon of water; or
- 4 teaspoons of bleach per quart of water.
Always mix bleach in a well-ventilated area and wear appropriate PPE, such as gloves and eye protection, to prevent skin and eye irritation. Prepare fresh solution daily, as bleach degrades over time, especially when diluted.
Advanced Cleaning: Addressing Bloodborne Pathogens
NOTE: If blood or other potentially infectious materials (OPIM) were present on the product, a significantly more advanced and stringent cleaning protocol is required. This falls under the category of Bloodborne Pathogen (BBP) cleanup, which is a serious matter with specific regulatory requirements.
Under OSHA (Occupational Safety and Health Administration) requirements, any individual tasked with performing this type of cleaning must be thoroughly trained in Bloodborne Pathogens and the proper use of necessary Personal Protective Equipment (PPE) for this work. This training covers understanding what bloodborne pathogens are (e.g., Hepatitis B, Hepatitis C, HIV), modes of transmission, exposure control plans, proper use of PPE (e.g., fluid-resistant gowns, heavy-duty gloves, face shields), safe disposal of contaminated materials, and post-exposure evaluation and follow-up.
Businesses must have established Bloodborne Pathogen protocols that adhere to OSHA’s Bloodborne Pathogens Standard (29 CFR 1910.1030). This includes having an exposure control plan, providing necessary PPE at no cost to employees, offering Hepatitis B vaccination, and ensuring proper biohazard waste disposal. Cleaning tools contaminated with blood requires specialized disinfectants (often EPA-registered tuberculocidal disinfectants or 1:10 bleach solution with a longer contact time), stringent containment measures, and adherence to universal precautions. If you encounter such a situation, do not proceed without proper training and adherence to your company’s specific BBP protocol. When in doubt, seek professional assistance for biohazard cleanup.
The Broader Impact of Consistent Tool Cleaning
Beyond immediate health and safety, adopting a culture of consistent tool cleaning contributes to a more efficient and professional working environment. Regularly cleaned tools perform better, last longer, and present a more professional image, whether in a commercial setting or a personal workshop. It minimizes downtime due to equipment failure caused by accumulated grime and reduces the likelihood of spreading illnesses that could impact productivity. By integrating these simple yet crucial cleaning practices into your daily routine, you safeguard your health, protect your investments, and uphold the highest standards of safety and professionalism.
Remember, the responsibility for tool hygiene lies with every user. Make it a habit to clean your tools after each use, or at the very least, implement a regular cleaning schedule. Your health, your colleagues’ health, and the longevity of your tools depend on it. Always consult manufacturer guidelines for specific tool cleaning instructions and adhere to all relevant health and safety regulations.