
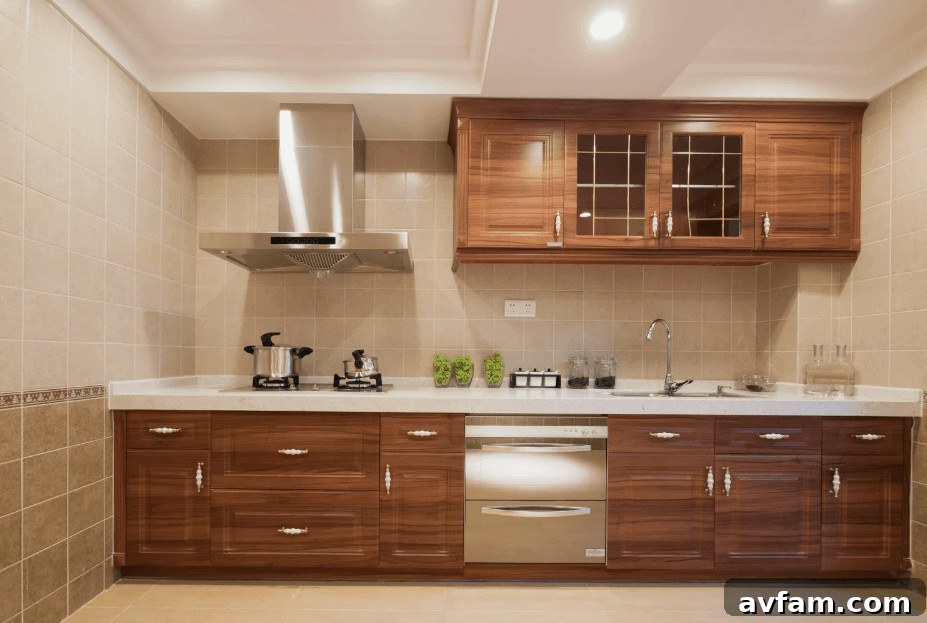
Installing a single kitchen cabinet is straightforward, but fitting an entire kitchen so doors align, countertops sit level, and appliances fit precisely is a different challenge. A careful DIYer can complete the job—especially with ready-to-assemble cabinets and a well-resolved layout—but the work demands patience, accurate measurements, and attention to detail. One cabinet out of level can affect every unit that follows.
The key question is not only whether you can avoid hiring a contractor, but whether you have the time, workspace, tools, and judgment to perform each stage correctly and safely.
Decide whether cabinet installation suits your skill level.
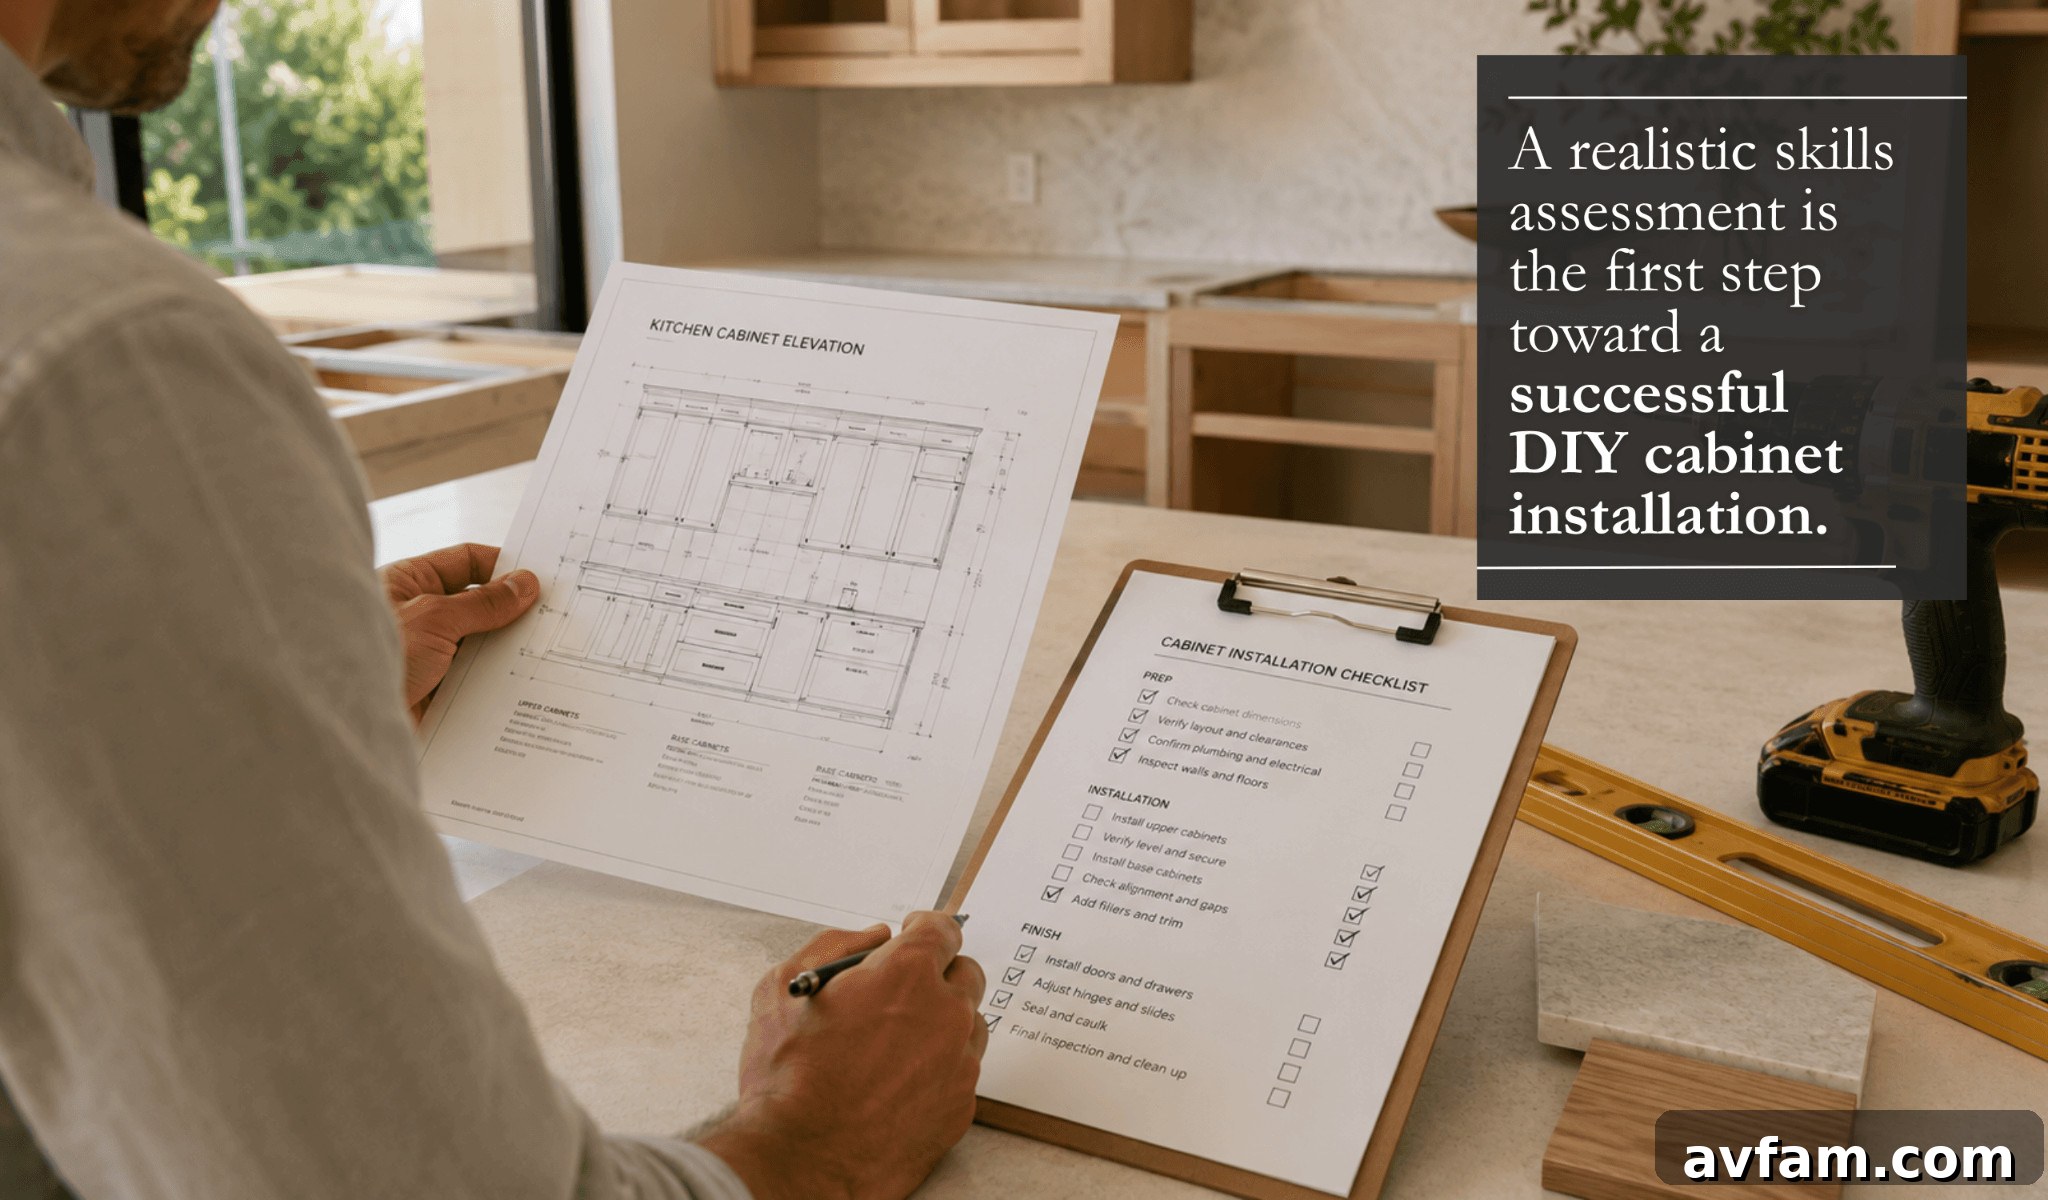
Installing cabinets can be a reasonable DIY project when the kitchen layout is largely unchanged, the walls are sound, and plumbing and electrical rough-ins are correctly located. You should be comfortable with a drill, clamps, a stud finder, a long level, and a circular saw or jigsaw for any trimming. You also need to recognize when a wall is out of plumb, when a floor is uneven, and when to shim rather than force a cabinet into place.
Projects that involve moving gas lines, altering electrical circuits, relocating plumbing, modifying load-bearing walls, or repairing significant water damage are better handled by licensed professionals. Overestimating your ability or underestimating the time required often leads to rushed work and costly corrections.
Resolve the design before ordering cabinets.
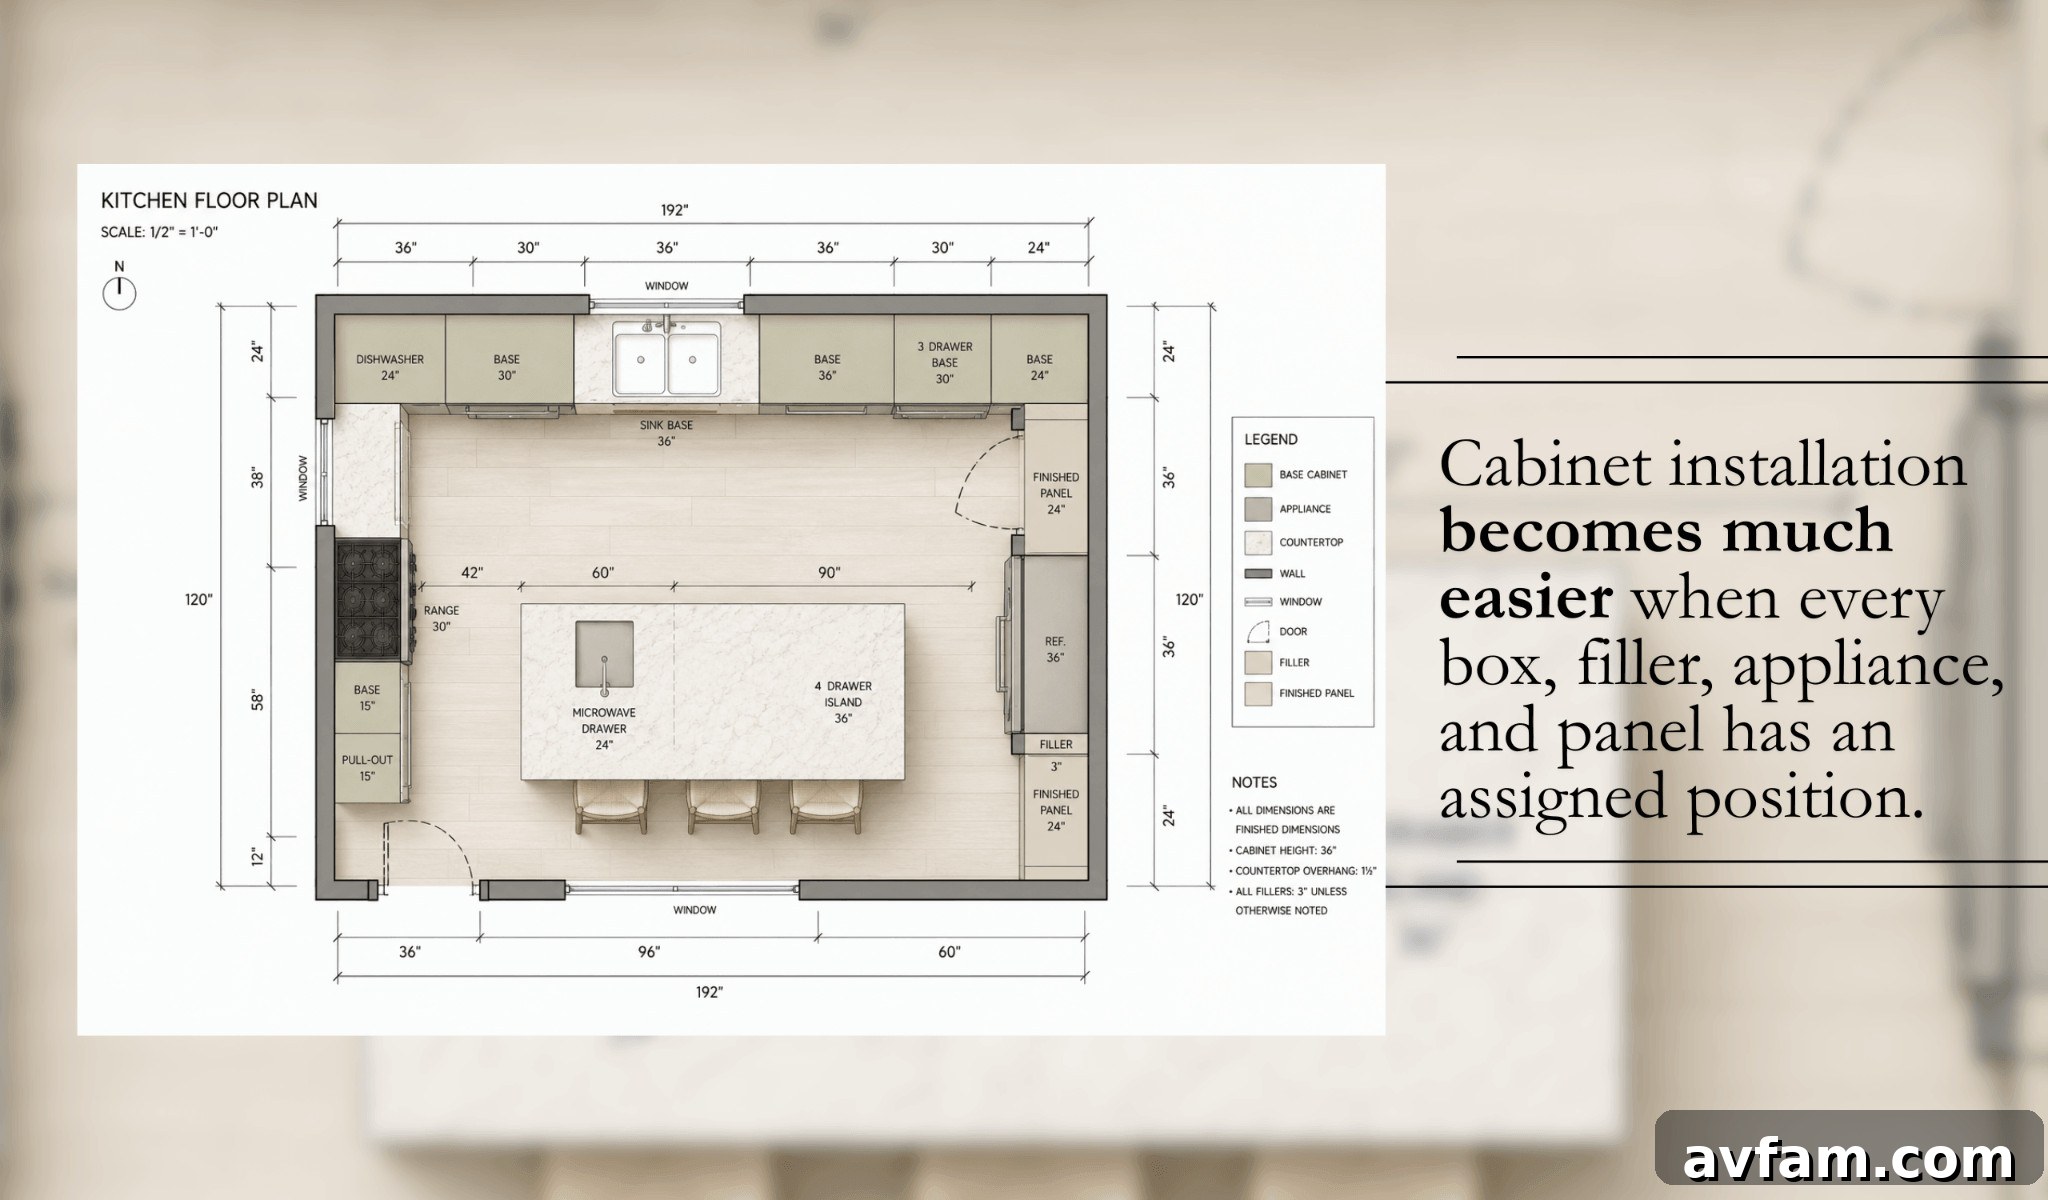
A cabinet plan must show more than storage boxes: include appliance openings, fillers, finished end panels, toe kicks, moldings, and required clearances for doors and drawers. Measure each wall at several heights because older rooms are rarely perfectly square. Record window and door positions, plumbing lines, outlets, gas connections, and ventilation. Always confirm appliance sizes from manufacturer specification sheets rather than relying on nominal widths.
Many manufacturers and sellers offer design assistance and three-dimensional renderings based on your measurements. That service can identify missing fillers, incorrect cabinet widths, or appliance conflicts before products arrive, but it does not replace accurate field measurements.
Inspect and organize everything before assembly.
Inspect deliveries before assembly. Compare each carton to the order and the approved plan, and note any visible shipping damage per the supplier’s delivery instructions. Organize boxes by wall and cabinet position, using removable labels like “sink base,” “range left,” or “upper 3” so components stay with their intended locations. Keep doors, drawers, and shelves associated with their original cabinet.
Set up a clean, level assembly table with enough room to rotate a cabinet without striking tools or walls. Gather tools before removing the old kitchen: a four-foot or laser level, tape measure, drill and driver, stud finder, clamps, cabinet screws, shims, combination square, pencils, and suitable cutting tools. Eye and hearing protection are essential when drilling or cutting. Use cabinet screws appropriate for cabinet construction and wall framing; drywall screws are not a substitute for structural fasteners.
Locate wall studs before positioning cabinets and mark their centerlines slightly above or below the cabinet locations so marks remain visible during installation. Removing an older kitchen can reveal damaged drywall, hidden plumbing issues, or surfaces with lead paint in pre-1978 homes. Follow current lead-safety guidance and involve certified professionals where testing or remediation is required.
Establish level reference lines.
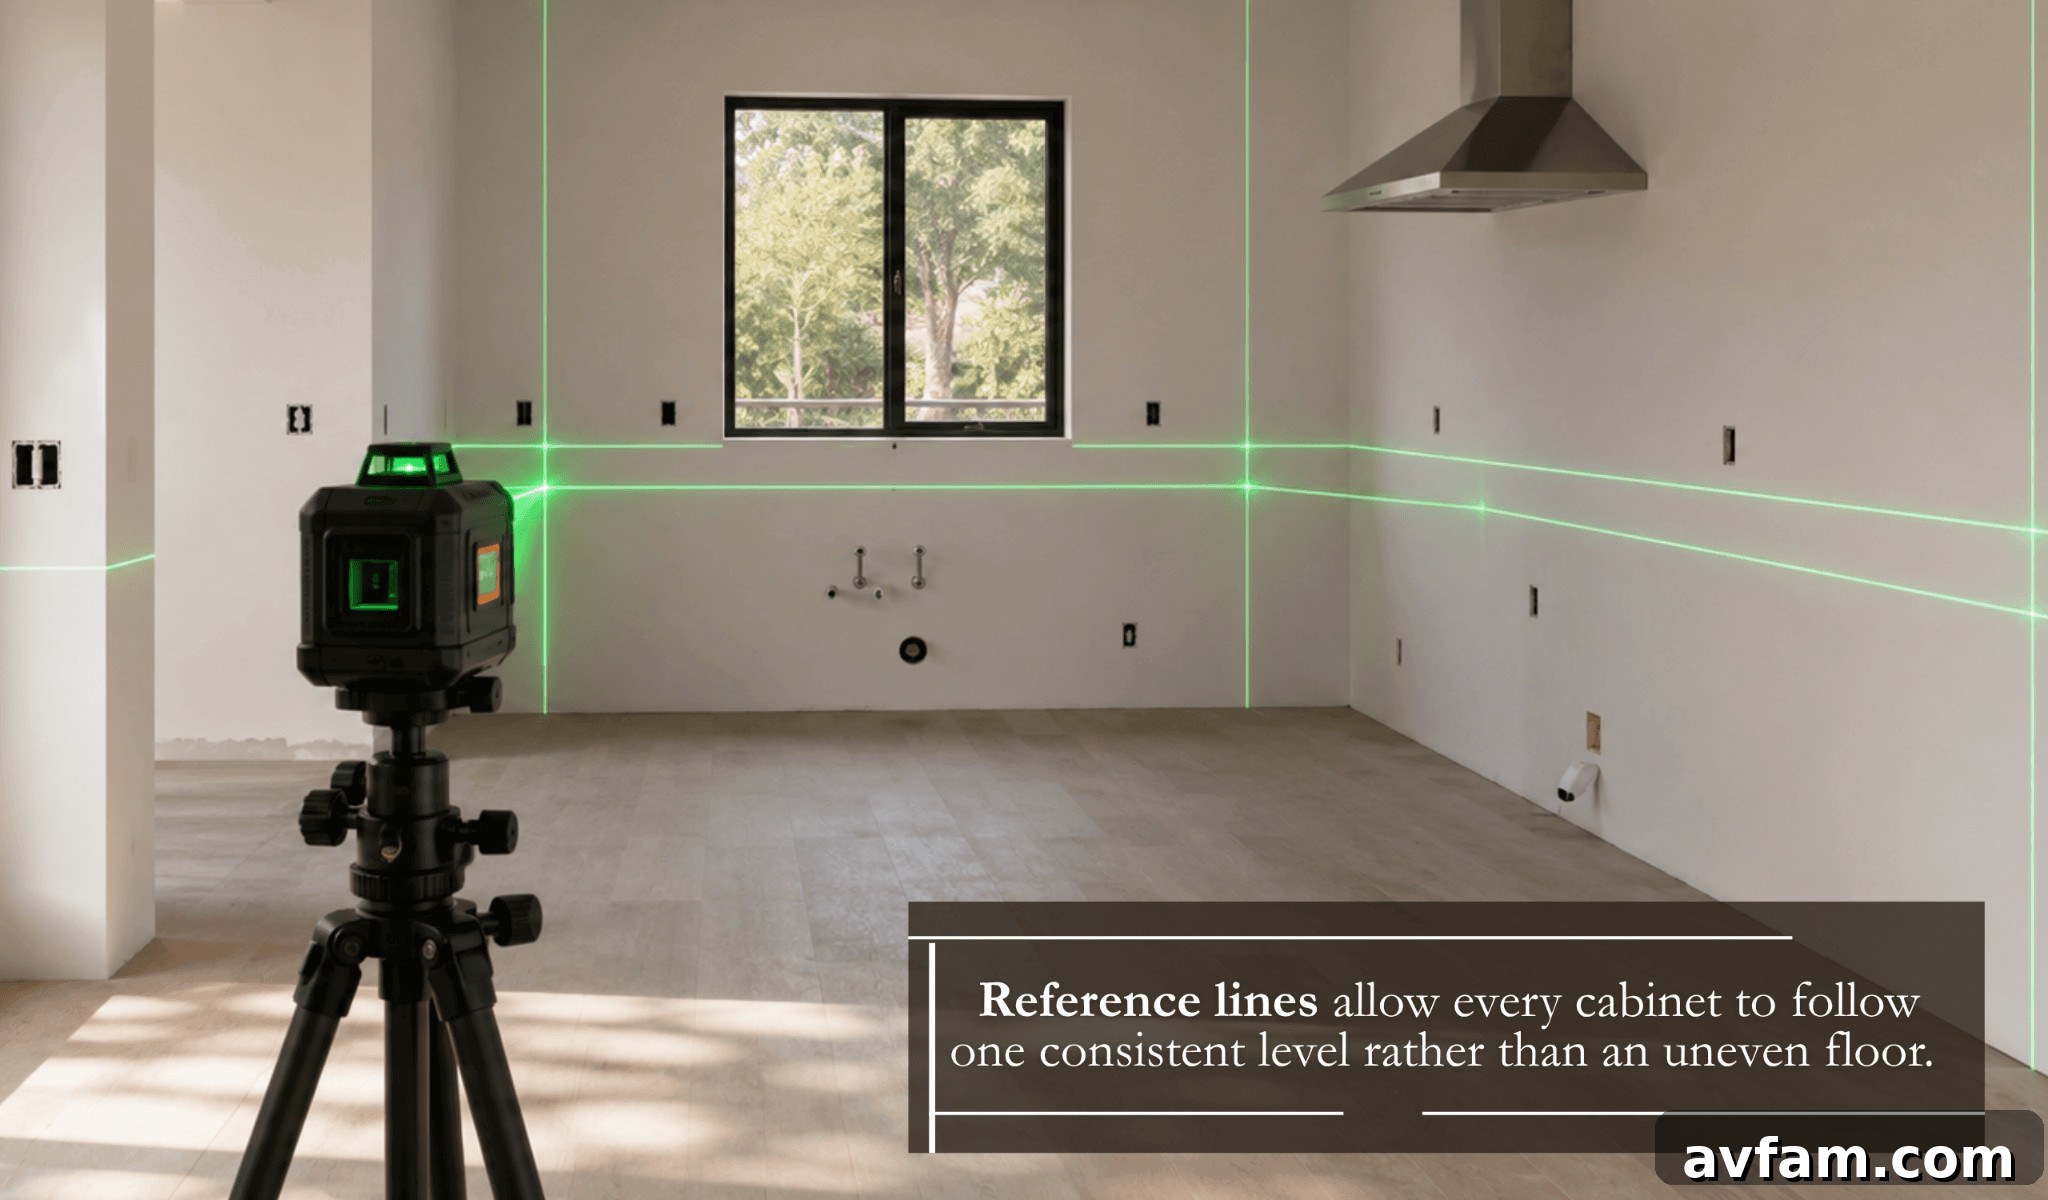
Never assume the floor is level. Find the highest point along every wall where base cabinets will sit and measure upward from that point to establish the finished height of the base run. Draw or project a level line around the room; this becomes the reference for every base cabinet, no matter how the floor varies beneath it.
Mark wall-cabinet positions separately. If your design includes a tall pantry or refrigerator panel, use its total height to establish an upper reference line so tall and wall cabinets align. Cabinet boxes must form a flat, level support before countertop templating can begin—a countertop installer cannot correct a run that significantly rises and falls.
Install wall cabinets before base cabinets.
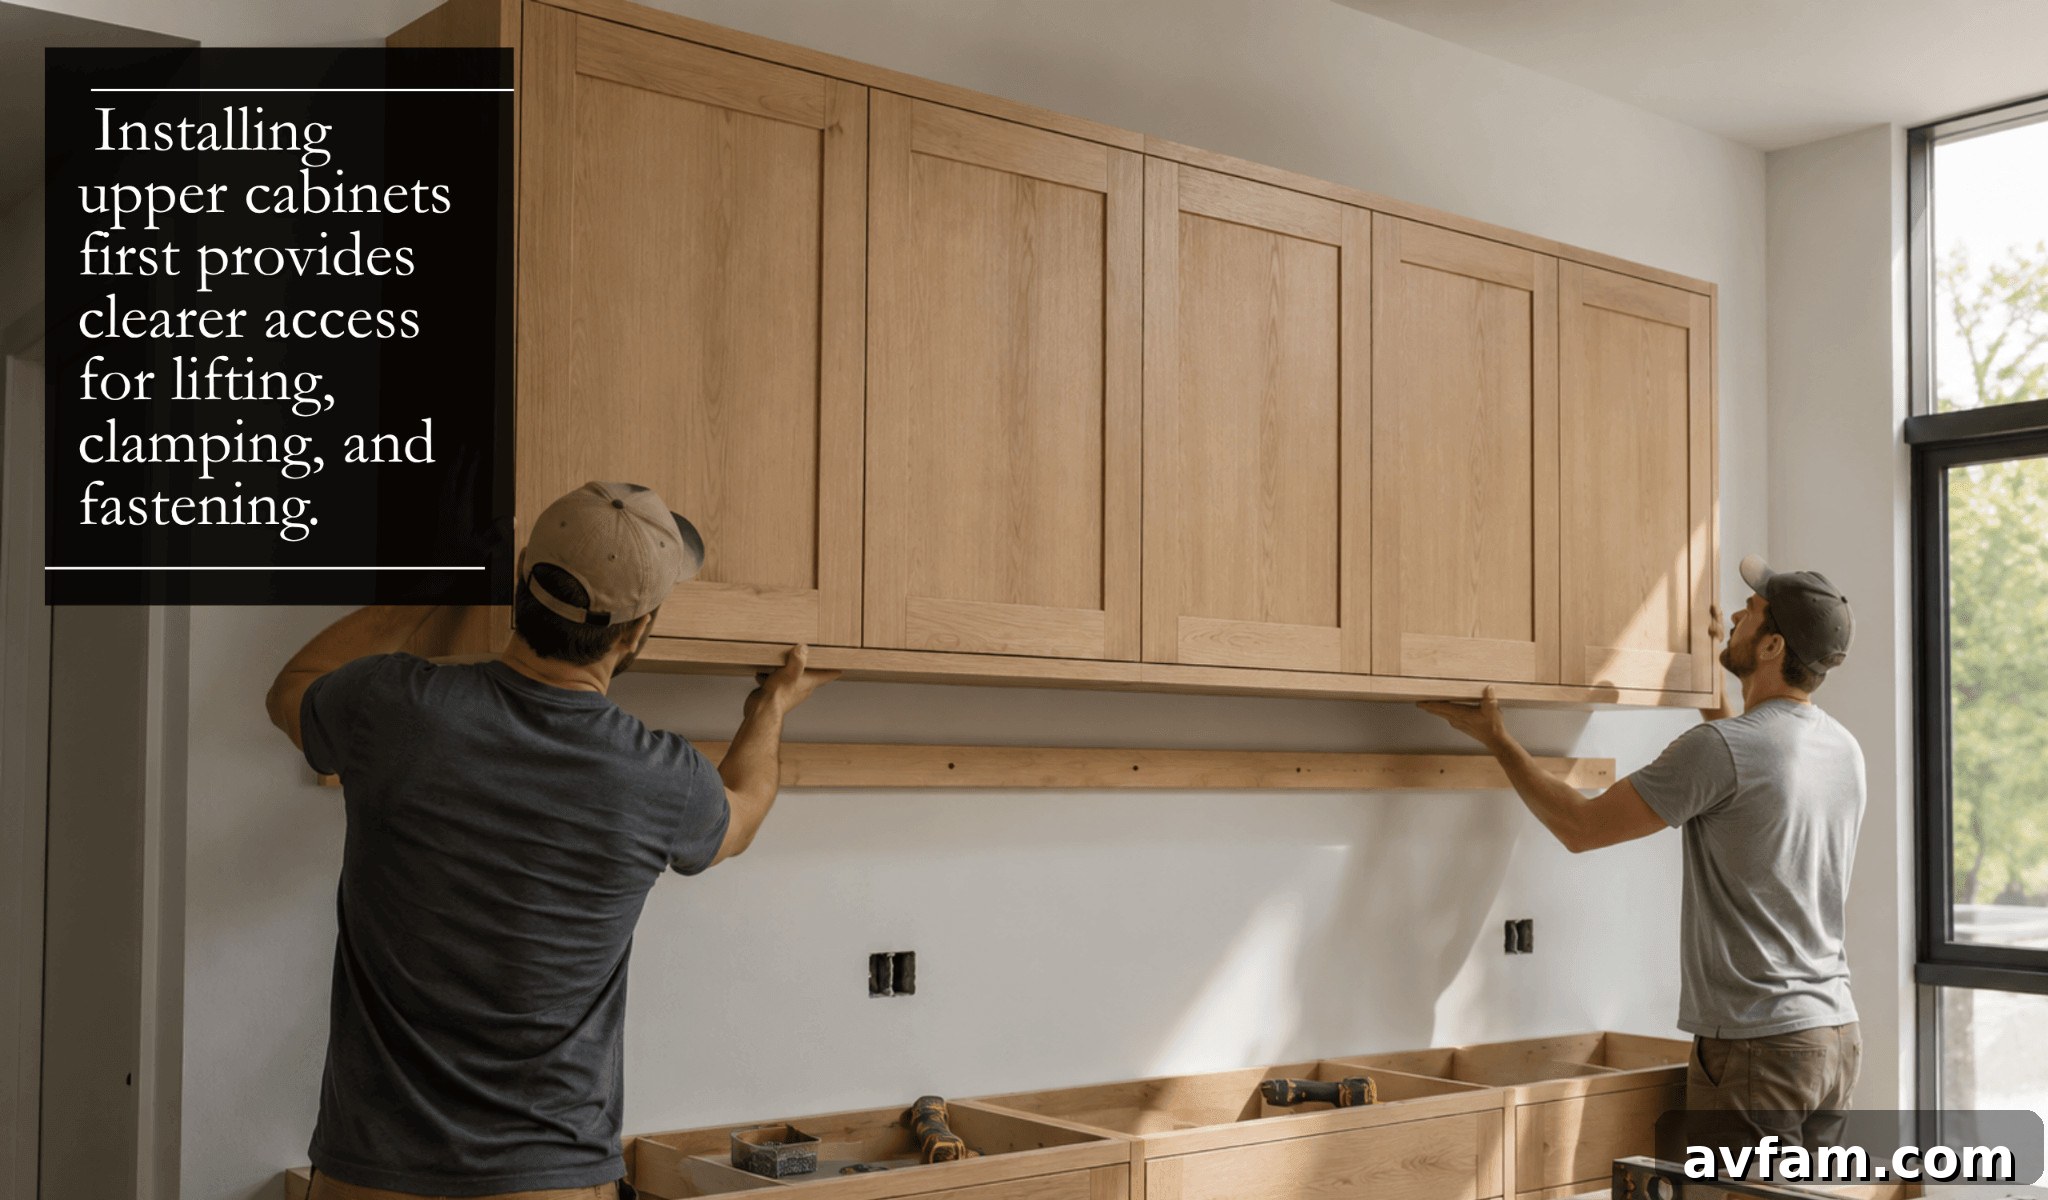
Wall cabinets are usually easier to install before base cabinets occupy the floor. A temporary ledger board can support the lower edge while each cabinet is positioned and fastened. Begin with a corner or another clearly defined starting cabinet and confirm it is level, plumb, and correctly located; the first cabinet establishes the line for the rest of the run.
Clamp adjoining face frames or cabinet sides together before fastening and check front edges by touch as well as sight. Small offsets become obvious once doors and drawer fronts form repeating horizontal and vertical lines. Wall cabinets are heavy and awkward to control overhead—use at least two people or a cabinet lift. Never rely solely on the ledger and always fasten cabinets to suitable framing per the manufacturer’s instructions.
Dry-fit and level the base cabinets.
Dry-fit base cabinets before fastening. Start at a corner or at a cabinet that must align with a fixed feature, such as a sink centered under a window. Check that appliance spaces are correct, drawers clear adjacent handles, and fillers are included where cabinetry meets a wall. Fillers provide operating clearance and can be scribed to follow an uneven surface.
Once the dry-fit is correct, level and secure the first cabinet. Shim under solid structural points to avoid twisting the box. Add the next cabinet, clamp adjoining fronts flush, and fasten cabinets together before securing the run to the wall. Repeat across the run and recheck level frequently; small deviations accumulate and become noticeable when countertops and doors are installed.
Complete the finished work after the boxes are secure.
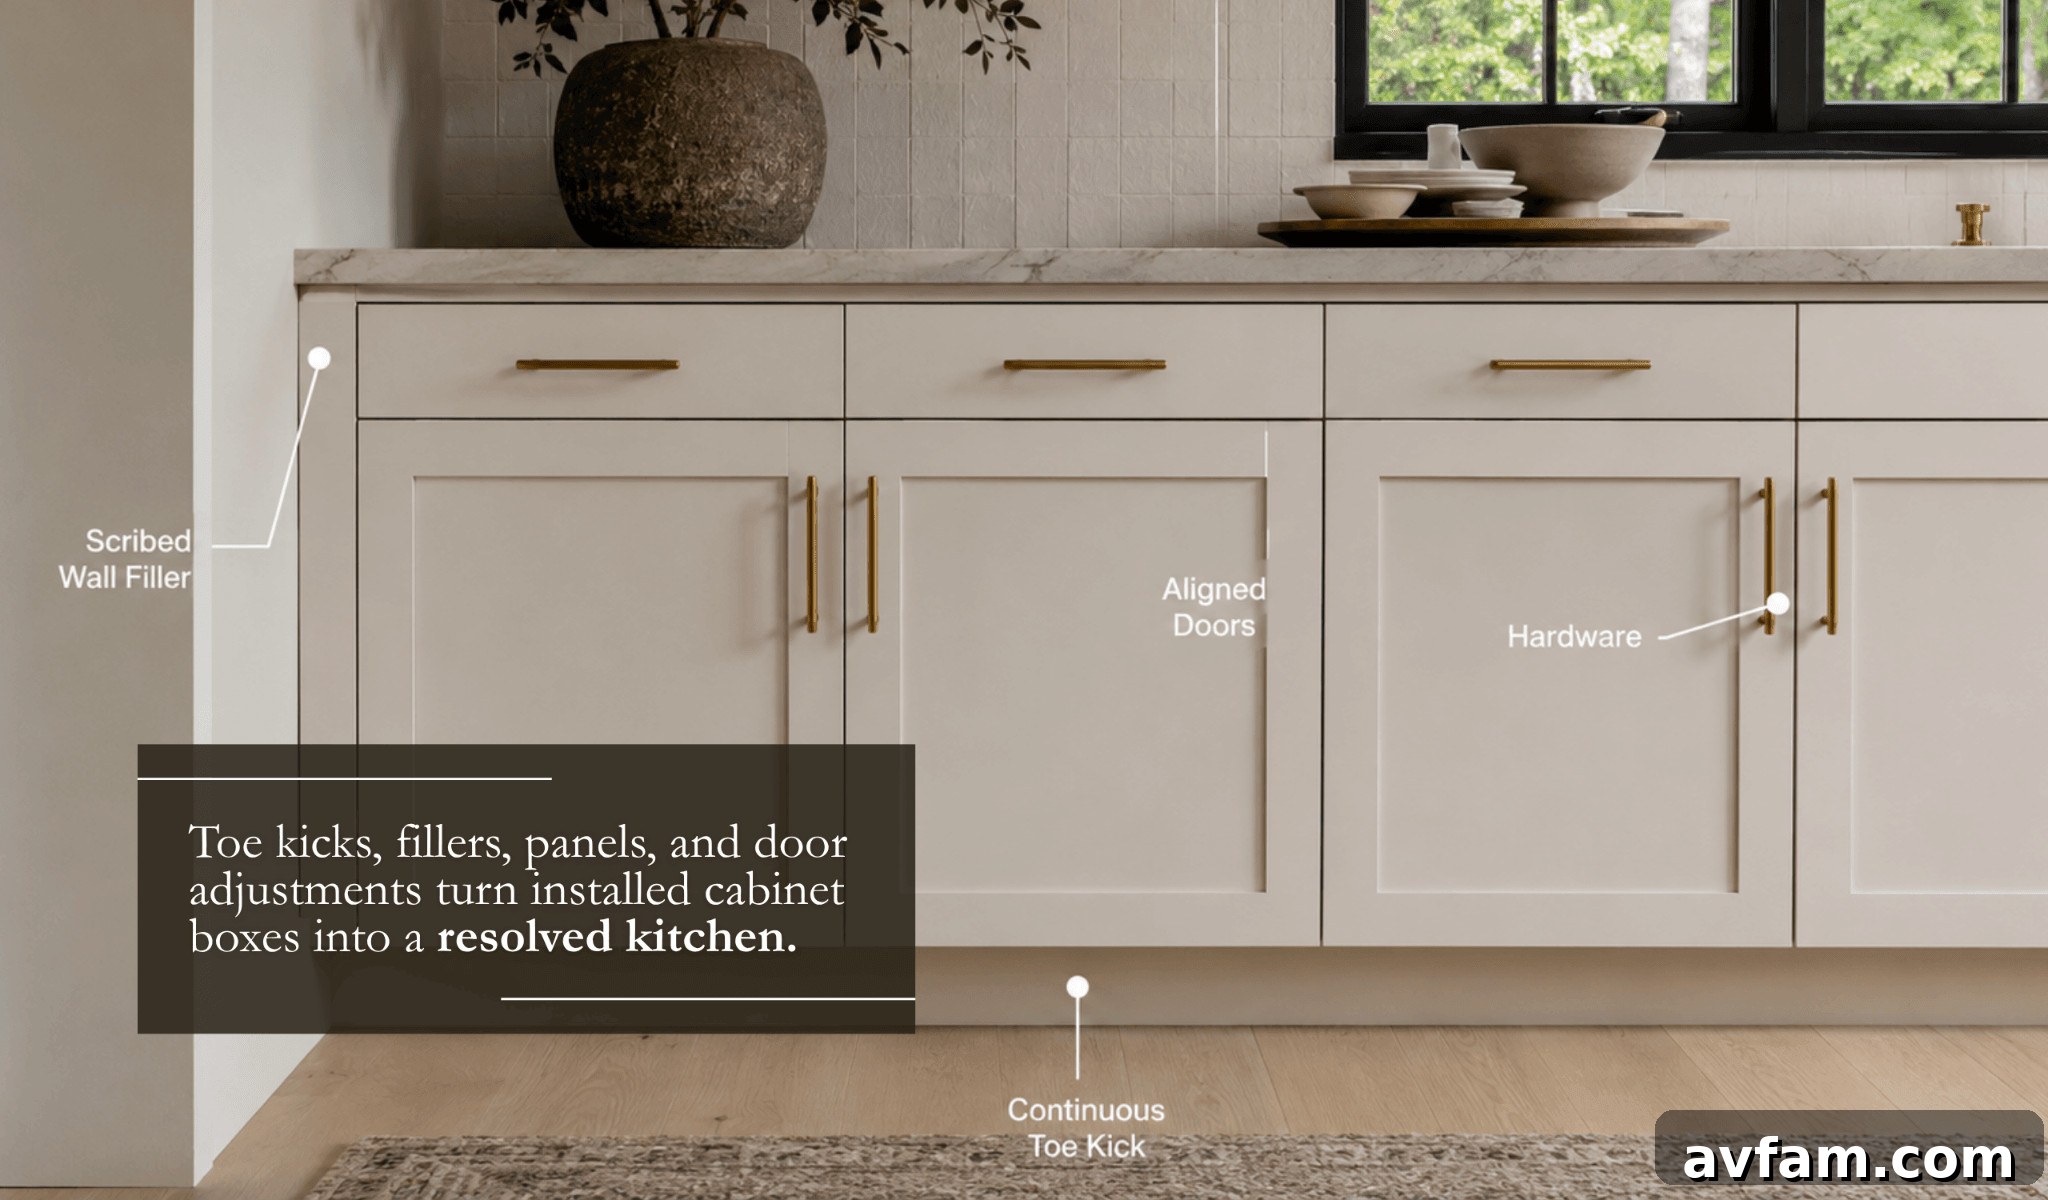
After boxes are level and secure, fit finished end panels, fillers, moldings, and toe-kick skins. Toe-kick material is usually measured after leveling so it can conceal shims and small floor variations. Reinstall doors and drawers, then adjust hinges until reveals—the visible gaps between adjacent doors and drawers—are consistent. Consistent reveals hide minor alignment errors.
Mark hardware locations with a reusable template before drilling and test positions with painter’s tape, especially at corners where neighboring pulls could collide. Do not schedule countertop templating until base cabinets are fully secured, level across the entire run, and fitted with any panels that affect countertop dimensions.
Know when to stop and call a professional.
Many homeowners assemble and install cabinets while hiring licensed trades for electrical, plumbing, gas, and ventilation work. Dividing tasks this way preserves meaningful DIY involvement without taking unnecessary risks. Pause when you find damaged framing, active leaks, significant mold, unsafe wiring, or walls that cannot support planned cabinets. Structural changes should be reviewed by a qualified engineer or building professional. Also check local permit and inspection requirements before changing utilities, ventilation, walls, or other regulated systems.
So, can you install your own kitchen cabinets?

Yes—many homeowners can successfully install their own kitchen cabinets. The best candidates are methodical, comfortable with basic tools, willing to recheck measurements, and ready to ask for help with heavy lifting and any regulated work. Ready-to-assemble cabinets make handling easier, but they do not eliminate the need for a complete plan. Success depends on establishing accurate reference lines, controlling each box during installation, and resolving fillers and finished panels before countertop templating. Treat the kitchen renovation as a sequence of careful steps rather than a single weekend task; that patient approach produces results that look intentional rather than improvised.