
Frost heave is a formidable and often underestimated challenge for homeowners, capable of causing significant damage and instability to various outdoor structures. Whether you’re planning to install a new fence, build a sturdy deck, or erect a garden shed, understanding and preventing frost heave is paramount to ensuring the long-term integrity and safety of your investment. This natural phenomenon, driven by the cyclical freezing and thawing of water in the soil, can exert immense upward pressure on posts, leading to costly repairs, compromised aesthetics, and even safety hazards.
The core of the problem lies beneath the surface. When soil around a post becomes saturated with water and temperatures drop below freezing, this water transforms into ice. Unlike water, ice occupies a larger volume, causing the soil to expand. This expansion, known as frost heave, pushes the soil upwards, and with it, any object embedded within, such as your fence or deck posts. As temperatures rise, the ice melts, leaving voids in the soil, and the post may not settle back to its original position. This repeated cycle of upward movement (heave) and uneven settling can cause posts to become unstable, lean dramatically, or even fracture, ultimately undermining the entire structure they support.
Fortunately, with careful planning and the implementation of proven techniques, you can effectively mitigate the risks associated with frost heave. By taking proactive measures during the installation phase, you can ensure your posts remain steadfast, stable, and secure for many years, providing a durable foundation for your outdoor projects. The following guide outlines essential steps to safeguard your posts from the damaging effects of frost heave, focusing on optimal material selection, proper installation depths, effective soil preparation, and robust setting techniques.
Choose the Right Posts for Frost Heave Resistance
The foundation of any frost-heave-resistant structure begins with the selection of appropriate post materials. Not all posts are created equal when it comes to battling the forces of expanding ice. The primary goal is to minimize water absorption and maximize structural integrity against upward thrusts. Posts made from concrete or pressure-treated lumber are generally superior choices compared to untreated timber, primarily due to their inherent resistance to moisture and decay, which contributes to their stability in varying soil conditions.
Pressure-treated lumber, especially varieties rated for ground contact, is chemically infused to resist rot, fungal decay, and insect infestation. This treatment significantly reduces the wood’s tendency to absorb and retain moisture, making it less susceptible to the freeze-thaw cycles that drive frost heave. However, even with treated lumber, an added layer of protection can dramatically enhance longevity. For instance, encasing the base of your pressure-treated post in a Post Protector offers an exceptional barrier against direct soil and moisture contact. These sleeves create a non-porous shield, preventing water from permeating the wood and thus severely limiting the chances of ice formation directly against the post. This extra measure not only fortifies against frost heave but also extends the life of the post by preventing rot and insect damage at the critical ground level. We recently employed this technique when installing a large retaining wall system, and the posts have shown no signs of instability, wobble, or movement, demonstrating the effectiveness of this additional safeguard.
Beyond treated lumber, materials like steel posts or composite posts offer alternative solutions with varying degrees of frost heave resistance. Steel posts, particularly those designed for structural applications, are incredibly strong and non-porous, making them highly resilient to moisture and expansion. Composite posts, often made from a blend of wood fibers and recycled plastics, are also highly moisture-resistant and durable. When selecting your post material, consider your local climate, soil type, and the specific demands of your structure to make the most informed and long-lasting choice.
Set Posts at the Right Depth Below the Frost Line
One of the most critical factors in preventing frost heave is ensuring your posts are anchored deeply enough to bypass the destructive effects of freezing ground. The concept here revolves around the “frost line” – the maximum depth to which soil freezes in a specific geographical region during winter. If the bottom of your post extends below this frost line, it remains in unfrozen ground, providing a stable anchor point that is not directly affected by the upward movement of the frozen soil above it.
As a general guideline, for posts that are six to eight feet high, a minimum depth of at least two feet is often recommended. However, this is merely a starting point. It is absolutely essential to check your local building codes or consult with your local extension office to ascertain the precise frost depth for your area. Frost lines can vary significantly based on climate, elevation, and even microclimates within a single region. Digging deep enough ensures that the critical load-bearing portion of your post is securely anchored in stable, unfrozen soil, creating a foundation that can withstand seasonal ground movement.
Moreover, simply reaching the frost line isn’t always sufficient. You should add an extra eight to ten inches of depth beyond the required frost line to accommodate a crucial drainage layer. This additional depth allows for a base of gravel or crushed stone (typically ¾” clean stone) at the bottom of the post hole. This permeable layer serves a vital function: it prevents water from accumulating directly beneath and around the base of your post. Instead, water drains away, minimizing the risk of ice formation that could otherwise lift the post from below. This gravel base acts as a capillary break, disrupting the upward movement of groundwater through capillary action and ensuring that any moisture present can escape efficiently. Proper compaction of this gravel base is also key to creating a stable, well-draining foundation, making this step indispensable for long-term frost heave prevention.
Prepare the Soil Properly to Mitigate Frost Heave
The type and condition of the soil surrounding your posts play an exceptionally crucial role in their susceptibility to frost heave. Understanding soil dynamics and preparing the ground correctly before installation can significantly bolster your defenses against this phenomenon. Different soil types exhibit varying levels of vulnerability; for instance, fine-grained soils like clay and silt are highly prone to frost heave because their small particle size allows them to retain a large amount of water through capillary action. Sandy or gravelly soils, with their larger particles and better drainage, are generally less susceptible.
Before you even begin setting your posts, it is imperative to prepare the soil meticulously. Start by removing all grass, weeds, and any other vegetation within a reasonable radius around where each post will be placed. Vegetation roots can hold significant amounts of moisture, which contributes to frost heave, and decaying organic matter can create voids in the soil, leading to instability. Clear an area of at least 12-18 inches around each post hole to ensure a clean, stable base. Once vegetation is removed, the soil should be thoroughly tamped, especially around the perimeter of the hole. Tamping compacts the soil, reducing voids and air pockets where water could collect and freeze, thereby preventing the ground from shifting easily when subjected to frost cycles.
Consider enhancing your defense with an insulation layer around the posts. While the gravel base at the bottom addresses drainage, a collar of gravel or crushed stone around the sides of the post, extending upwards from the base to just below ground level, can act as a thermal buffer. This layer helps to interrupt the transfer of cold temperatures from the surface soil to the deeper, moisture-laden soil immediately adjacent to the post. The air pockets within the gravel create an insulating effect, helping to keep the ground around the posts warmer and reducing the likelihood of significant freezing directly against the post. In particularly cold climates or for critical structures, some homeowners even utilize rigid foam insulation boards vertically placed around the post within the hole before backfilling, to provide a more robust thermal break, though this is often more common for building foundations than simple fence posts. Furthermore, ensure the finished grade of the soil slopes gently away from the base of each post to promote surface water runoff, preventing water from pooling and seeping into the ground directly at the post’s base.
Use the Right Post-Setting Techniques for Optimal Stability
Beyond material choice and proper depth, the specific techniques employed during post installation are pivotal in creating a structure that can resist the upward forces of frost heave. Correct setting methods ensure that posts are not only securely anchored but also intrinsically designed to minimize movement caused by freezing and thawing cycles. The goal is to create a robust, immovable foundation that defies the ground’s natural tendency to shift.
First and foremost, it is crucial to ensure that your posts are perfectly level and plumb (vertically straight) from the moment they are set. A post that is leaning even slightly at installation is already compromised and will be far more susceptible to further movement and instability once frost heave begins. Utilize a spirit level and a plumb bob or a specialized post level to verify absolute verticality from multiple angles. Temporary bracing, typically using 2x4s staked into the ground, is essential to hold the post in its precise position until the concrete or backfill material has fully cured or settled.
When it comes to securing the post in the ground, several techniques are employed, each with its own advantages against frost heave:
- Concrete Backfill: This is a common and effective method. After placing the post on its gravel base, concrete is poured around it. The key is to mix the concrete correctly and pour it in layers, tamping each layer to remove air pockets. Critically, the concrete should be crowned or sloped away from the post at ground level to shed water rather than allowing it to pool. While concrete provides immense stability, it’s vital to ensure adequate drainage below the concrete footing to prevent water from collecting and freezing underneath the concrete slab itself, which could still lead to lifting.
- Dry Concrete Mix: Some prefer pouring dry concrete mix into the hole around the post and then saturating it with water. This method can be quicker but requires careful attention to ensure proper hydration and compaction for maximum strength.
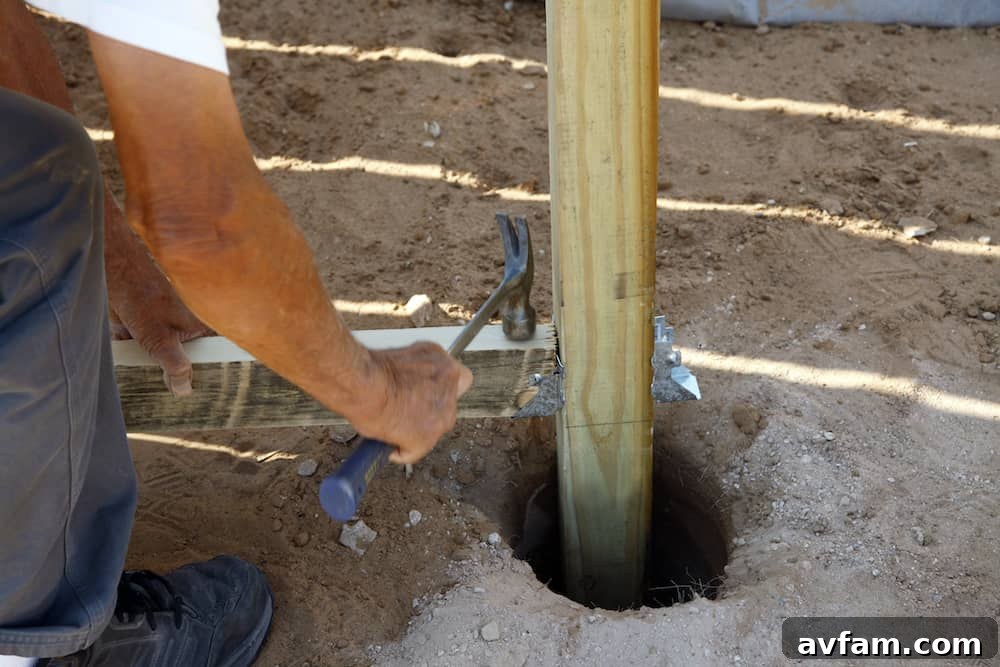
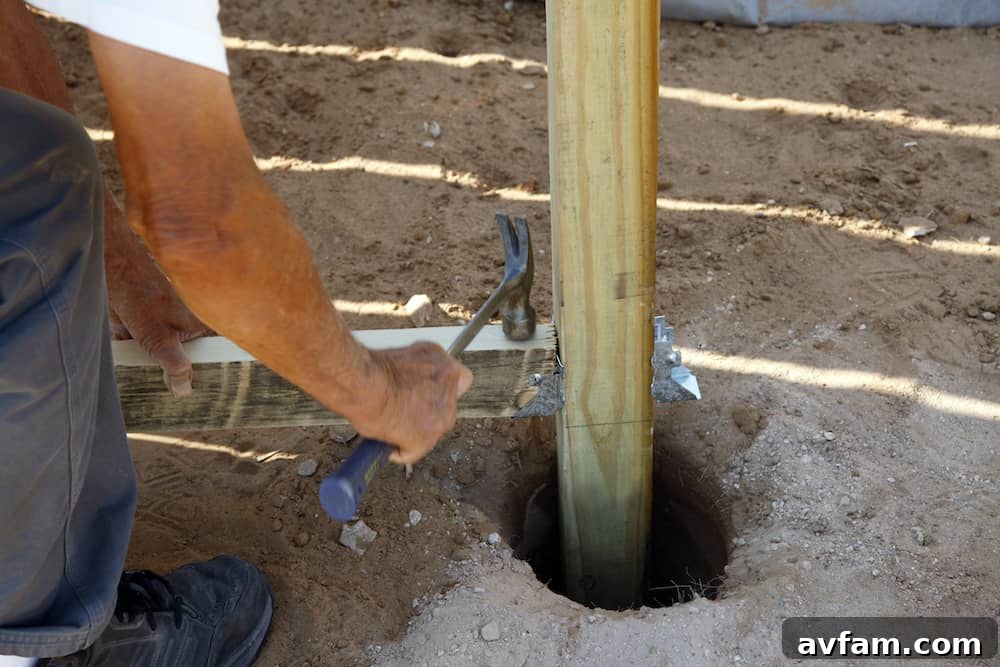
- Post Anchors/Brackets: For scenarios where you want to minimize direct contact between wood and soil, or achieve exceptional resistance to uplift, post anchors are invaluable. These are typically heavy-gauge metal brackets that are either embedded in concrete (wet-set) or bolted to a finished concrete footing (base-plate style). The post is then secured within or atop the anchor. This method effectively isolates the wood post from the ground, significantly reducing rot and also providing a strong, mechanical connection that resists upward forces. The article mentions “fence post anchors wrap around the base of your post and function as a large stake at the bottom of your post.” These often refer to heavy-duty metal sleeves or collars that surround the lower portion of the post, perhaps incorporating flared bases or fins that dig into the soil, acting as a large, integrated footing for exceptional stability and preventing direct uplift of the post itself. These types add a tremendous amount of structural integrity and stability, especially in areas prone to severe frost heave or high wind loads.
Regardless of the method, the objective is to create a solid, stable block that integrates the post with the surrounding earth (or its dedicated footing) in a way that resists vertical movement. Ensuring proper curing time for concrete and careful backfilling for other methods is crucial before applying any load to the newly set posts.
Maintain Your Posts Regularly to Prevent Frost Heave Damage
While proper installation is the first line of defense against frost heave, ongoing vigilance and regular maintenance are equally important in ensuring the long-term stability and security of your posts and the structures they support. Even the best initial installation can succumb to the relentless forces of nature over time if neglected. Proactive maintenance allows you to identify and address potential issues before they escalate into major, costly repairs.
Regular maintenance involves periodically inspecting your posts for any signs of instability, damage, or the initial symptoms of frost heave. A good schedule might include checks seasonally, particularly before and after the colder months, and annually as part of your general property maintenance. During these inspections, look for tell-tale signs:
- Leaning or Wobbling: Gently push or pull on each post to check for any unexpected movement or a noticeable lean from its original plumb position.
- Post Lifting: Observe the ground around the post. Are there gaps between the soil and the post? Has the post visibly risen out of the ground? Are there cracks in the soil directly adjacent to the post that weren’t there before? These are classic indicators of frost heave.
- Cracks or Damage: Inspect the post material itself for cracks, rot, insect damage, or deterioration, especially at ground level. Compromised material will be more susceptible to movement.
- Drainage Issues: Check if water is pooling around the base of the posts. This indicates a problem with surface drainage or soil compaction.
If you notice that one of your posts has started to lean or show signs of frost heave, it is paramount to address the problem as swiftly as possible to prevent further deterioration and potential structural failure. Minor leaning might be corrected by re-compacting the soil around the base, adding additional gravel, or installing diagonal braces temporarily. For more significant lifting or leaning, you might need to excavate around the post, reset it to the correct depth (perhaps adding more gravel and concrete), or even reinforce it with additional, more substantial post anchors or a repair kit designed for this purpose.
In cases of severe rot, irreparable damage, or a persistent, uncorrectable lean, the safest and most effective solution may be to replace the post entirely. When replacing, ensure you follow all the initial prevention steps rigorously: choosing the right material, digging to the correct frost-line-plus-drainage depth, preparing the soil, and using robust setting techniques. Beyond addressing specific issues, general maintenance like sealing or staining wood posts can protect them from moisture and UV damage, further extending their lifespan and resilience. Keeping the area around the base of the posts clear of vegetation and debris will also help maintain proper drainage and minimize moisture retention.
Ultimately, preventing frost heave when setting posts is not just about avoiding immediate damage; it’s about ensuring the enduring stability, safety, and aesthetic appeal of your valuable outdoor structures. By diligently following the comprehensive steps outlined here – from selecting appropriate materials and digging to the correct frost-proof depth to preparing the soil, employing superior setting techniques, and maintaining your posts regularly – you can effectively shield your installations from the damaging effects of frost heave. These proactive measures ensure that your fences, decks, sheds, and other structures remain sturdy, reliable, and beautiful for countless years to come, providing peace of mind and lasting enjoyment of your outdoor living spaces.