
This is a sponsored post written by me on behalf of Nationwide Mutual Insurance Company. All opinions are 100% mine.
Nationwide provided me with information regarding its blog post. The Art and Craft of Refinishing a Wood Floors
Revitalize Your Home: The Ultimate Guide to Wood Floor Refinishing
Few features enhance the warmth, elegance, and value of a home quite like beautifully maintained wood floors. Their timeless appeal and natural beauty can transform any space into a welcoming sanctuary. However, over years of daily life, even the most resilient hardwood floors begin to show signs of wear – from minor scuffs and scratches to deeper gouges and dullness. When this happens, refinishing your wood floors isn’t just about restoring their aesthetic appeal; it’s about protecting your investment and ensuring their longevity for decades to come.
Refinishing breathes new life into tired floors, creating a pristine surface that resists future damage from spills, foot traffic, and the inevitable bumps of everyday living. With proper care and the right approach, this seemingly daunting project can be a rewarding DIY endeavor. Nationwide, a trusted name in home protection and care, understands the importance of maintaining your home’s most cherished elements. They offer valuable insights and resources, including expert advice on significant home improvement projects like wood floor refinishing, helping homeowners make informed decisions for their properties.
When Is It Time to Refinish Your Wood Floors? The 10-Year Guideline and Beyond
While a general rule of thumb suggests refinishing your hardwood floors approximately every 10 years, this timeline can vary significantly based on several factors. High-traffic areas, the presence of pets, direct sunlight exposure, and the quality of the initial finish can all accelerate or decelerate the need for a refresh. Instead of strictly adhering to a calendar, it’s crucial to observe your floors for tell-tale signs of wear and tear.
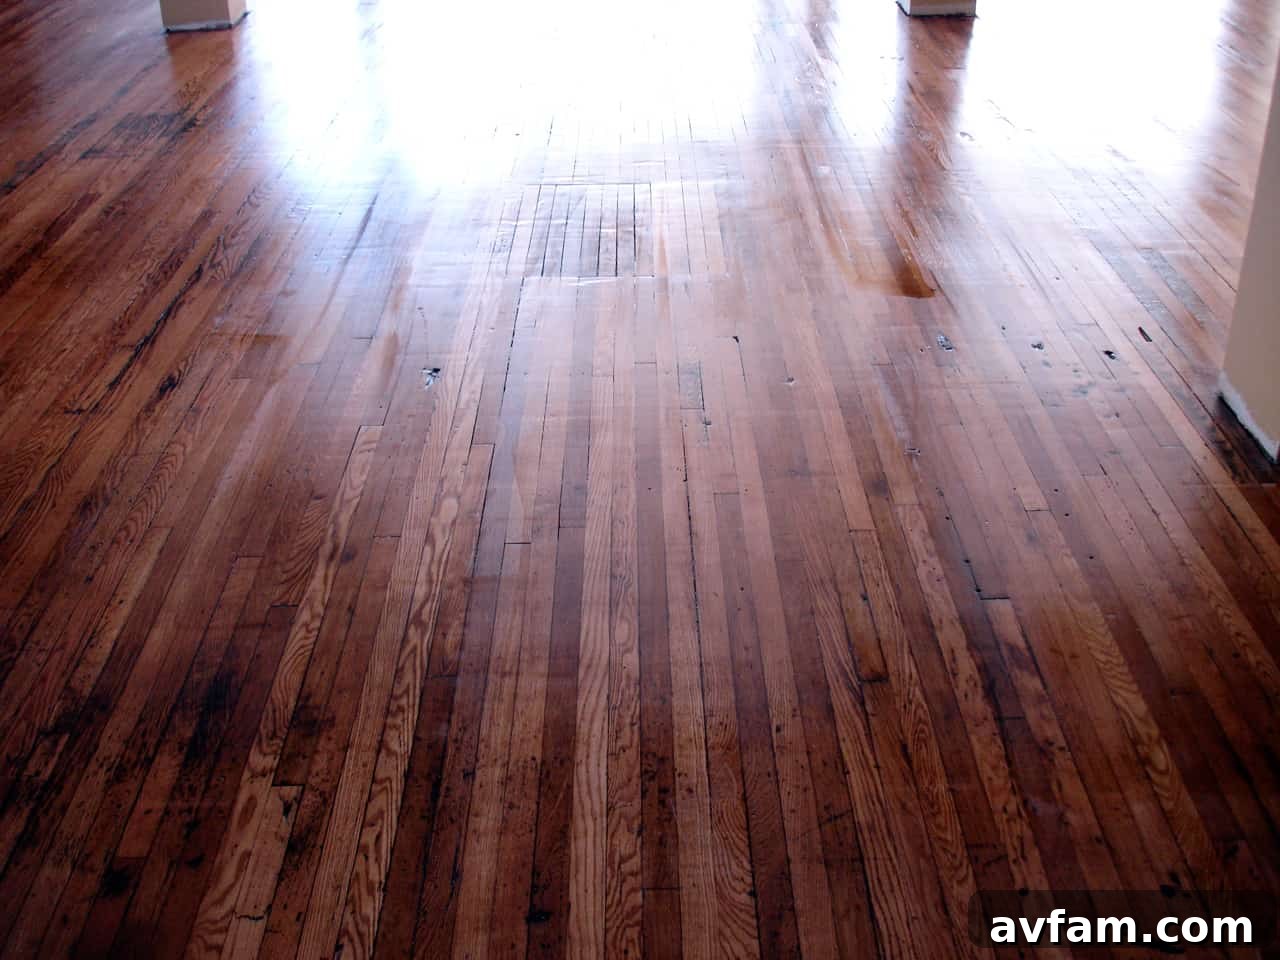
Begin by closely examining the surface for noticeable dullness or haziness, especially in areas that receive heavy foot traffic, like hallways and entryways. Look for an accumulation of scratches, scuffs, and minor gouges that penetrate the topcoat. If you notice discoloration, water stains that have soaked into the wood, or areas where the protective finish has completely worn through, exposing the raw wood beneath, these are strong indicators that refinishing is overdue. A critical check involves looking at the wear on the surface above the tongue and groove portion of the plank. This might require carefully removing a baseboard to get a clear view. If the wood here shows significant wear or damage, it’s a clear sign that the structural integrity of your floor’s protective layer is compromised, and it’s time to act.
Thorough Preparation: The Foundation of a Flawless Finish
Before you even think about sanding, meticulous preparation of your space is paramount. This foundational step not only ensures a cleaner, safer working environment but also guarantees a higher quality finish. Start by completely emptying the room. This includes all furniture, rugs, drapes, and any wall decor that might obstruct your work or become covered in dust. Remember to protect light fixtures and vents from dust by covering them with plastic sheeting.
Next, carefully remove the baseboards or shoe molding. While this might seem like an extra step, it allows you to sand right up to the wall, preventing an unsightly uneven finish and making the sanding process much easier. Use a utility knife to score the paint line before gently prying the trim away to minimize damage to the walls. Label each piece of trim as you remove it so you can easily reinstall it in its original location.
Once the room is clear, thoroughly clean the entire floor. Sweep and vacuum every corner, ensuring all dirt, debris, and existing dust are removed. This prevents loose particles from being ground into the wood during sanding or interfering with the new finish. Finally, consider sealing off the work area with plastic sheeting and painter’s tape to prevent dust from spreading to other parts of your home, especially if you have sensitive electronics or allergy sufferers in the house.
Safety First: Protecting Yourself During Refinishing
Wood floor refinishing involves significant dust, loud machinery, and potentially irritating fumes from stains and finishes. Prioritize your safety by wearing appropriate personal protective equipment (PPE) throughout the entire process. This includes a high-quality respirator mask to protect against fine wood dust and chemical fumes, safety glasses to shield your eyes from flying debris, and hearing protection when operating noisy sanders. Additionally, wear sturdy gloves to protect your hands from abrasions and chemical exposure.
Mastering the Art of Sanding: From Coarse to Fine
Sanding is perhaps the most critical stage of wood floor refinishing, as it strips away the old finish and any damaged wood, creating a smooth, clean surface for the new protective layers. The key to successful sanding lies in using the right equipment and following a progressive grit sequence.
For most refinishing projects, you’ll need to rent a heavy-duty drum sander from your local hardware store. This powerful machine removes the bulk of the old finish and deep imperfections. Alongside it, you’ll need an edger sander for areas the drum sander can’t reach, such as along walls and in corners. For very tight spots or intricate work, a random orbital sander can be invaluable.
Begin with a coarse-grit sandpaper (e.g., 40 or 60 grit) if your floors have deep scratches or a thick, stubborn old finish. This initial pass aims to remove all existing coatings and significant damage, exposing the bare wood. Always sand with the wood grain, moving the drum sander continuously to avoid creating depressions or “chatter marks.” Lift the drum slightly at the end of each pass to prevent gouging. Overlap each pass by about two-thirds to ensure even removal.
After the first pass, thoroughly vacuum the entire floor to remove all dust and debris. Then, switch to a medium-grit sandpaper (e.g., 80 or 100 grit). This pass smooths out the marks left by the coarser paper and refines the wood surface. Repeat the vacuuming process. The final sanding pass should be done with a fine-grit sandpaper (e.g., 120 or 150 grit). This step is crucial for achieving a perfectly smooth surface, ready to accept stain and finish. Always remember to use the edger sander with corresponding grit levels for the perimeter of the room and corners.
Between each sanding grit, vacuuming is not merely a suggestion; it’s a necessity. Fine dust left behind from a coarser grit can be ground into the wood by the next finer grit, causing unsightly scratches that will be glaringly obvious once the finish is applied.
The Transformation: Staining and Sealing for Beauty and Protection
Once sanding is complete and the bare wood is exposed and perfectly smooth, the floor is ready for its new lease on life. This stage involves meticulous cleaning, optional staining, and the application of a durable protective finish.
The Final Dust Eradication
After your final sanding pass, the battle against dust isn’t over. It’s time for the most thorough cleaning yet. Vacuum the entire floor multiple times, using a brush attachment to reach into wood grain and crevices. Next, wipe the entire floor with a tack cloth – a sticky cloth specifically designed to pick up fine dust particles. Work in small sections, turning the cloth frequently to expose a clean surface. For an even more pristine surface, some professionals recommend allowing the dust to settle for a few hours after vacuuming, then repeating the vacuum and tack cloth process. Any residual dust will compromise the adhesion and appearance of your finish.
Staining: Adding Color and Character (Optional)
If you desire to change the color of your wood floors or enhance their natural tones, apply a wood stain at this stage. Always test the stain color on an inconspicuous area of your floor, or on a scrap piece of the same wood, to ensure you achieve the desired shade. Apply the stain evenly with a clean rag or a foam applicator, working with the grain. Allow the stain to penetrate for the recommended time, then wipe off any excess. Multiple thin coats may be needed to achieve a deeper color, ensuring each coat dries thoroughly according to the manufacturer’s instructions. Ensure proper ventilation during this process.
Choosing and Applying the Finish: The Protective Shield
The final, and arguably most important, step is applying the protective finish. This layer provides the durability and shine that will protect your floors for years. Water-based polyurethanes are a popular choice due to their many advantages: low volatile organic compound (VOC) emissions, minimal odor, fast drying times, and a clear, non-yellowing finish that preserves the natural wood color. They also offer excellent durability against daily wear and tear.
Oil-based polyurethanes are another option, known for their exceptional durability and a warm, ambering effect that deepens over time. However, they typically have a stronger odor, longer drying times, and higher VOCs. Other options like penetrating oils or hard wax oils offer a more natural, matte look and feel, but may require different application techniques and maintenance schedules.
Regardless of the finish you choose, apply it in thin, even coats. Avoid shaking the can, as this can create bubbles. Stir gently instead. Use a high-quality applicator pad, T-bar, or lamb’s wool applicator, working with the grain from one end of the room to the other, maintaining a wet edge to prevent lap marks. Allow each coat to dry completely according to the manufacturer’s recommendations (usually 2-4 hours for water-based, longer for oil-based). For optimal adhesion and a smoother finish, lightly abrade the surface between coats (after the first coat) with a fine-grit sandpaper (e.g., 220 grit) or a sanding screen, then thoroughly clean the dust with a tack cloth before applying the next coat. Most floors benefit from 2-3 coats of finish for maximum protection and longevity.
Time, Patience, and Professional Expertise
Refinishing wood floors is a project that demands significant time and patience. While it’s certainly achievable for the dedicated DIY enthusiast, it’s not a weekend project. Professionals often take up to a week to refinish the floors of a small home, meticulously ensuring every step is executed to perfection to achieve the best quality results. If you decide to tackle the job yourself, be prepared for it to take even longer, especially if it’s your first time. Rushing any stage, particularly sanding or drying times, can lead to costly mistakes and a subpar finish.
Consider your personal skills, available time, and the condition of your floors. If your floors are severely damaged, if you lack confidence in operating heavy machinery, or if your schedule simply doesn’t allow for a multi-day commitment, hiring a professional is a wise investment. They bring specialized equipment, experience, and efficiency, often leading to a superior finish and peace of mind. Obtain multiple quotes and check references to find a reputable contractor.
Maintaining Your Refinished Floors for Lasting Beauty
Once your floors are beautifully refinished, the work isn’t quite over. Proper post-refinishing care and ongoing maintenance are essential to preserve their newly restored glory. Allow the finish to fully cure before placing furniture back on the floor – this can take anywhere from a few days to a few weeks, depending on the product. Avoid dragging furniture; always lift and place it. Use felt pads under all furniture legs to prevent scratches.
Regular cleaning should involve sweeping or vacuuming with a soft brush attachment to remove dirt and grit that can abrade the finish. Damp mop occasionally with a manufacturer-approved wood floor cleaner; avoid excessive water, harsh chemicals, or steam cleaners. Place doormats at all entrances to trap dirt before it enters your home, and consider area rugs in high-traffic zones to add an extra layer of protection. Protect your floors from direct sunlight with curtains or blinds, as UV rays can cause fading over time. With these simple maintenance practices, your beautifully refinished wood floors will continue to be a source of pride and elegance in your home for many years to come.
Refinishing your wood floors is a labor of love that yields truly spectacular results, significantly enhancing your home’s appeal and value. It’s a testament to your commitment to maintaining a beautiful and comfortable living space. For more invaluable information about refinishing your wood floors, along with a wealth of other great DIY projects and essential home care advice, be sure to check out Nationwide’s blog. They are a fantastic resource for homeowners looking to protect and improve their most important asset.