
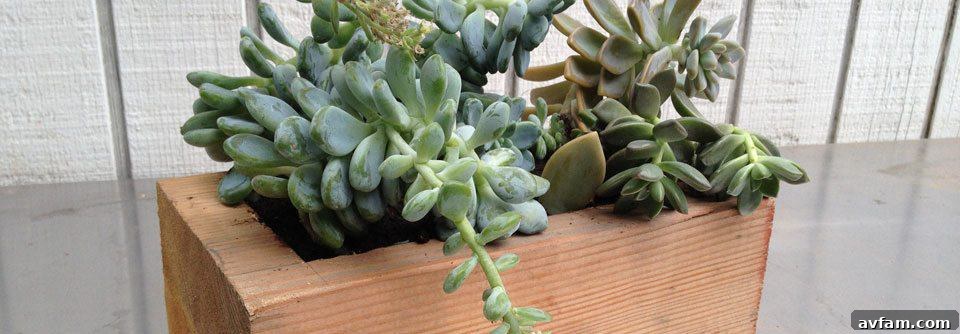
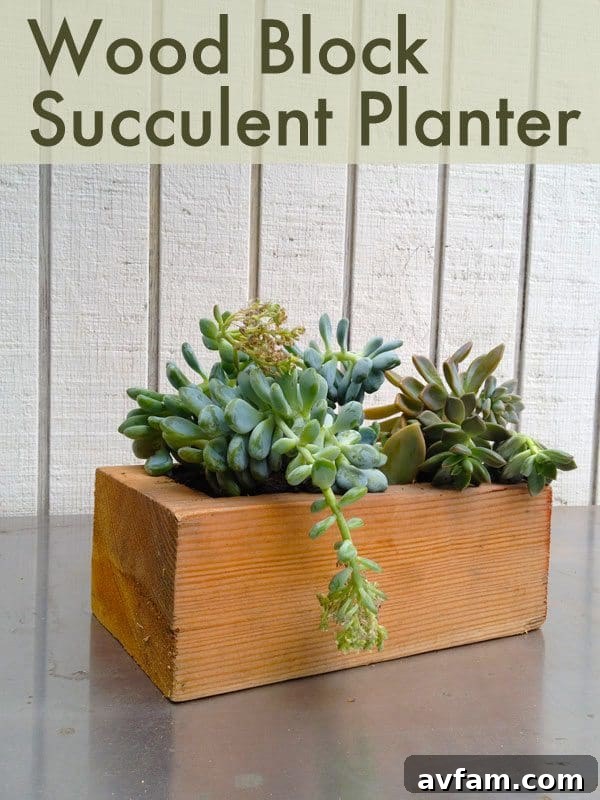
Craft Your Own Rustic Wood Block Succulent Planter: A Step-by-Step Guide
There’s something inherently charming about incorporating natural elements into home decor, and a beautifully crafted wood block succulent planter perfectly embodies this sentiment. Recently, I was captivated by the rugged elegance of planters made from old railroad ties. While those iconic timbers weren’t readily available in my workshop, the idea sparked an inspiration: why not create a similar aesthetic using readily accessible lumber pieces? This project promised to be a delightful blend of rustic charm and modern minimalist design, offering a unique home for a vibrant collection of succulents.
What began as a seemingly straightforward woodworking endeavor evolved into an insightful journey, full of unexpected challenges and creative problem-solving. Halfway through the process, I found myself re-evaluating my initial technique, pivoting to a different approach that ultimately led to success. While tools like a drill press equipped with a large boring bit or a router with a deep plunging bit might have streamlined the construction, embracing the improvisation and “hacking it together” aspect of DIY was an invaluable part of the experience. This guide will walk you through the entire process, sharing the lessons learned and empowering you to create your own stunning wood block succulent planter, even if you’re a beginner.
Why Choose a Wood Block Succulent Planter?
Creating a succulent planter from a solid block of wood offers numerous advantages beyond just aesthetics. It’s a fantastic way to:
- Add Organic Charm: The natural grain and texture of wood bring warmth and an organic feel to any space, perfectly complementing the unique forms of succulents.
- Upcycle and Repurpose: This project is ideal for using scrap wood or repurposing old timber, making it an eco-friendly choice.
- Customize Your Decor: You have complete control over the size, shape, and finish, allowing you to tailor the planter to your specific interior design style.
- Enjoy Low-Maintenance Greenery: Succulents are notoriously easy to care for, making this a perfect planter for busy individuals or those new to gardening.
- Experience the Joy of DIY: There’s immense satisfaction in crafting something beautiful and functional with your own hands.
Getting Started: Materials and Tools You’ll Need
1. Selecting Your Wood Block
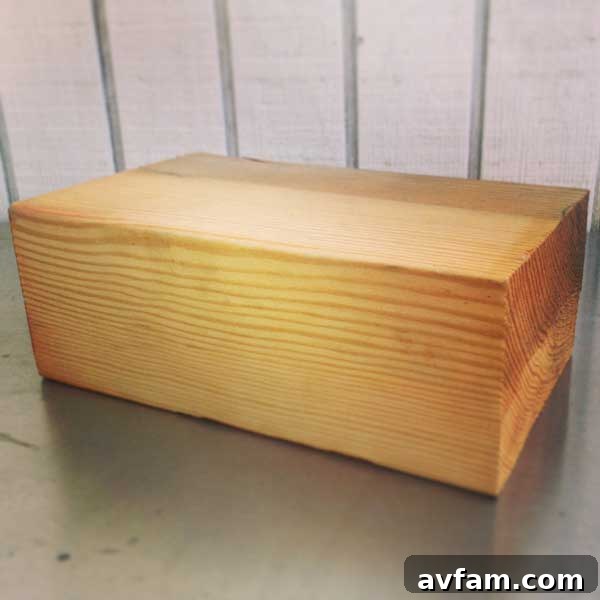
The foundation of this project is a sturdy block of wood. For my planter, I started with a piece of lumber measuring approximately 3 1/2 inches tall by 5 1/2 inches wide by 9 1/2 inches in length. This size provided ample depth for succulent roots and a good surface area for multiple cuttings. While these specific dimensions aren’t mandatory, I strongly recommend using a block that is at least 3 inches tall. Anything thinner, like a standard 2×4, might not provide sufficient depth for the succulent roots to thrive comfortably or for the aesthetic impact you might be aiming for. Consider hardwood for durability or softwood for easier carving; reclaimed wood can also add character. Ensure your wood is free from rot or significant cracks.
2. Essential Tools (and Some Lessons Learned)
As with many DIY projects, having the right tools can make all the difference, though sometimes improvisation is part of the fun! Here’s a look at the tools I used and my evolving strategy:
Initial Marking Tools:
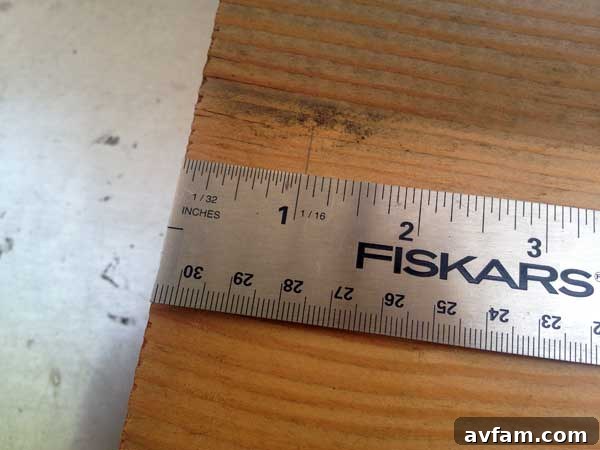
- Measuring Tape or Ruler: For precise measurements.
- Pencil: For marking cutting and drilling lines.
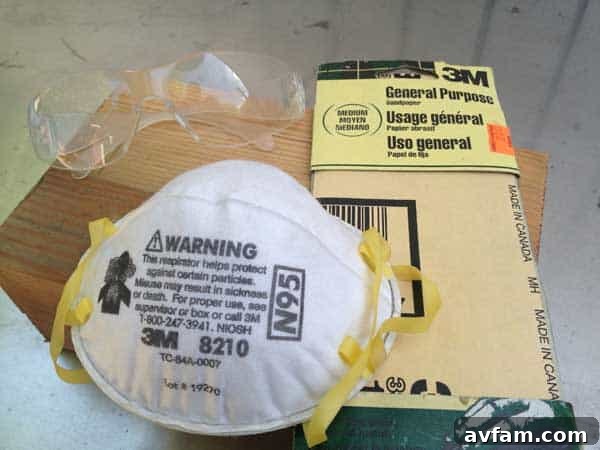
Absolutely Crucial Safety Gear:
Working with wood, especially when cutting or sanding, generates fine sawdust which can be harmful if inhaled. Protecting your eyes and lungs is non-negotiable.
- 3M Tekk Protection Safety Glasses: Essential for shielding your eyes from flying debris and sawdust.
- 3M Tekk Protection Respirator or Dust Mask: To prevent inhaling fine wood particles.
- Work Gloves: To protect your hands from splinters and improve grip.
Cutting and Shaping Tools (Trial and Error):
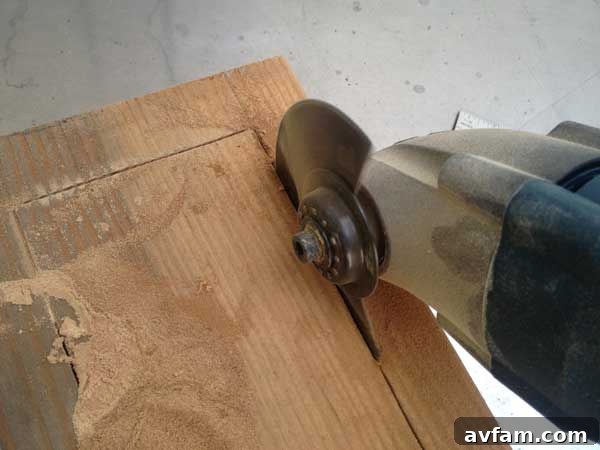
- Oscillating Multi-Tool with a Wood Cutting Attachment: My initial thought was to use this versatile tool to make the initial cuts. While excellent for many tasks, I quickly found it challenging to achieve the desired depth and a clean, consistent cut in solid wood for this particular application. The vibrations made precise, deep cuts difficult, and clearing out the material proved tedious.
- Wood Chisel: Intended for carving out the hollow after the oscillating tool, but the irregular cuts made by the oscillating tool hindered its effectiveness.
- 3M Advanced Abrasives Sandpaper: For smoothing rough edges and achieving a refined finish. Various grits (e.g., 80, 120, 220) will be useful.
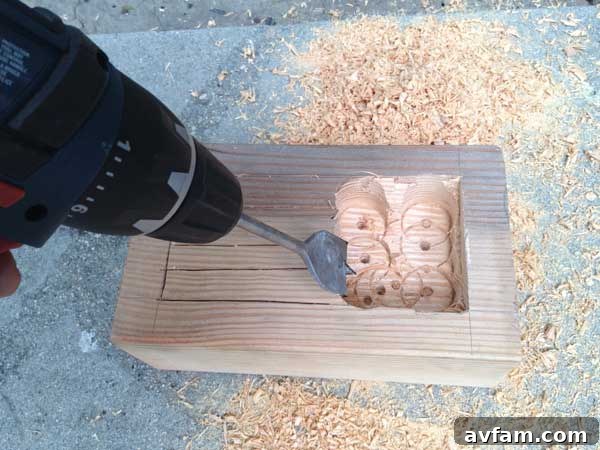
- Drill and 1-inch Spade Bit (or larger): This was the game-changer! After struggling with the oscillating tool, I switched to a drill combined with a spade bit. While a bit tedious compared to a dedicated boring bit or router, it proved highly effective for quickly drilling out a cavity about 2 inches deep. A larger spade bit (1.5″ or 2″) would be even faster if you have one.
Ideal Tools (If You Have Them):
If you have access to a more specialized woodworking shop, these tools would make the process even smoother:
- Drill Press: Provides stability and precision for drilling deep, straight holes with spade bits or Forstner bits, ensuring a consistent depth across the cavity.
- Forstner Bits: These bits create clean, flat-bottomed holes and are excellent for creating wide, shallow cavities.
- Router with a Deep Plunge Bit: A router would allow you to precisely carve out the cavity with smooth edges and consistent depth, offering the most professional finish.
Step-by-Step: Building Your Wood Block Succulent Planter
Step 1: Prepare and Mark Your Wood Block
Begin by ensuring your chosen wood block is clean and stable. If it’s rough, a quick pass with sandpaper can help. Once your block is ready, it’s time to mark out the area where your succulents will reside. Using your ruler and pencil, measure approximately one inch in from each side of the top surface of the block. This will create a border, framing your succulent garden beautifully and providing enough wood material to prevent cracking. Connect these marks to form a rectangular or square outline, depending on the shape of your block, which will define the perimeter of your planter cavity. Precision here helps achieve a clean, professional look.
Step 2: The Initial Carving Attempt (and Why We Pivoted)
As mentioned, my first instinct was to use an oscillating multi-tool with a wood cutting attachment to make a series of parallel cuts within the marked area, then clean out the material with a chisel. While an oscillating tool is incredibly versatile for various tasks like flush cutting or sanding in tight spaces, I quickly discovered its limitations for this specific application. Trying to plunge deeply into solid wood with the small cutting blade was inefficient, created a lot of sawdust, and made it difficult to maintain a consistent depth or straight edge. The experience highlighted an important DIY lesson: sometimes, the most obvious tool isn’t always the best for the job, and adapting your approach is key.
Step 3: Drilling the Cavity with a Spade Bit
This is where the project truly started to take shape! After abandoning the oscillating tool for the main excavation, I grabbed my drill and a 1-inch spade bit. A spade bit is designed to rapidly remove material, making it ideal for creating a deeper cavity. To proceed:
- Don Your Safety Gear: Before turning on any power tools, make sure your safety glasses are on and your respirator is securely fitted.
- Begin Drilling: Start drilling holes within the marked outline. Work systematically, overlapping the edges of each hole slightly to ensure all material within the perimeter is removed.
- Control Depth: Drill down to an approximate depth of 2 inches. If your succulents are particularly large or you anticipate growth, you might go slightly deeper, but 2 inches is generally sufficient for most small to medium succulent cuttings. Be mindful not to drill all the way through the block. You can mark your drill bit with a piece of tape to serve as a depth guide.
- Clear Material: As you drill, sawdust and wood chips will accumulate. Periodically clear these away to get a better view of your progress and prevent the bit from overheating.
- Smooth the Cavity: Once you’ve drilled out the majority of the material, you may have some rough edges or high spots. You can use a wood chisel to carefully smooth out the bottom and sides of the cavity, creating a relatively even surface. Don’t worry about perfection; a little rustic charm is part of the appeal.
This method, though a bit more manual than using a router, effectively created the necessary space for the succulents and was significantly faster and more controlled than the oscillating tool attempt.
Step 4: Finishing Touches (Optional but Recommended)
Once your cavity is carved, you might want to perform some finishing touches:
- Sanding: Use 3M Advanced Abrasives sandpaper (starting with a coarser grit like 80 or 120, then moving to a finer grit like 220) to smooth any rough edges on the exterior of the wood block. This enhances both the look and feel of your planter.
- Sealing: To protect the wood from moisture and prolong the life of your planter, consider applying a wood sealer or a waterproofing finish. A clear polyurethane or spar urethane would work well, especially if the planter will be exposed to humidity or occasional watering spills. Ensure the sealer is non-toxic if it might come into contact with plants or soil.
- Drainage (Consideration): For small succulent planters, especially those used indoors, drainage holes are sometimes omitted to keep the design clean. However, if you tend to overwater or are using a larger block, a small drainage hole drilled in the bottom can prevent root rot. If you choose not to add drainage, be extra careful with watering.
Step 5: Planting Your Succulents
Now for the most rewarding part – bringing your planter to life! You’ll need specialized succulent potting mix and your chosen succulent cuttings.
- Add Soil: Fill the carved cavity with a high-quality succulent potting mix. This specialized soil is designed to drain quickly, which is crucial for succulent health.
- Arrange Cuttings: Gently place your succulent cuttings into the soil. Experiment with different arrangements, mixing textures, colors, and heights for an appealing display. If you’re using cuttings that haven’t rooted yet, simply insert them into the soil; they will root over time. For an even more patient approach, you could propagate new succulents from individual leaves and small stems, covering them lightly with soil, but that’s a project for another day!
- Water Sparingly: After planting, give your succulents a light watering. Succulents prefer a “soak and dry” method – water thoroughly, then allow the soil to dry out completely before watering again. Overwatering is the most common cause of succulent demise.
- Placement: Place your beautiful new wood block succulent planter in a location where it will receive plenty of bright, indirect sunlight. Succulents love light!
Maintaining Your Wood Block Succulent Planter
Once your wooden planter is complete and your succulents are settled, a little ongoing care will ensure they thrive and continue to beautify your space.
- Watering Schedule: The key to happy succulents is infrequent but thorough watering. Allow the soil to completely dry out between waterings. The frequency will depend on your climate, the type of wood used, and indoor humidity. A good rule of thumb is to check the soil moisture with your finger; if it’s dry about an inch or two down, it’s likely time to water.
- Light Requirements: Most succulents need at least 4-6 hours of bright, indirect sunlight per day. If your planter is indoors, a south-facing window is often ideal. Rotate the planter occasionally to ensure all sides of the succulents receive adequate light, promoting even growth.
- Pest Control: Keep an eye out for common succulent pests like mealybugs. If you spot any, gently wipe them away with a cotton swab dipped in rubbing alcohol or use an organic insecticidal soap.
- Repotting: As your succulents grow, they might eventually outgrow their wooden home. While this planter is designed for smaller arrangements, you can always propagate new cuttings from larger plants or gently move them to a new, larger planter.
- Wood Care: If you sealed your wood, it should hold up well against minor spills. If left untreated, the wood might develop a natural patina over time. Should the wood start to look dry or dull, a fresh coat of sealer or even a natural wood oil can rejuvenate its appearance.
Embracing the DIY Journey
This wood block succulent planter project is more than just creating a decorative item; it’s an opportunity to engage with woodworking, learn new skills, and appreciate the creative process. The minor setbacks encountered, like the initial tool choice, became valuable learning experiences, proving that adaptability and persistence are key traits in any DIY endeavor. The satisfaction of transforming a simple piece of lumber into a functional and beautiful home for living plants is truly rewarding.
Whether you’re an experienced woodworker or just starting your DIY journey, this project offers a manageable challenge with a stunning outcome. It’s a testament to the fact that you don’t always need specialized tools or materials to create something unique and personal. So, gather your wood, embrace the process, and get ready to enjoy your very own handcrafted wood block succulent planter – a perfect blend of nature, craft, and personalized style for your home or office.
This post is a collaboration with 3M DIY. To keep up-to-date on projects, products and sampling visit 3MDIY.com.