
Mastering Cooler Packing: Your Essential Guide to Unbeatable Ice Retention
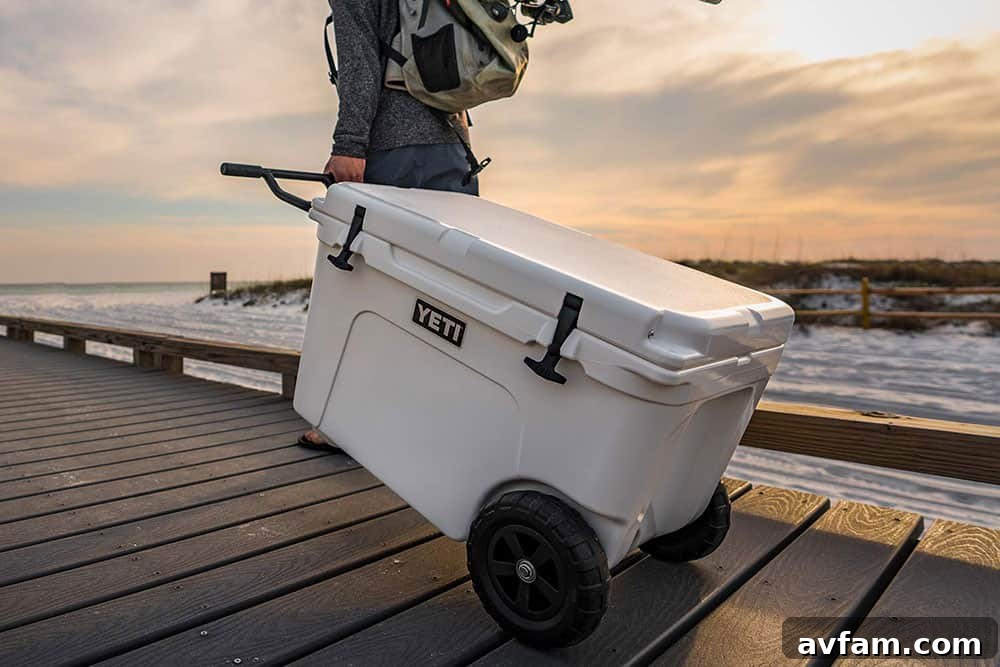
Whether you’re gearing up for a serene beach day, an exhilarating camping trip, a lively tailgate party, or simply an afternoon picnic, the unsung hero of your outdoor experience is often a properly packed cooler. While high-performance coolers like the renowned Yeti models have revolutionized the game, offering superior insulation and durability, the true secret to prolonged ice retention lies not just in the cooler you own, but in how you pack it. Even the most advanced cooler can underperform if not packed strategically. This comprehensive guide will equip you with insider tips and techniques to ensure your ice lasts longer, keeping your food fresh and your beverages perfectly chilled for the duration of your adventure, regardless of your cooler’s brand or type.
1. The Golden Rule: Pre-Chilling Your Cooler for Optimal Performance
Imagine pulling your cooler straight from a warm garage or shed and immediately filling it with ice. This common mistake is one of the fastest ways to melt your ice supply, often causing significant ice loss within mere hours. A warm cooler acts like a thermal sponge, absorbing the cold from your freshly added ice and rapidly diminishing its lifespan. The absolute best practice for optimal ice retention begins long before you load your perishables: pre-chill your cooler. This vital preparatory step involves cooling the internal temperature of your cooler down significantly before adding your main contents. You can achieve this by filling it with sacrificial ice or dedicated ice packs overnight, ideally for 12-24 hours prior to your packing schedule. For those with access, placing it in a walk-in freezer or a very cold room for several hours can also work wonders. A properly pre-chilled cooler starts cold and stays cold, giving your fresh ice a crucial head start and dramatically extending its chilling power throughout your entire trip, ultimately preserving your refreshments and food much longer.
2. Strategic Freezing: Utilize Frozen Food and Drinks as Natural Ice Packs
Elevate your cooler packing game by intentionally incorporating frozen items. Frozen food and drinks serve a powerful dual purpose: they stay perfectly preserved until you’re ready to consume them, and, more importantly, they act as additional, long-lasting ice blocks. Think of them as natural, slow-release cooling agents that contribute significantly to the overall coldness of your cooler. Consider freezing water bottles, juice boxes, pre-cooked meals, or even packaged meats a day or two before your trip. These frozen items will gradually thaw over time, continuously providing sustained cold to their surroundings without creating excessive meltwater early on. This clever technique not only maximizes the cold within your cooler but also helps in organizing your contents, allowing you to space out items that need to stay colder longer. Always ensure that any raw meats or items susceptible to cross-contamination are in tightly sealed, waterproof containers to prevent leaks and maintain hygiene.
3. Don’t Skimp on Ice: Understanding the Optimal Ice-to-Content Ratio
One of the most frequent and critical mistakes made when packing a cooler is underestimating the sheer volume of ice truly needed. Industry leaders and seasoned outdoor enthusiasts alike suggest an ideal ice-to-content ratio of 2:1. This means for every one part of food and drinks by volume, you should aim for two parts of ice. This ratio might seem excessive at first glance, but it’s absolutely crucial for maximizing cold retention. A generous amount of ice ensures there’s enough thermal mass to effectively combat external heat and maintain a consistently low internal temperature, effectively insulating your perishable goods. If you find that achieving this ratio means your cooler is bursting at the seams, it’s a clear sign you might need a larger cooler. Alternatively, consider using two smaller, properly packed coolers instead of attempting to cram everything into one with insufficient ice. Two strategically packed coolers will almost always outperform one overstuffed, poorly iced cooler, offering better organization and significantly longer-lasting cold.
4. Ice Temperature and Type Matters: Blocks, Cubes, and the Power of Dry Ice
Not all ice is created equal, and understanding the distinct properties of different types can significantly impact your cooler’s performance and the longevity of its cold. For ultimate cooling power, especially on extended trips where extreme cold is required, dry ice is unparalleled. With a freezing point far below water ice, dry ice keeps contents frozen solid for extended periods, but it requires careful handling (always use thick gloves!) and proper ventilation, and should never come into direct contact with food or drinks unless specifically intended for freezing. A more practical and highly effective alternative for general use is block ice. Its larger mass and lower surface area compared to cubes mean it melts much slower, providing sustained, long-term cooling. Use block ice at the bottom of your cooler to create a robust cold foundation. Cube ice, on the other hand, excels at filling gaps, chilling items quickly due to its higher surface area, and molding around irregular shapes. For the best of both worlds, use a combination: blocks for enduring longevity and cubes for comprehensive chilling and efficient gap-filling. Additionally, avoid using ice directly from your home refrigerator’s ice maker for primary cooling, as it tends to be softer and melt faster; store-bought ice is typically denser and lasts significantly longer due to its production process.
5. Eliminate Air Gaps: The Silent Enemy of Cooler Efficiency
Air, specifically warm air, is undeniably your cooler’s biggest adversary. Every pocket of un-chilled air inside your cooler represents an opportunity for heat transfer. This warm air circulates, transferring heat to your cold items and forcing your ice to work harder and melt faster to cool this dead space. The fundamental goal is to pack your cooler as densely as possible, leaving minimal room for air circulation. After strategically placing your frozen items, block ice, and beverages, meticulously fill any remaining voids with cube ice. If, even after adding ample ice, you still have significant air gaps, don’t just leave them empty. Utilize readily available items like crumpled newspapers, extra towels, insulating foam, or even empty, clean plastic bags to displace the air. These materials provide valuable additional insulation, preventing warm air from circulating freely and significantly reducing the workload on your precious ice supply. A tightly packed cooler with minimal air pockets will maintain its temperature much more efficiently, thereby extending the life of your ice and the freshness of your contents.
6. Don’t Drain the Cold Water: It’s Your Ally in Ice Retention
A common, yet often counterproductive, instinct is to immediately drain the meltwater from your cooler as soon as it begins to accumulate, under the misguided assumption that it will prolong the life of the remaining ice. However, this is frequently a mistake. Cold water, surprisingly, acts as an excellent insulator. As long as the water itself remains cold and clean, leaving it in the cooler can actually help maintain a lower overall temperature within the cooler’s compartment. The cold water surrounding the ice blocks and cold items helps to create a stable, chilled environment, slowing down the melting process of the remaining ice by reducing the temperature differential. The only times you should consider draining it are if the water becomes excessively dirty or if you absolutely need the extra space within the cooler for reorganization. To prevent food items from becoming waterlogged or potentially contaminated by floating debris, always store perishable items in waterproof, airtight containers or resealable bags. This way, your food stays dry and safe, while the cold water continues to work its magic, actively contributing to longer ice retention.
7. Harness the Power of Shade and External Insulation for Your Cooler
Where you place your cooler can be just as important, if not more so, than how you pack it. Direct sunlight is a primary enemy of ice retention, causing the cooler’s exterior to heat up rapidly and accelerating internal ice melt. Always seek out shade for your cooler, whether it’s under a tree, beneath a picnic table, tucked away in a shaded spot under your vehicle, or even beneath a pop-up canopy. If natural shade isn’t readily available, improvise! Cover your cooler with a light-colored towel, a blanket, a tarp, or even a reflective sun shade. Lighter colors reflect sunlight and heat more effectively than darker ones, preventing the cooler’s surface from absorbing too much solar radiation. Furthermore, elevating your cooler off hot surfaces like scorching asphalt, concrete, or even hot sand can significantly help, as these surfaces absorb and radiate heat directly into the cooler’s base. A simple blanket, a few pieces of wood, or even a specialized cooler stand underneath can create an effective thermal barrier against ground heat, further safeguarding your precious ice supply and extending its life.
8. Minimize Lid Openings: Preserve the Precious Cold Air
Every single time you open your cooler, a significant amount of the precious, cold air inside escapes, replaced almost immediately by warmer ambient air from the surrounding environment. This sudden influx of warm air forces your ice to work overtime to re-cool the entire internal environment, drastically shortening its overall lifespan. To combat this heat exchange, adopt a strategic and mindful approach to accessing your cooler’s contents. Plan ahead: group frequently needed items together near the top for easy retrieval. If your trip is extended or involves numerous people, consider designating a “main” cooler for long-term food storage and a “day” cooler specifically for frequently accessed beverages. This separation minimizes the number of times your main cooler is opened. Encourage everyone to grab multiple items at once rather than repeatedly opening the lid for single drinks. The less frequently your cooler is opened, and the quicker it’s closed, the better your chances of maintaining maximum ice retention for the entire duration of your outing. Think twice, open once – this simple mantra can make a world of difference.
9. The Rock Salt Secret: Rapid Chilling and Enhanced Cold Performance
For an advanced chilling hack, particularly useful for rapidly cooling beverages or subtly enhancing the longevity of your ice, introduce rock salt into the mix. The fascinating science behind this technique is rooted in cryogenics: when salt is added to melting ice, it significantly lowers the freezing point of the water, causing the ice to melt at an even colder temperature than usual. This creates a super-chilled brine mixture that can dramatically accelerate the cooling of beverages. To implement this, first load your cooler with your drinks and a good layer of ice. Then, sprinkle a generous amount of rock salt evenly over the top layer of ice. Close the lid tightly and allow chemistry to do its work. Within just 30 minutes, you’ll notice your drinks are significantly colder, often reaching near-freezing temperatures, making them incredibly refreshing. This method is exceptionally effective for chilling a large batch of beverages quickly, making it a favorite for parties, tailgates, and gatherings where immediate cold drinks are a must. Remember, while excellent for chilling drinks quickly, for food safety, ensure any food items are in sealed, waterproof containers if they might come into direct contact with the salt mixture, as direct exposure to salt can affect taste and preservation.
Conclusion: Master the Art of Cooler Packing for Endless Adventures
From rugged camping expeditions to leisurely days by the water, mastering the art of cooler packing is an invaluable skill that significantly enhances any outdoor experience. While a premium, well-insulated cooler certainly offers an undeniable advantage in terms of heat retention, it’s the meticulous combination of thoughtful preparation and strategic packing techniques that truly unlocks its full potential. By diligently pre-chilling your cooler before use, strategically freezing a portion of your contents, optimizing your ice-to-content ratio, choosing the right type of ice for the job, eliminating wasteful air gaps, protecting your cooler from environmental heat, and minimizing lid openings, you’re not just packing a cooler—you’re engineering an extended haven of refreshing cold. Embrace these expert tips and tricks on your next adventure, and discover the unparalleled joy of perfectly chilled drinks and fresh, safe food that lasts as long as your treasured memories. Happy trails, and most importantly, stay cool!