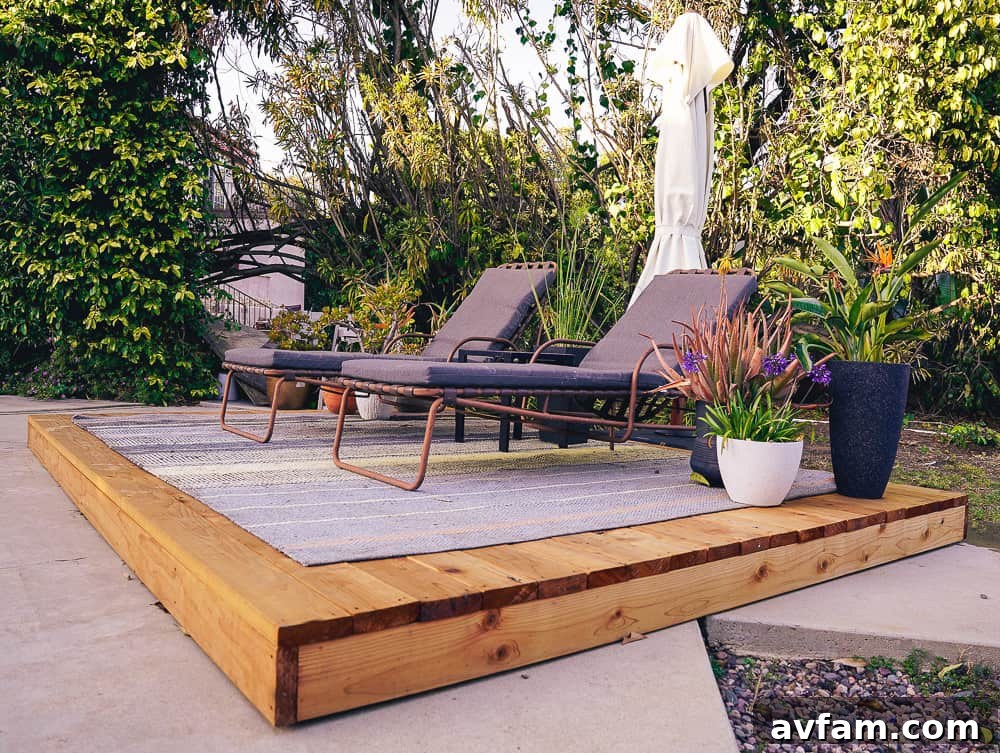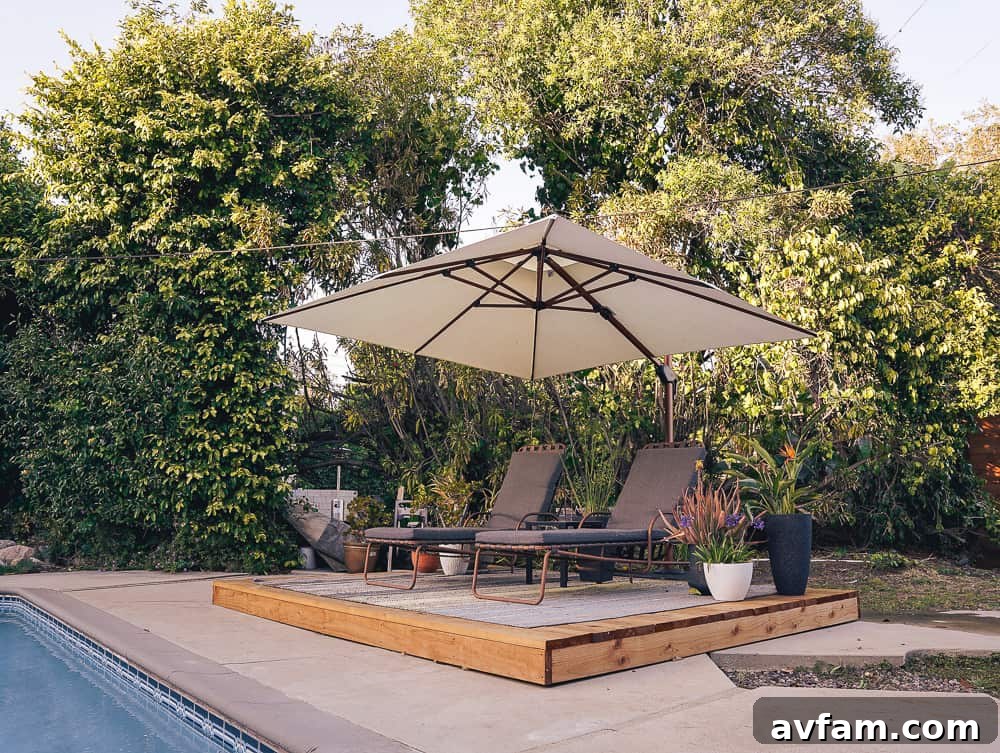
Building a beautiful, functional outdoor living space is a dream for many homeowners, and a raised redwood deck stands out as an exceptionally rewarding DIY project. Known for their rapid construction, the affordability of redwood lumber, and the enduring beauty they add to any landscape, these decks are a popular choice. This comprehensive guide will walk you through the precise steps we followed to construct our own stunning raised redwood deck, transforming our outdoor area into a cherished retreat.
In a previous article, we delved into the intricacies of designing our raised redwood deck, focusing on meticulous planning and material selection. Now, we’re excited to share the practical, step-by-step process of bringing that design to life, ensuring you have all the information needed to successfully build your own.
Essential Tools for Building Your Redwood Deck
One of the appealing aspects of constructing a redwood deck, especially when utilizing stock lumber sizing as we did, is the minimal need for complex tools. By carefully planning your deck dimensions to match standard lumber lengths, you can significantly reduce the amount of cutting required, saving both time and potential material waste. For this particular deck project, no specialized equipment was necessary, making it highly accessible for the average DIY enthusiast.
While traditional deck building often involves a hammer and deck nails, we opted for a more efficient fastening method to ensure maximum durability and ease of installation. We chose to use 2 1/2 inch star-drive deck screws, driven by a powerful impact driver. This combination not only speeds up the fastening process but also provides a much stronger hold. To prevent any splitting in the redwood boards, especially near the ends where stress is concentrated, we utilized a small drill bit for pre-drilling holes before driving the screws.
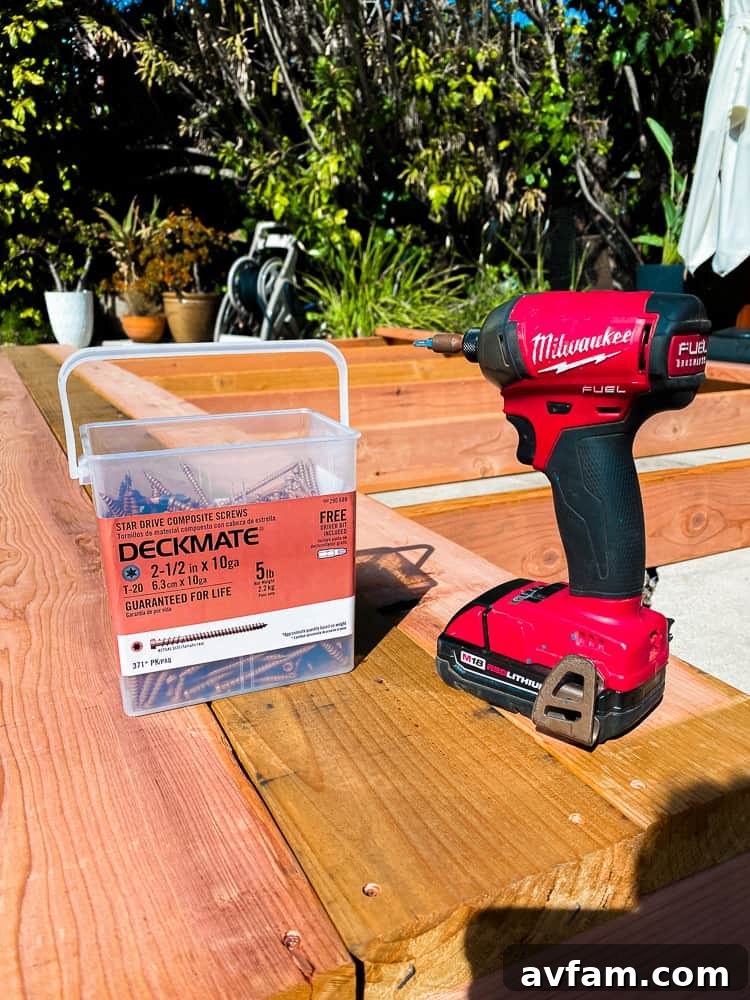
Here’s your comprehensive checklist of essential tools for building a redwood deck:
- Tape Measure: Absolutely crucial for accurate layout, measuring lumber, and squaring the frame. Precision here prevents costly mistakes later on.
- Impact Driver: Dramatically speeds up screw installation and provides excellent torque, making it easier to drive long deck screws without stripping.
- 1/4″ Drill Bit: Used for pre-drilling pilot holes, particularly important when working with redwood’s natural tendencies to split if not prepped correctly, especially near board ends.
- Star Impact Bit: Designed for star-drive screws, these bits offer superior grip and are far less prone to stripping compared to traditional Phillips head bits, ensuring a smoother, more efficient fastening process.
- Safety Glasses and Gloves: Always prioritize safety on any DIY project.
- Pencil and Straightedge: For marking cuts and measurements clearly.
- Level (4-foot preferred): Essential for ensuring your deck frame is perfectly level, especially if your foundation isn’t perfectly even.
While not strictly necessary if you’ve planned your cuts meticulously with stock lumber, having a miter saw or circular saw on hand can be incredibly useful for any unexpected trimming or adjustments that may arise. It provides flexibility and can correct minor discrepancies, though with careful planning, its use can be minimized.
Why Choose Redwood for Your Deck?
When embarking on a deck building project, the choice of material is paramount, with numerous options available. Our extensive experience, particularly with redwood in constructing fences and various other outdoor structures, has consistently reinforced its superiority. Redwood is remarkably easy to work with, making the building process smoother, and the finished product consistently offers a stunning aesthetic that often surpasses other wood choices.
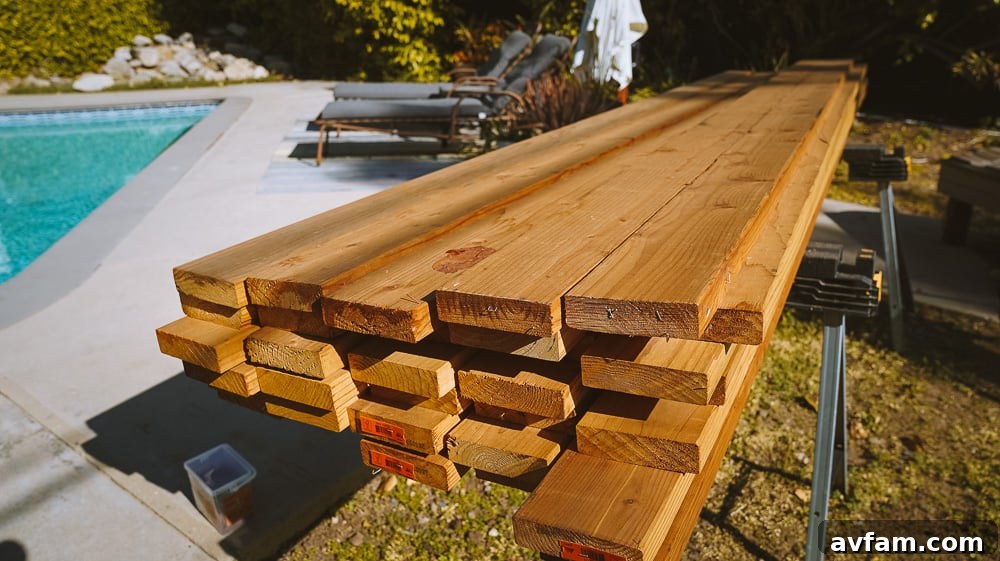
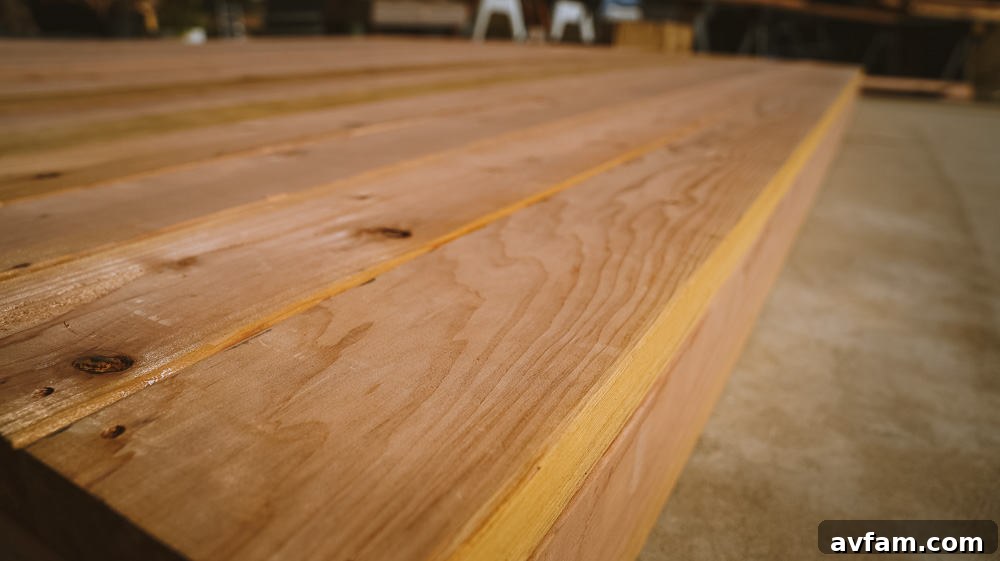
While redwood is considered a premium building material when compared to more common options like pine or Douglas fir, it presents a significantly more economical alternative to composite decking materials. Beyond its visual appeal, redwood boasts inherent natural resistances to rot and insects, making it an ideal candidate for outdoor applications where durability against the elements is crucial. A key advantage is its ability to be left untreated, as we chose for our deck, allowing its natural beauty to shine through. However, applying a sealant or stain can add an additional layer of protection, extending its lifespan and maintaining its vibrant color longer.
For this specific project, we selected Mendocino Redwood, a reputable brand readily available at most local Home Depot stores. Mendocino Redwood proudly carries the Forest Stewardship Council® (FSC® C013133) certification. This certification signifies that the redwood is sourced from forests managed in an environmentally responsible manner, adhering to some of the most rigorous environmental standards globally. Choosing FSC-certified lumber supports sustainable forestry practices, contributing positively to energy conservation and the absorption of greenhouse gases.
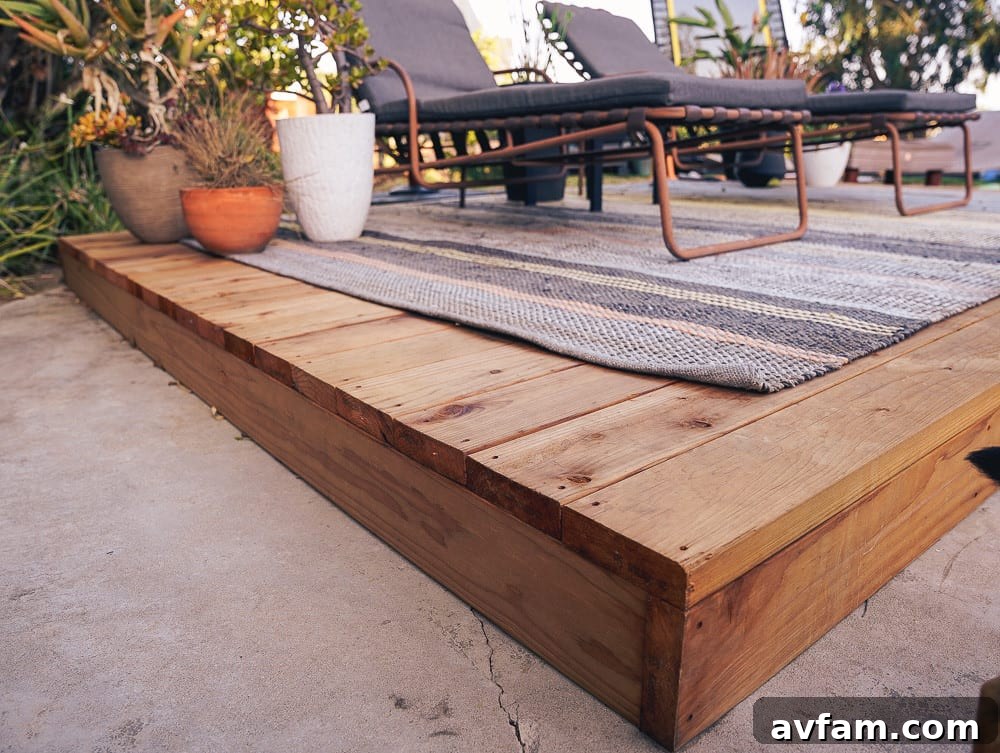
Our deck design measured 12 x 10 feet, a popular and manageable size that offers ample space for outdoor furniture, such as two chaise lounges and a small table, while conveniently fitting within the standard dimensions of stock lumber. This design choice minimizes the need for extensive cutting and reduces waste, simplifying the overall build.
For your convenience, here is our specific lumber cut list, designed to utilize readily available stock sizes:
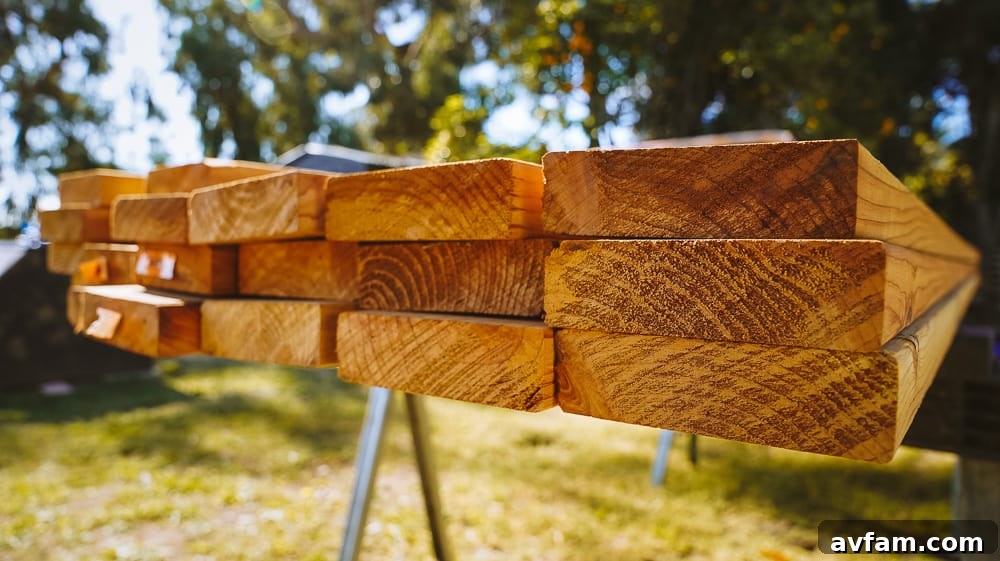
- 26 – 2 x 6 x 12 ft Construction Heart S4S Redwood Lumber (available at Home Depot)
- 15 – 2 x 6 x 10 ft Construction Heart S4S Redwood Lumber (available at Home Depot)
When ordering lumber for delivery, it’s a wise practice to include a few extra boards, often referred to as “overage.” This accounts for the possibility of receiving boards that might be warped, bowed, or damaged during transit. If you’re hand-selecting each piece at your local Home Depot, you have the advantage of picking the straightest and highest-quality boards yourself, potentially reducing the need for as much overage. In our case, nearly all the boards arrived in excellent condition, leaving us with some extra redwood that we can use for future projects, such as building more raised planter boxes.
Preparing Your Deck’s Foundation and Surface
The success and longevity of your redwood deck heavily rely on a properly prepared foundation. Once you’ve finalized the ideal location for your deck, the next crucial step is to meticulously prepare the underlying surface. This preparation involves ensuring the area is thoroughly clean, level, and stable, providing a solid base for your structure.
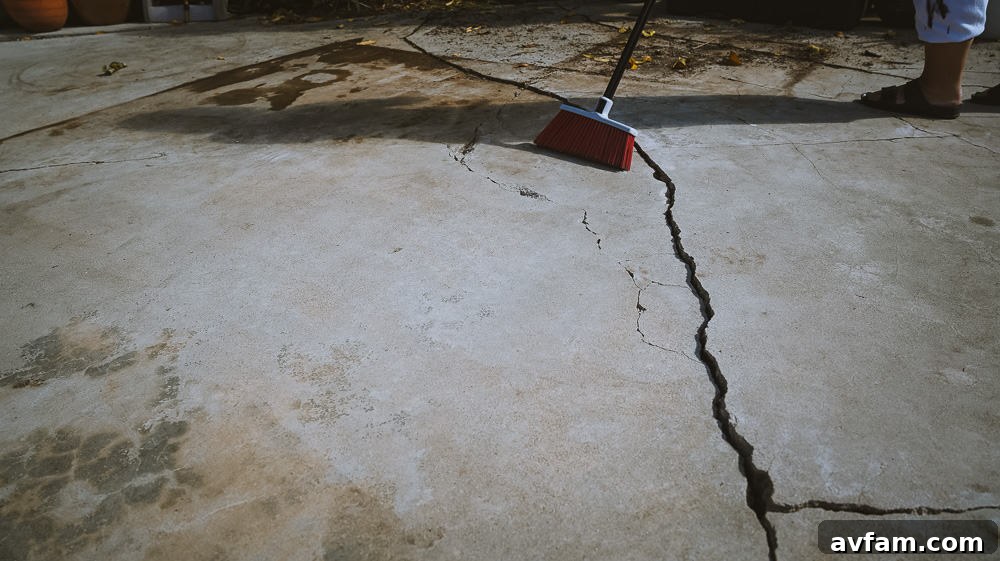
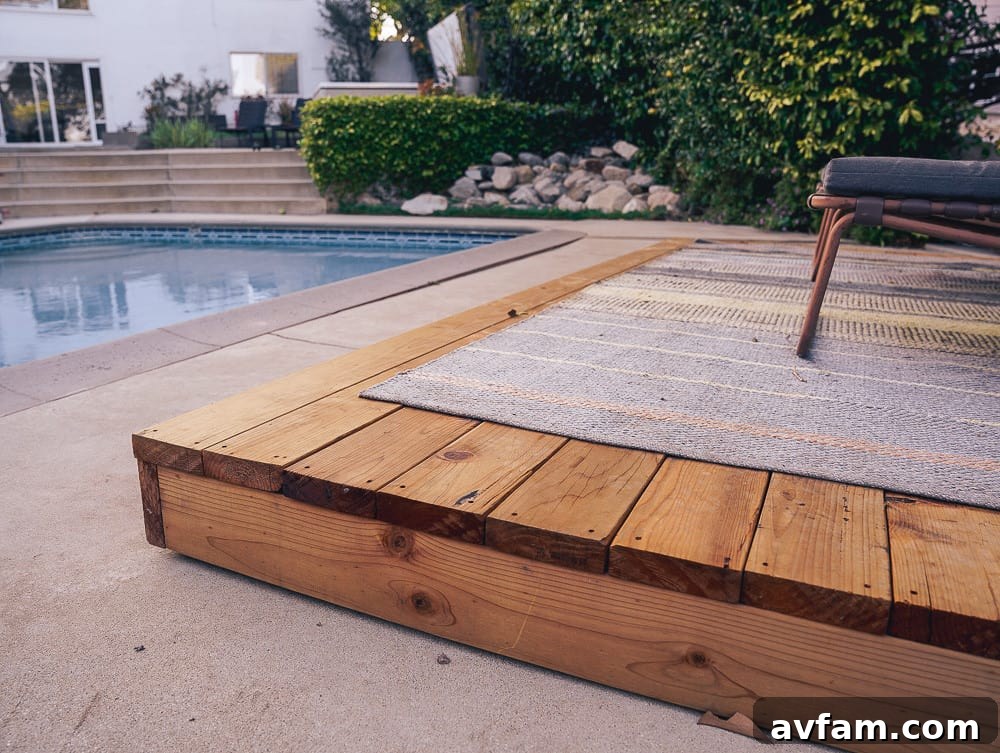
For our project, we were fortunate to build our deck directly on an existing solid concrete slab, which served as our pool deck. This surface was already level, though it had some minor cracks that the new deck would effectively conceal. However, if your deck is planned for a dirt or grass area, the preparation process will involve additional critical steps. In such scenarios, it is imperative to create a stable base using either compacted gravel or paver blocks. This foundation is essential to prevent the deck from shifting, settling unevenly, or sinking over time due to soil movement or moisture. While this adds a bit of time and effort to your overall build, it is a non-negotiable step for ensuring the structural integrity and durability of your deck.
Our preparation process was relatively simple: we used a pressure washer followed by a sturdy broom to thoroughly clean the concrete patio, removing all dirt, debris, and any loose particles. This ensured a clean, smooth surface for the deck frame to rest upon. Remember, a solid foundation is the bedrock of a long-lasting and safe deck.
Layout and Squaring the Deck Frame
The beauty of our deck design lies in its simplicity, making the framing process straightforward yet critical. The initial step involves laying out the main perimeter of your deck. Begin by placing two 12-foot boards to form the front and back of your frame. Subsequently, position two 10-foot boards to serve as the sides. It’s crucial to correctly orient these side pieces: they should be placed *in between* the two 12-foot boards, rather than butting up against their ends. This configuration means the overall width of your deck will be determined by the 12-foot boards, and the 10-foot boards will fit snugly inside, accounting for their 1.5-inch thickness on each side.
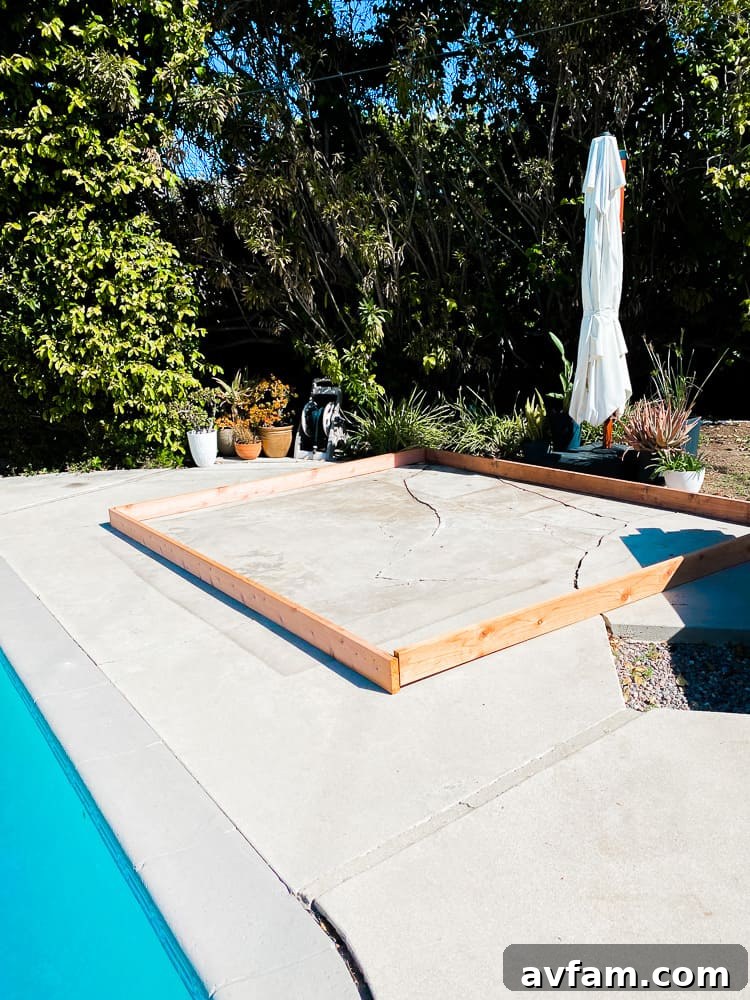
The most paramount aspect of constructing any rectangular deck, regardless of its size, is to ensure it is perfectly square. A perfectly square deck means that each inside corner measures precisely 90 degrees. If your deck frame is “out of square,” the consequences can be significant: your deck boards won’t align correctly, the entire structure will appear crooked, and you may encounter difficulties with future additions or railings. Achieving a square frame from the outset saves immense frustration and rework later on.
To square your deck frame effectively, follow these steps:
- Initial Fastening: Begin by attaching all four corners of your frame with screws, but do not tighten them completely. Leave them slightly loose to allow for minor adjustments.
- Diagonal Measurement: With the frame loosely assembled, take a tape measure and measure both diagonal distances across the deck. Measure from one corner to the opposite corner, and then repeat this for the other two opposite corners.
- Checking for Square: For a perfectly square deck, these two diagonal measurements must be exactly equal. It is highly likely that your first measurements will show a difference, perhaps by an inch or more.
- Adjusting the Frame: To correct any discrepancy, gently tap on one side of the frame. If one diagonal is longer, slightly push or pull on the corner of the opposing side to shorten or lengthen that diagonal measurement. For example, if the measurement from top-left to bottom-right is longer than top-right to bottom-left, you’ll need to push the top-right corner inward or pull the bottom-left corner outward.
- Iterative Adjustment: Take another diagonal measurement and continue to make small adjustments by tapping or shifting the frame until both diagonal measurements are precisely equal. This iterative process requires patience but is vital for accuracy.
- Final Tightening: Once both diagonal measurements are identical, your deck frame is perfectly square. At this point, you can fully tighten all the corner fasteners, securing the frame in its square position. Take one final diagonal measurement to confirm its squareness.
An alternative method for squaring, especially useful for smaller frames, is the “3-4-5 rule.” Measure 3 feet along one side from a corner, 4 feet along the adjacent side from the same corner, and the diagonal between these two points should be exactly 5 feet. This confirms a perfect 90-degree angle. Apply this to all four corners for thorough squaring.
Adding Robust Deck Supports
With the deck frame expertly squared and secured, the next vital step is to integrate the internal deck supports, often referred to as joists. For our ground-level redwood deck, we opted to space these frame supports 24-inches on center. This spacing provides ample stability and support for the redwood decking boards, while being efficient with material. While the standard for some elevated decks might be 16-inches on center, for a ground-level application like ours, 24-inches proved entirely sufficient. Always remember to check your local building codes if you have any concerns regarding joist spacing, as codes can vary by region and deck type.
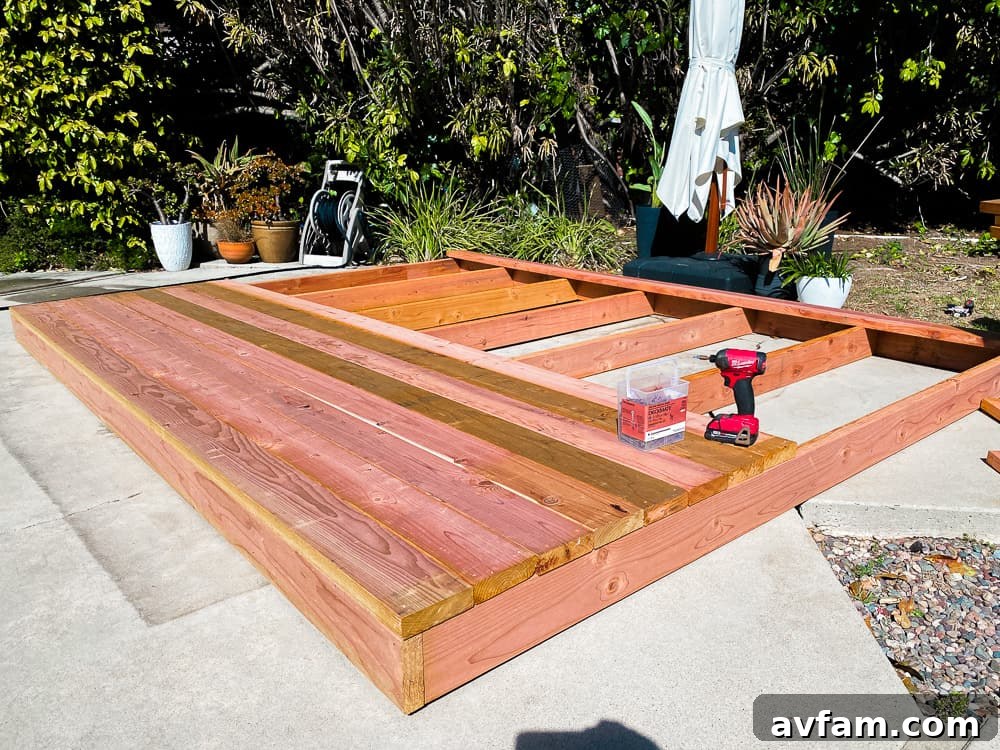
During the planning phase, we did consider the possibility of slightly raising the deck using concrete footers or deck blocks. These are typically used to elevate the deck structure off the ground, preventing direct contact with soil and improving air circulation, which can be crucial in wet climates. However, given that our deck was built on an existing concrete slab and we reside in a relatively dry climate, we ultimately decided against using additional footers. This decision allowed the deck to remain at our desired low height, blending seamlessly with the surrounding patio.
For those building on bare ground, gravel, or in a wet climate, incorporating footers is highly recommended. These can be pre-cast concrete deck blocks or concrete piers, which create a barrier between the wood and the ground, significantly extending the life of your deck by protecting it from moisture and pest intrusion. Footers also provide a stable, level base for your joists to rest on, especially if your ground is uneven. Ensure the joists are securely attached to the main frame using appropriate fasteners and, if necessary, joist hangers for maximum strength and load-bearing capacity.
Installing Your Redwood Deck Boards
With the frame and supports meticulously in place, the exciting final step in building your deck is the installation of the redwood deck boards. This is where your deck truly begins to take shape and reveal its character. Lay the 12-foot redwood deck boards across the length of the deck frame, ensuring they are perpendicular to your joists. For each board, drive two screws into every underlying deck support (joist) to ensure maximum stability and prevent any movement or squeaking over time.
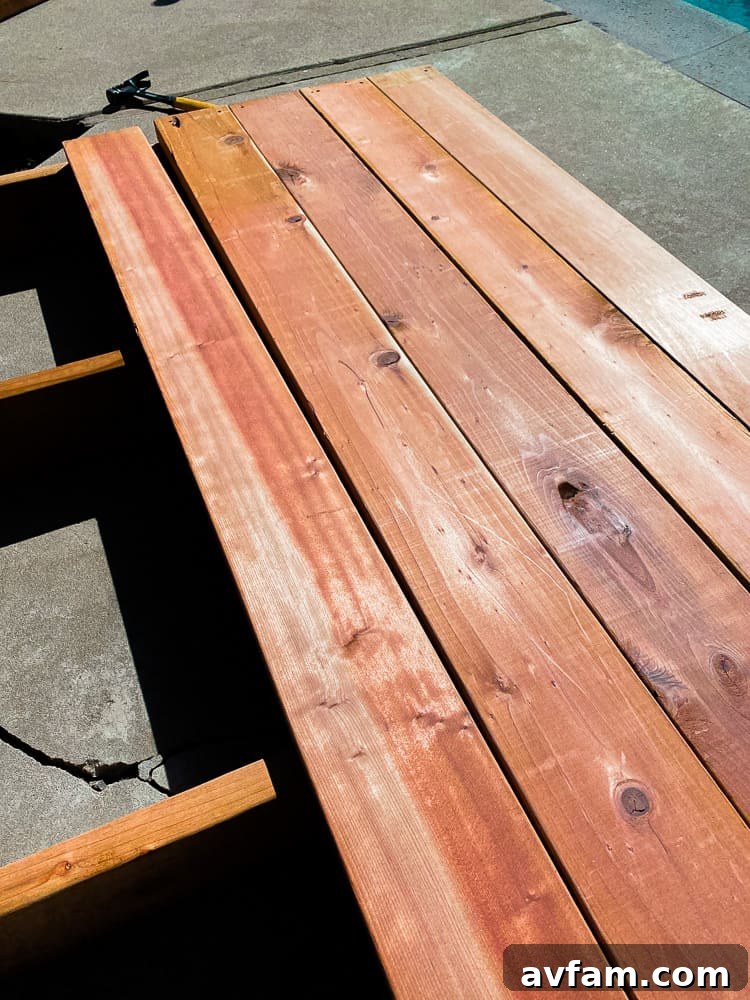
Crucially, you must leave a consistent gap between each deck board. This spacing is vital for several reasons: it allows for natural expansion and contraction of the wood due to changes in temperature and humidity, facilitates proper drainage of rainwater, and provides ventilation to help prevent moisture buildup and potential rot. A common and easy technique to maintain consistent spacing is to use a spare screw or a dedicated deck board spacer (typically 1/8″ to 1/4″ wide) placed between boards as you fasten them. This ensures uniform gaps across the entire deck surface.
To prevent the ends of the redwood boards from splitting when fastening, particularly important where the screws are close to the edge, we diligently pre-drilled pilot holes. This simple step saves time and ensures a clean, professional finish without damaged boards.
Working with natural wood means you might encounter boards that are slightly bowed or warped. Here are some tips for handling them:
- Bowed Boards: If a board has a slight bow (a gentle curve along its length), orient it with the “crown” or high point facing upwards in the middle. As you fasten it to the joists, the screws will pull it down, allowing it to settle flat over time.
- Warped Boards: For boards that are more significantly warped or twisted, it’s often best to secure one end first. Then, using clamps, a pry bar, or even your body weight, apply pressure to align the rest of the board over the joists before driving in the remaining screws. Sometimes, a “board bender” tool can be incredibly helpful for stubborn pieces.
Our deck board installation proceeded remarkably smoothly, and within just a couple of hours, our new redwood deck was fully decked out, ready for the next steps!
Sanding, Sealing, and Staining Your Deck for Longevity
Once your beautiful redwood deck is fully constructed, applying the final touches of sanding, sealing, or staining is paramount to maximize its lifespan, enhance its aesthetic appeal, and ensure long-term enjoyment. While redwood is naturally durable, these finishing steps offer crucial protection against the elements and daily wear and tear.
Our specific redwood boards arrived exceptionally smooth, minimizing the need for extensive sanding. However, for most deck projects, a light sanding after installation is highly recommended. Sanding helps to smooth out any rough spots, splintering, or inconsistencies that may have occurred during handling or installation. It also prepares the wood surface to better absorb any chosen protective finish, ensuring a more even and lasting application. Use a random orbital sander with medium-grit sandpaper (e.g., 80-100 grit) and always sand with the grain of the wood.
While leaving redwood untreated allows it to naturally weather to a beautiful silver-gray patina, applying a clear poly stain or a specialized deck sealer isn’t just an aesthetic choice—it’s a critical measure for protection. These finishes offer several key benefits:
- UV Protection: Guards the wood against harmful ultraviolet rays from the sun, which can cause fading and degradation.
- Moisture Resistance: Creates a barrier against rain, dew, and spills, preventing water absorption which leads to warping, cracking, and rot.
- Insect and Mildew Resistance: Many sealers and stains contain additives that further deter pests and inhibit the growth of mildew and fungi.
- Color Retention: A clear sealant or a tinted stain can help retain the vibrant, natural color of new redwood for a significantly longer period, delaying the natural weathering process.
You have several options for finishing your redwood deck:
- Clear Sealers: Provide excellent protection against moisture and UV without altering the natural color of the redwood, allowing it to age gracefully while staying protected.
- Penetrating Oils: These soak deep into the wood fibers, nourishing and protecting from within. They enhance the wood’s natural tones and offer good water repellency.
- Transparent or Semi-Transparent Stains: These finishes add a hint of color while allowing the natural grain of the redwood to show through. They offer enhanced UV protection and can refresh the appearance of older wood.
- Solid Stains: For decks where you want to completely change the color or conceal imperfections, solid stains provide opaque coverage, similar to paint, but still allow the wood texture to show.
Regardless of your choice, ensure the deck is clean and dry before applying any finish. Always follow the manufacturer’s instructions for application and reapplication frequency, typically every 1-3 years depending on the product and climate. This simple maintenance routine will dramatically extend the life and beauty of your redwood deck, making it a source of pride for years to come.
Sit Back and Enjoy Your New Redwood Deck Oasis
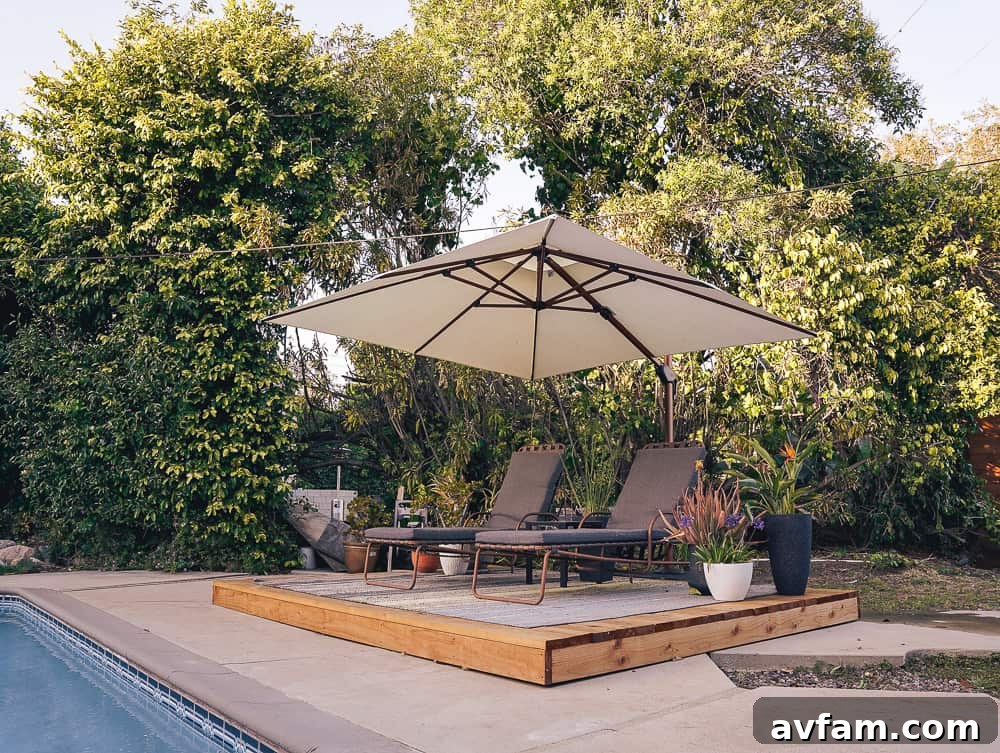
After all your hard work and dedication in designing and building your magnificent redwood deck, the most satisfying step is finally here: it’s time to relax and revel in your accomplishment. Your newly constructed deck is more than just a wooden platform; it’s an inviting extension of your home, a personal oasis where countless cherished moments await.
Transform your deck into the ultimate relaxation spot by adding some comfortable outdoor furniture. Picture plush chairs, perhaps a cozy lounge sofa, and an umbrella to provide a refreshing shade during sunny afternoons. Don’t forget a small table for setting down refreshing beverages – a well-deserved cocktail or your favorite drink will taste even better as you admire your handiwork.
This beautiful redwood deck is now perfectly poised to become the heart of your outdoor living. Imagine hosting lively barbecues with friends and family, enjoying quiet morning coffees as the sun rises, or simply unwinding after a long day, surrounded by the tranquility of your own backyard. Every gathering, every moment of solitude, and every sip of your drink will be imbued with the satisfaction of a job expertly done.
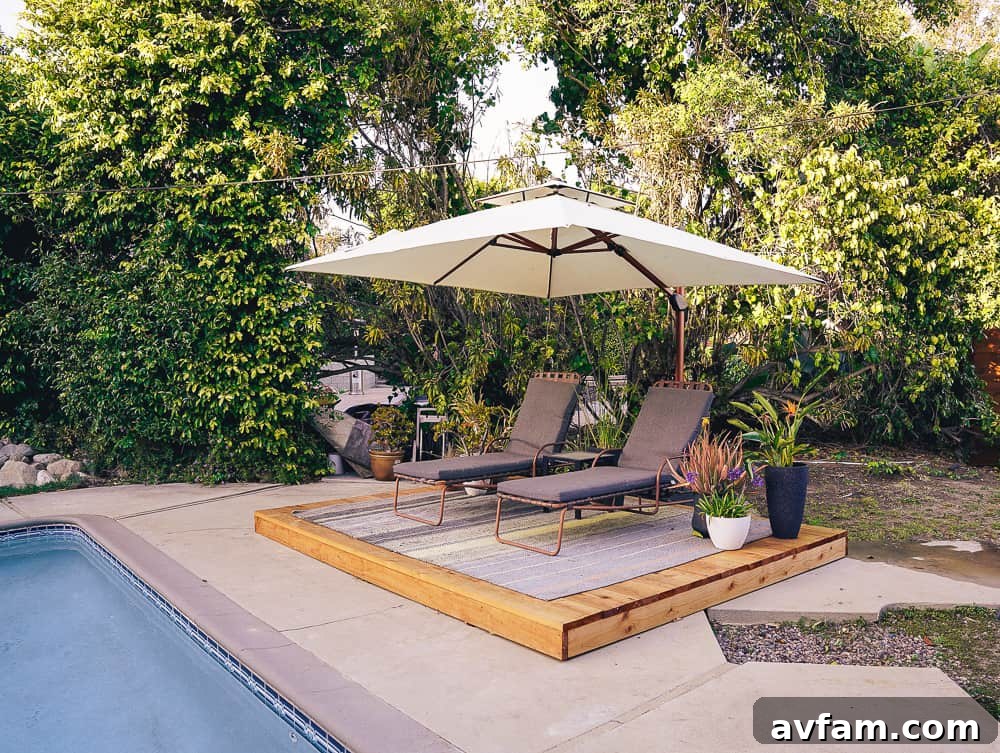
So, go ahead – take a moment to truly appreciate the craftsmanship, the quality of the redwood, and the personal effort you poured into this project. This deck isn’t just an improvement to your home; it’s a testament to your skills and vision. Enjoy every single moment in your stunning new outdoor haven!
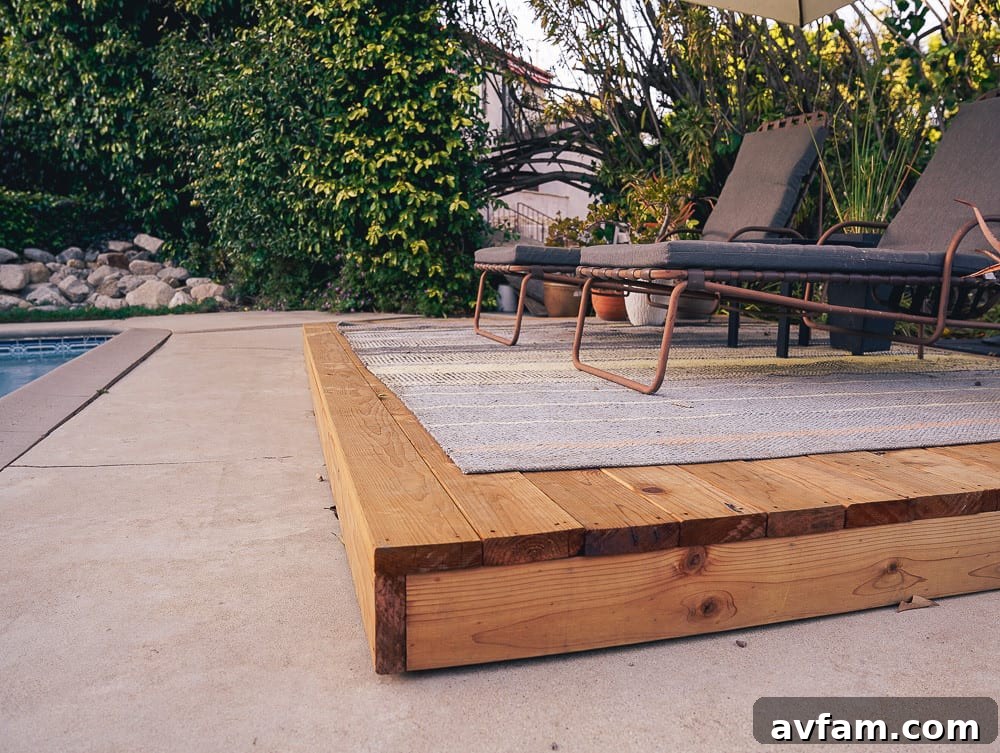
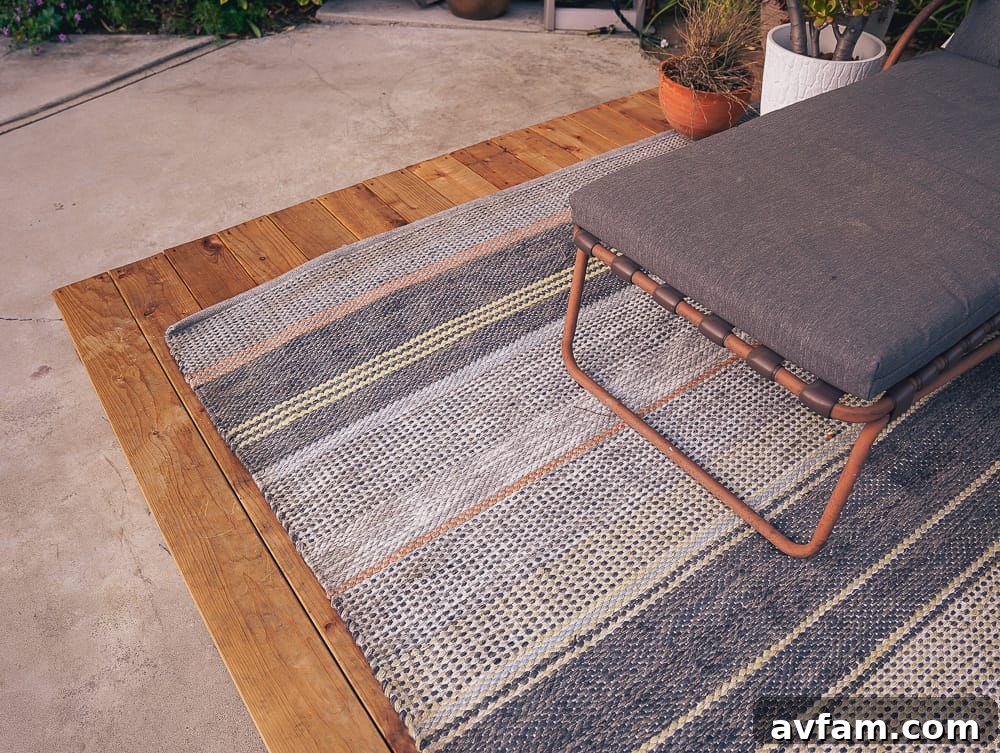
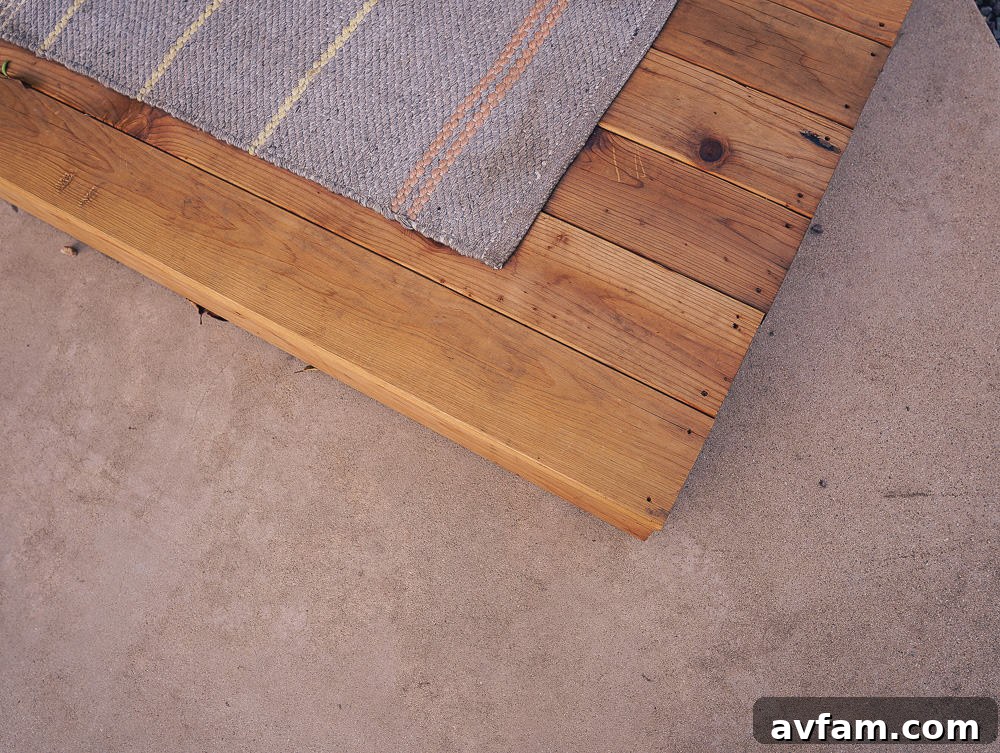
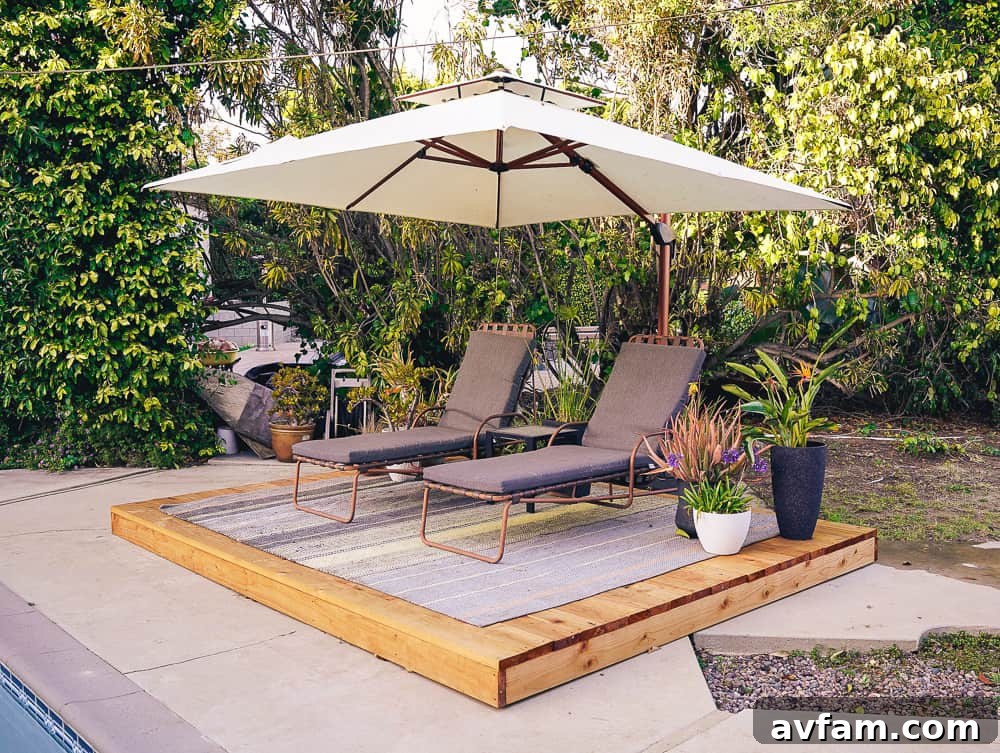
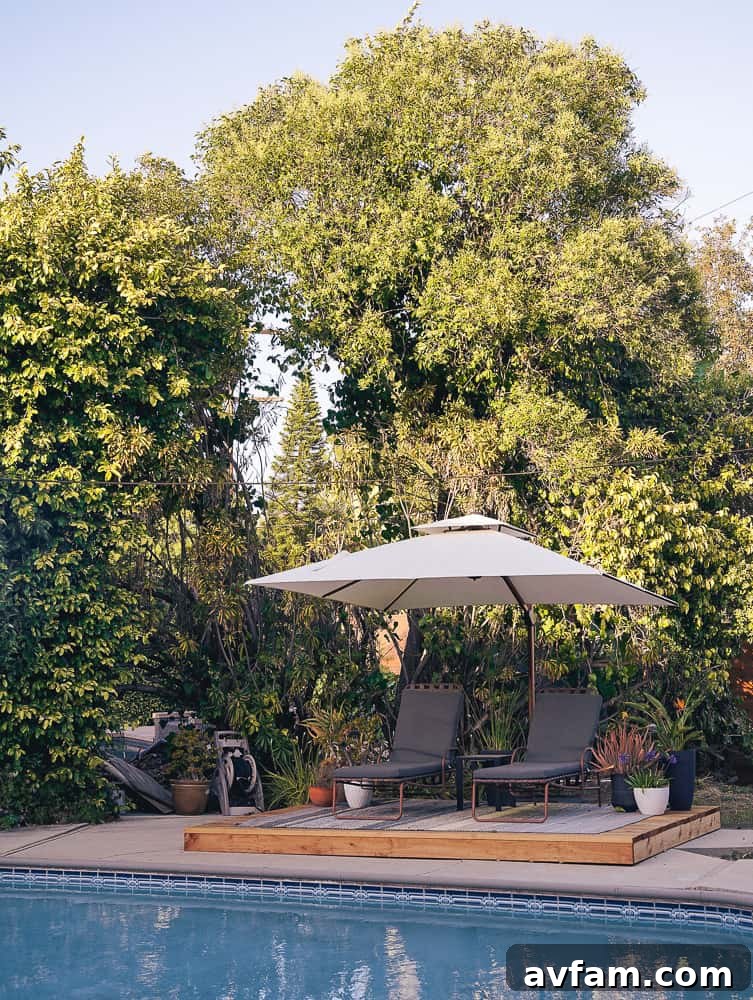
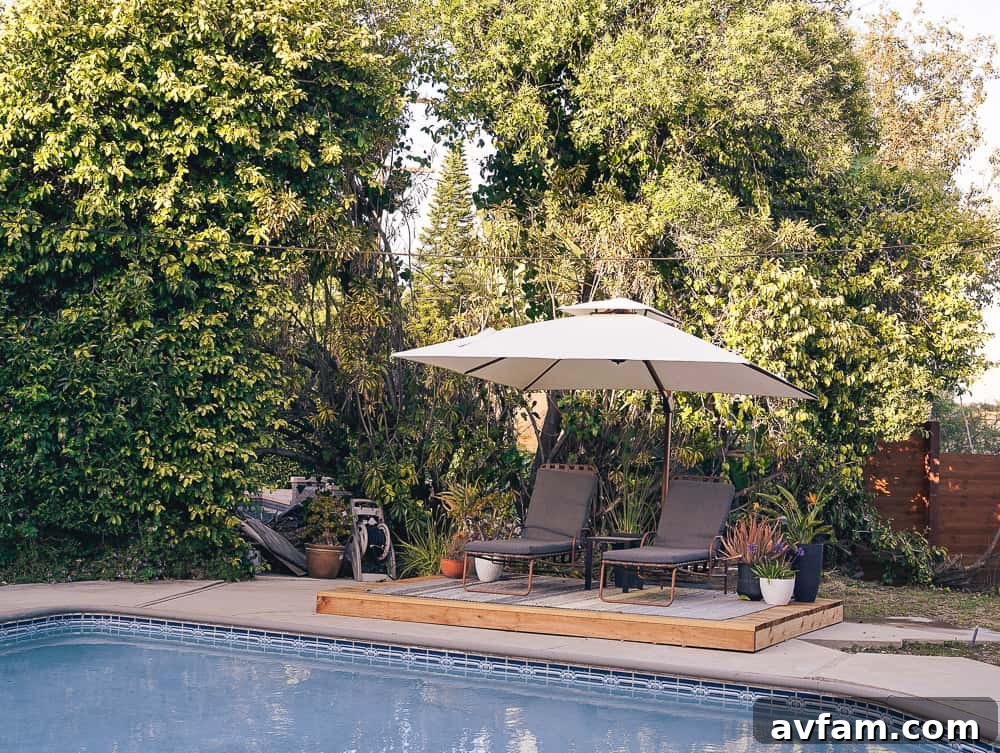
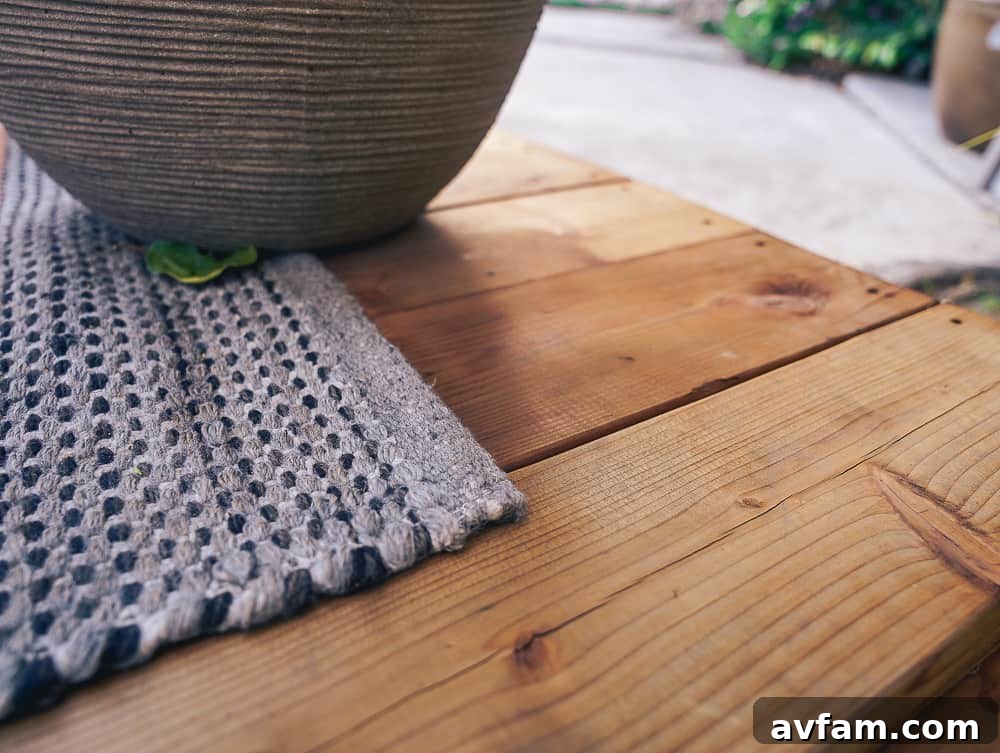
Our beloved pup simply couldn’t resist striking a pose and modeling for us, clearly enjoying the new outdoor space just as much!