
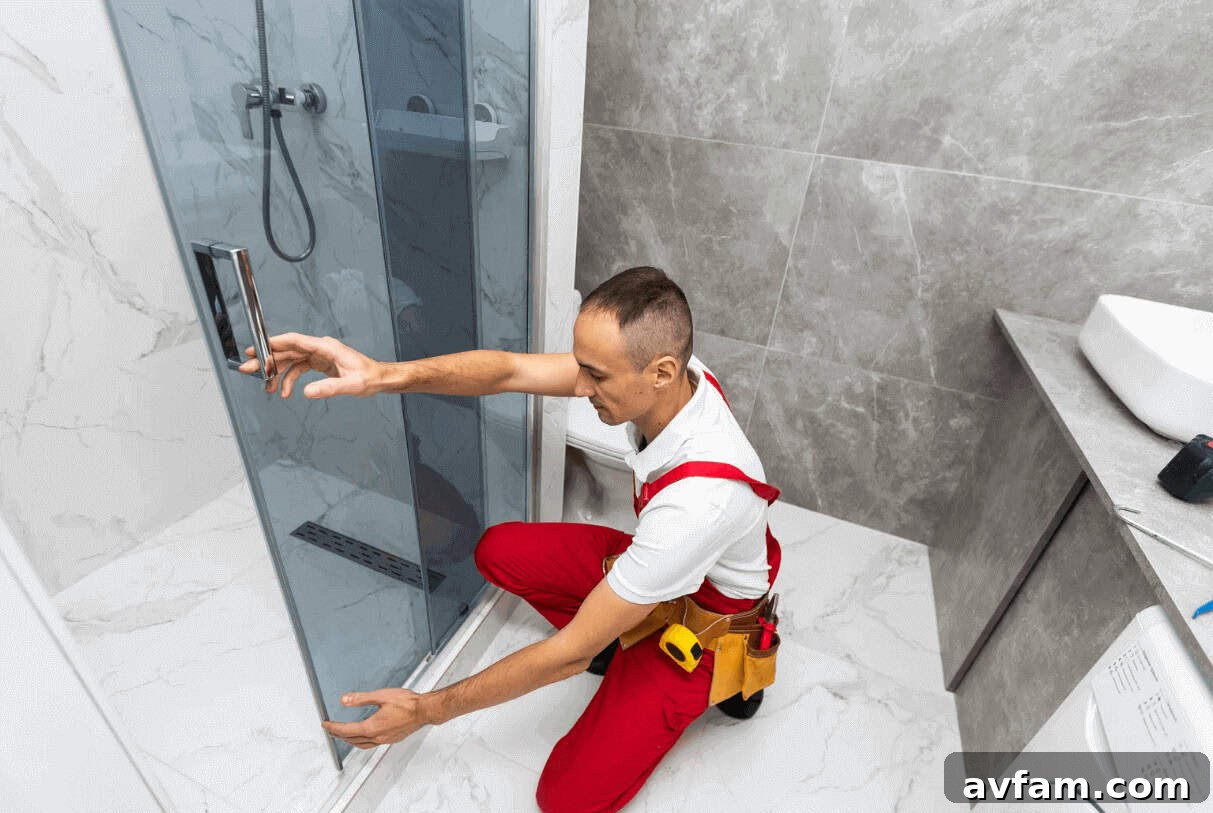
Transforming a small or awkwardly shaped bathroom with a new shower enclosure might seem like a daunting challenge, but with methodical planning and the right approach, it can become a rewarding and manageable weekend project. The strategic installation of a modern shower enclosure has the power to drastically improve your bathroom’s layout, unlock valuable usable space, and infuse the entire room with a fresh, clean, and updated aesthetic. This guide provides comprehensive insights and practical steps to navigate the complexities of installing shower enclosures in compact or unconventional bathroom layouts.
Before you even consider purchasing components, dedicating ample time to precise measurements and thoughtfully selecting a design that seamlessly integrates with your existing layout is paramount. Whether you’re contending with a constricted corner, a ceiling that slopes dramatically, or a floor plan that is inherently narrow, meticulous planning combined with access to the appropriate tools will empower you to tackle this home improvement task with confidence and achieve a professional finish.
This detailed article offers invaluable tips and an actionable step-by-step guide for installing shower enclosures, specifically tailored to help you optimize and make the absolute most of even the most cramped or oddly configured bathroom areas, turning perceived limitations into design opportunities.
Maximizing Space: Understanding Your Small Bathroom Layout
Before embarking on the exciting journey of selecting and installing a new shower enclosure, it is absolutely critical to conduct a thorough and realistic assessment of your bathroom’s existing layout and its inherent constraints. A deep understanding of your space will guide every subsequent decision, ensuring a functional and aesthetically pleasing outcome. Consider the following crucial aspects:
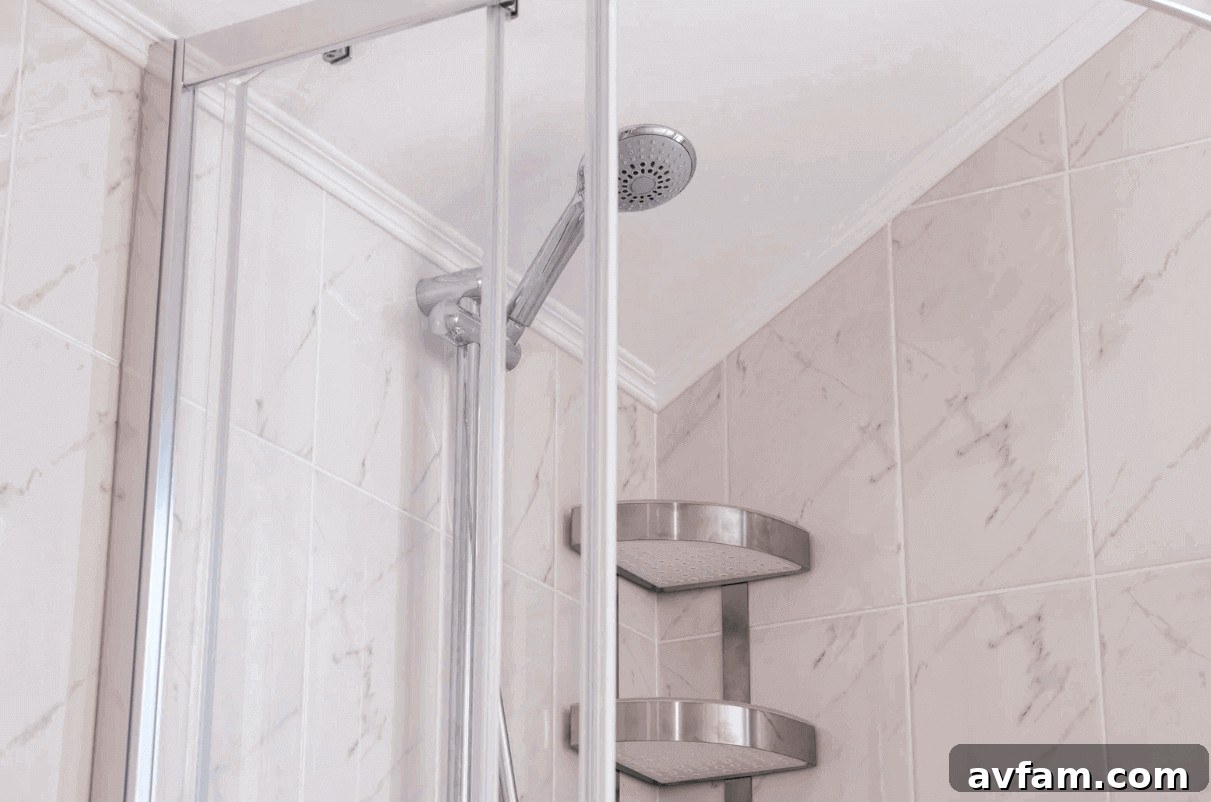
1. Accurate Measurements for Shower Enclosure Placement
Accurate and exhaustive measurements form the bedrock of any successful bathroom renovation project, especially when dealing with limited space. Generic estimates simply won’t suffice; precision is key to avoiding costly errors and ensuring a perfect fit. Measure the entire designated area where you plan to install the shower enclosure, taking into account every dimension and potential obstruction. Pay meticulous attention to:
- Ceiling height: This is crucial for vertical clearance, especially for taller enclosures or those with overhead components.
- Surrounding elements: Carefully measure the distance to windows (ensuring the enclosure doesn’t obstruct natural light or operation), doors (checking for adequate swing clearance), and existing plumbing fixtures like toilets, sinks, or radiators.
- Wall integrity and dimensions: Identify any walls that might unexpectedly extend into or reduce what initially appears to be available space, and check if walls are truly plumb and square. Even slight variations can impact enclosure installation.
- Recesses and alcoves: Note down any existing architectural features that could be utilized or might pose challenges.
- Door swing radius: If considering a hinged door, determine the exact space needed for the door to open fully without hitting anything.
2. Optimizing Bathroom Flow Patterns for Enhanced Usability
Beyond static measurements, it’s vital to think dynamically about how your bathroom is utilized on a daily basis. A thoughtfully planned flow pattern will significantly enhance the feeling of spaciousness and improve functionality. Visualize movement within the room. Ensure that any shower door you choose can open and close smoothly without obstruction, and verify that there remains ample clear floor space for comfortable movement, especially if your bathroom also houses additional fixtures like a vanity or toilet. Consider:
- Entry and Exit Points: How do people enter and exit the shower? Is there enough space to towel off comfortably?
- Accessibility: If accessibility is a concern, ensure wide enough openings and clear pathways.
- Fixture Proximity: Avoid placing the shower door in a way that it conflicts with the opening of a cabinet door or impedes access to the toilet or sink.
- Overall Ergonomics: The goal is to create a space that feels intuitive and easy to navigate, reducing the perception of clutter and tightness.
3. Exploring Innovative Design Options for Small Bathroom Enclosures
With your precise measurements and an understanding of the bathroom’s daily flow firmly established, it’s time to delve into the exciting world of shower enclosure design options. Choosing the correct type of enclosure is paramount for maximizing space and creating a harmonious environment. For small bathrooms, particular designs excel:
- Sliding doors: These are an exceptionally practical choice for compact bathrooms as they eliminate the need for any external clearance space required by a swinging door. The panels glide effortlessly within their own frame, making them ideal for narrow layouts.
- Corner enclosures (Quadrant or Neo-Angle): These designs are champions of space-saving, fitting neatly into an unused corner and liberating significant square footage in the main bathroom area. Their curved or angled profiles can also soften the room’s aesthetic.
- Frameless vs. Framed: Frameless glass enclosures create a seamless, open look that makes a small bathroom feel larger and less cluttered. Framed enclosures, while often more budget-friendly, can sometimes feel bulkier.
For more in-depth exploration of various design choices and to draw inspiration, consider consulting specialized resources on optimising small bathroom space with enclosures. These platforms provide not just aesthetic ideas but also invaluable practical insights on how to maximize every single inch of your precious bathroom real estate effectively.
Selecting the Ideal Shower Enclosure for Compact Spaces
Choosing the perfect shower enclosure for a small bathroom involves striking a delicate balance between visual appeal, practical functionality, and long-term durability. The right selection can dramatically enhance the perceived size and utility of your bathroom. Here are a few popular types specifically suited for smaller areas:
1. Quadrant Shower Enclosures: Curved Efficiency
Quadrant enclosures are exquisitely designed to fit snugly into a corner, making them ideal for tight spaces where every inch counts. Their distinctive curved front not only softens the overall aesthetic of the bathroom, replacing sharp angles with graceful lines, but also maximizes the available floor space within the shower area itself. By neatly tucking away into a corner, these enclosures allow the remainder of your bathroom to remain open and uncluttered, contributing to a greater sense of spaciousness. They often feature sliding doors that further conserve space.
2. Bi-fold Shower Doors: Ingenious Space-Saving Mechanism
When bathroom space is truly at a premium, and even a sliding door feels too restrictive, bi-fold shower doors emerge as an ingenious solution. These doors are designed to fold back neatly upon themselves, akin to an accordion, and rest compactly against the wall when open. This mechanism provides a significantly wider opening compared to traditional hinged doors of the same width, making entry and exit easier. They are particularly advantageous in narrower bathrooms where the swing arc of a conventional door would be severely limited or obstructive.
3. Walk-In Showers: The Illusion of Expansive Space
For those contemplating a more extensive bathroom remodel, converting an existing bathtub or an awkward, underutilized nook into a sleek walk-in shower can be an exceptionally transformative choice. By employing clear, frameless glass panels, you can artfully create an illusion of unbroken openness, allowing light to flow freely and making your entire bathroom feel substantially lighter, airier, and considerably roomier. Walk-in showers often feature low-profile trays or even wet room designs for seamless entry, enhancing both accessibility and minimalist aesthetics.
4. Sliding and Bypass Shower Doors: Unobstructed Access
Revisiting the concept, sliding doors, also known as bypass doors, are quintessential for small bathrooms. They consist of one or more panels that slide past each other, or past a fixed panel, requiring no external swing space. This design is excellent for long, narrow bathrooms or when the shower is positioned between other fixtures. They maintain a clean profile and keep the floor space around the shower clear, making the room feel more open and accessible.
5. Pivot Doors: When Minimal Swing is Possible
Pivot doors, while requiring some external swing space, often have hinges that are set slightly in from the edge, meaning a portion of the door swings inwards. This can reduce the overall external clearance needed compared to a full-swing hinged door. They offer a simple, elegant look and are a good option if you have a modest amount of clear space directly outside the shower opening.
6. Material Considerations: Glass Type and Frame Finish
The choice of materials profoundly affects both the functionality and visual impact of your shower enclosure in a small bathroom. Opting for clear tempered glass for the panels can dramatically increase the sense of space and light. For enhanced privacy without sacrificing light, consider frosted or obscure glass. The thickness of the glass (e.g., 6mm, 8mm, 10mm) impacts durability and cost. For frames, minimalist chrome, brushed nickel, or matte black finishes can complement a modern aesthetic, while frameless designs offer the ultimate in visual lightness and sophistication, making the bathroom appear larger and more contemporary.
DIY Installation: A Step-by-Step Guide for Small Bathroom Shower Enclosures
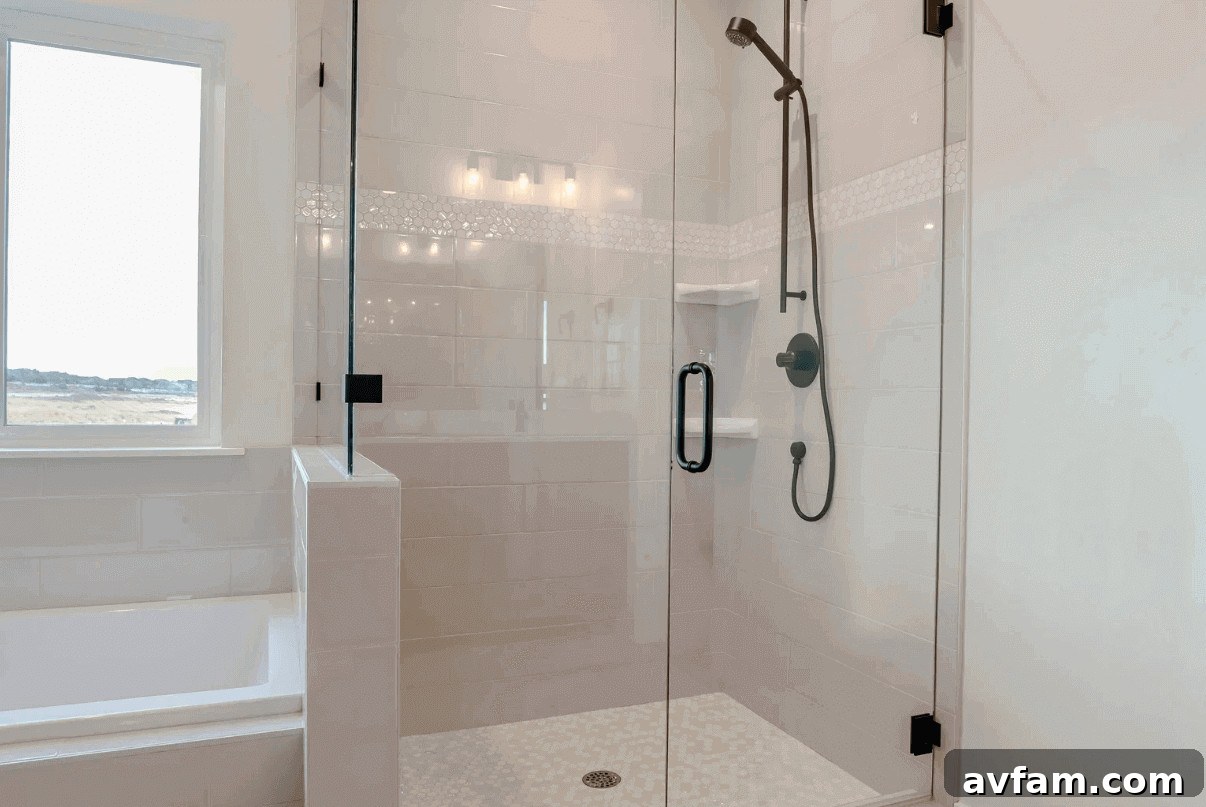
Installing a shower enclosure, especially within the confines of a tight space, demands meticulous precision and an unwavering commitment to detail. Rushing through any stage of the process significantly increases the risk of critical errors, such as leaks, misaligned doors, unsightly gaps, and ultimately, long-term structural damage. It is imperative to allocate sufficient time and diligently follow each step to ensure a durable, watertight, and aesthetically pleasing installation.
Essential Tools and Materials You Will Need
Before you begin, gather all necessary tools and materials. Having everything at hand will streamline the installation process and prevent frustrating interruptions:
- Tape measure: For accurate dimensioning and marking.
- Spirit level: Crucial for ensuring everything is perfectly plumb and level. A longer level (e.g., 4-foot) is ideal.
- Power drill and masonry bits: For drilling into tiles and walls. Ensure you have the correct bit sizes for your fixings.
- Screwdriver set: Both Phillips and flathead, for various fasteners.
- Silicone sealant and high-quality caulking gun: Essential for creating watertight seals. Choose a mildew-resistant, sanitary silicone.
- Stud finder: To locate wall studs and avoid drilling into pipes or electrical wires.
- Pencil or marker: For precise marking on walls and trays.
- Safety glasses and gloves: Non-negotiable for personal protection, especially when handling glass and drilling.
- Utility knife: For opening sealant tubes and trimming excess.
- Spacers/shims: For fine-tuning leveling of the shower tray.
- Construction adhesive/mortar: If the shower tray requires bedding down.
- Cleaning supplies: Rags, isopropyl alcohol for preparing surfaces for sealant.
Always verify the specific hardware and fixings included with your chosen shower enclosure package and purchase any additional items recommended by the manufacturer before commencing the installation.
Step 1: Thoroughly Prep the Installation Area
The foundation for a successful shower enclosure installation is a meticulously prepared area. Begin by completely removing the old shower, bathtub, or any previous fixture. Once cleared, thoroughly clean the entire area and conduct a comprehensive inspection of the walls and floor. Be vigilant for:
- Water damage: Look for discolored areas, soft spots, or swollen materials in the subfloor or wallboard, indicating previous leaks.
- Mold or mildew: Address any signs of fungal growth immediately with appropriate cleaning agents and ensure the area is dry.
- Uneven subfloor: A perfectly level base is non-negotiable for proper drainage and enclosure stability.
- Loose or cracked tiles: Secure or replace any damaged wall or floor tiles to provide a stable, smooth surface.
Repairing any identified issues at this preliminary stage is absolutely vital. A structurally sound and level base prevents future movement, instability, and ultimately, costly leaks. If the floor exhibits significant unevenness, utilize a self-leveling compound to create a perfectly flat and consistent surface before proceeding.
Step 2: Confirm Drain Position and Optimal Slope
Proper and efficient drainage is arguably the most critical aspect of any shower installation, particularly in small bathrooms where pooling water can quickly lead to grout deterioration, subfloor damage, and mold growth. Double-check and confirm the following:
- Drain alignment: Ensure the shower tray’s drain aperture lines up precisely with the existing waste pipe. Adjustments to plumbing may be necessary if they do not align.
- Floor slope: Confirm that the subfloor or the shower tray itself has a gentle but definite slope toward the drain, allowing water to evacuate effectively.
- Waste pipe connections: All waste pipe connections must be absolutely tight and leak-free. Conduct a preliminary water test if possible to verify this.
If the slope is incorrect, or if there are any issues with drain alignment or connections, these must be rectified *before* proceeding with the tray installation. Do not make the common mistake of assuming the enclosure itself will somehow compensate for or solve underlying drainage problems.
Step 3: Dry Fit and Level the Shower Tray
Before applying any adhesives or sealants, carefully place the shower tray into its final intended position. This “dry fit” allows you to identify and correct any leveling issues. Use your spirit level to meticulously check all sides of the tray. It must be perfectly level in all directions.
If the tray is not level:
- Adjustable feet: If you have a raised shower tray, adjust its integrated feet until the surface is perfectly horizontal.
- Shimming: For trays that sit directly on the floor or require a mortar bed, use appropriate shims to achieve levelness. For mortar beds, ensure the mortar is evenly spread and cures to a level surface.
Once the tray is perfectly level and stable, secure it according to the manufacturer’s specific instructions. If adhesive or mortar is used, allow it to cure fully for the recommended duration (typically 24 hours or more) before placing any weight on the tray or continuing with the next steps.
Step 4: Install Wall Profiles with Precision
The wall profiles (or channels) provide the framework for your glass panels. Accurate marking and drilling are paramount. Using your spirit level, carefully mark the exact positions for all drill holes. In small spaces, even the slightest misalignment will be glaringly obvious and can compromise the integrity of the enclosure.
Before drilling any holes:
- Utilize a stud finder: Always use a stud finder to locate wall studs for secure fastening. If drilling into plasterboard without a stud, use appropriate wall anchors.
- Avoid hidden utilities: Be extremely cautious to avoid drilling into hidden plumbing lines, electrical wiring, or heating pipes within the walls.
- Protect tiles: If drilling through ceramic or porcelain tiles, apply masking tape over the drilling spots. This helps prevent the drill bit from slipping and reduces the risk of cracking the tile. Start with a small pilot hole, then gradually increase to the required size.
Secure the wall profiles firmly using the provided screws and appropriate wall plugs. However, be careful not to overtighten, as this can warp the metal frame or crack tiles.
Step 5: Install Glass Panels and Doors Safely
Glass panels are heavy and fragile. This step should never be attempted alone in tight spaces. Always enlist the help of another person to safely lift and maneuver the glass panels into place. Wear safety glasses and gloves.
Carefully slide the glass panels into the installed wall profiles and secure them according to the manufacturer’s instructions. Before fully tightening all screws, meticulously check the alignment of the panels and the door. Ensure everything is plumb and square.
Once the door is installed, thoroughly test its operation:
- Smooth opening/closing: The door should open and close effortlessly without sticking or excessive force.
- No rubbing or dragging: Ensure the bottom edge of the door does not rub or drag against the shower tray or floor. Adjust hinges if necessary.
- Flush seals: Verify that all magnetic or rubber seals meet perfectly, creating a watertight closure when the door is shut.
Step 6: Apply Watertight Sealant to All Edges
The final crucial step for a watertight shower enclosure is the application of silicone sealant. Use a high-quality, mold-resistant sanitary silicone. Apply a continuous, even bead along:
- The base of the shower tray: Where it meets the walls and the enclosure frame.
- Vertical wall joints: Where the wall profiles meet the wall tiles/surface.
- Exterior edges only: As a general rule, sealant should only be applied to the exterior perimeter of the enclosure and the base of the tray where it meets the floor. Avoid sealing *inside* the shower, especially within drainage channels, unless specifically instructed by the manufacturer, as this can trap water.
Smooth the bead of sealant immediately after application for a neat finish, using a specialized tool or a wet finger. Follow the manufacturer’s guidance carefully regarding sealant application and curing times. Most silicone sealants require at least 24 hours to cure fully before the shower can be used. Premature use will compromise the seal.
Common Mistakes to Avoid During Shower Enclosure Installation
Small bathrooms leave very little margin for error. Precision and patience are vital. Be aware of these common pitfalls:
- Skipping the level check: Failing to ensure the shower tray and wall profiles are perfectly level will lead to drainage problems, door misalignment, and unsightly gaps.
- Sealing before testing door alignment: Once sealant cures, making adjustments is difficult. Always ensure the door operates perfectly before applying silicone.
- Ignoring small leaks during initial water test: A tiny drip can quickly become a major problem. Address all leaks immediately.
- Installing without confirming wall support: Drilling into hollow walls without proper anchors or ignoring the need for studs can lead to the enclosure detaching over time.
- Inadequate surface preparation: Not cleaning and drying surfaces properly before sealing prevents good adhesion, leading to leaks.
- Overtightening screws: This can warp frames, strip threads, or crack glass panels.
- Using the wrong type of sealant: Non-mildew resistant sealants will quickly discolor and degrade in a bathroom environment.
Final Checks and Smart Small-Space Upgrades
Once the installation is complete and the sealant has fully cured, a few final steps and smart upgrades can significantly enhance the functionality, longevity, and appeal of your new shower enclosure, especially in a compact bathroom.
Comprehensive Water Test
After allowing the silicone sealant to cure for at least the recommended 24 hours (or longer, as per manufacturer’s instructions), perform a thorough water test. Run the shower at full pressure for 10-15 minutes and meticulously inspect:
- Corners and frame joints: Check for any water seeping out from where panels meet the frame or walls.
- The bottom edge of the door: Ensure seals are effective and no water escapes onto the bathroom floor.
- Any spots where water could escape: Pay close attention to connections and any areas you sealed.
After the shower test, wipe down the entire enclosure and the surrounding floor thoroughly. Recheck all areas after another 10 to 15 minutes to identify any slow, subtle leaks that might not have been immediately apparent. Address any leaks immediately by drying the area completely and reapplying sealant as needed.
Adding Smart Storage Without Crowding the Space
In a small bathroom, bulky floor-standing storage units are counterproductive. The key is to leverage vertical space and integrate storage seamlessly without encroaching on precious floor area. Consider these smart solutions:
- Corner shelves inside the enclosure: Acrylic or wire shelves that fit snugly into a corner of the shower provide practical storage for toiletries without taking up visual space.
- A recessed niche (shower niche): If you are undertaking a retiling project, creating a built-in recessed niche within the shower wall is an elegant and highly functional solution. It offers discreet storage that is flush with the wall.
- Wall-mounted organizers: Opt for sleek, slimline organizers that attach to the wall outside the shower. Choose styles that do not require drilling through new tiles or that utilize adhesive mounts for easy installation.
- Over-the-door caddies: If your bathroom door has enough clearance, an over-the-door caddy can provide extra storage for towels or other items.
Improving Lighting for Safety and Ambiance
Small bathrooms often suffer from poor lighting, leading to shadows, particularly within the shower zone. Enhanced lighting not only improves safety during daily use but also makes cleaning easier and can dramatically alter the perception of space, making it feel brighter and more inviting.
- Recessed lighting above the shower zone: Installing moisture-rated (IP-rated) recessed LED spotlights directly above the shower provides excellent, focused illumination without cluttering the ceiling.
- Bright, moisture-rated fixture: If recessed lighting isn’t feasible, opt for a stylish yet powerful moisture-rated ceiling fixture that distributes light evenly across the bathroom, ensuring the shower area is well lit.
- Task lighting: Consider additional task lighting around the vanity mirror to brighten the overall room.
Ensuring Adequate Ventilation to Prevent Issues
Good ventilation is paramount in any bathroom, but it becomes even more critical in small, enclosed spaces where moisture can quickly build up. Proper ventilation prevents mold and mildew growth, protects finishes, and maintains air quality. Ensure your bathroom has:
- An effective extractor fan: Install a high-capacity, low-noise extractor fan that vents directly to the outside, not just into the attic. Run it during and for at least 15-20 minutes after every shower.
- Regular air circulation: Even in small bathrooms, opening a window (if available and weather permits) after a shower can significantly help reduce humidity.
Concluding Advice on Installing Shower Enclosures in Challenging Spaces
Undertaking the installation of a shower enclosure in a small or uniquely configured bathroom undoubtedly demands careful measurements, meticulous planning, and an unwavering attention to detail. However, the dividends reaped from this effort are substantial. With the selection of an appropriate enclosure style and its precise installation, you possess the power to transform even the most awkward and seemingly unusable space into a highly efficient, aesthetically pleasing, and remarkably functional area.
Approach this home improvement project with a methodical, step-by-step mindset. Embrace the mantra: “measure twice, cut once.” Confirm all drainage connections and wall support structures with absolute certainty. Diligently adhere to the manufacturer’s specific guidelines and instructions, as these are tailored to your particular enclosure model. With an ample dose of patience, thorough preparation, and a commitment to precision, you can successfully convert a cramped, uneven, or challenging bathroom layout into a modern, functional, and inviting shower space that significantly enhances your daily routine and the overall value of your home.