
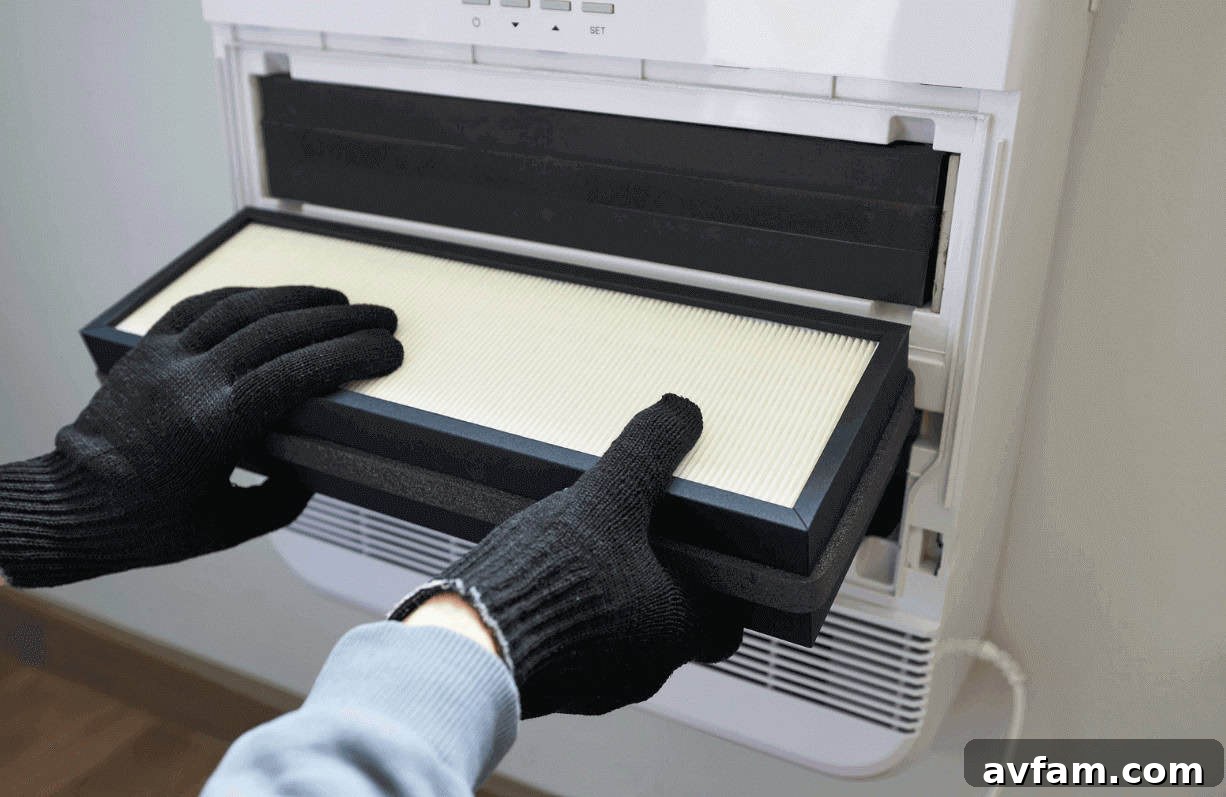
The Unseen Battle: Mastering Home Air Quality with HVAC Filter Maintenance
The rhythm of home life, especially for those who love DIY projects in the workshop, invariably introduces a constant stream of airborne particles into our living spaces. Sawdust from weekend builds, the pervasive pollen of spring, remnants from outdoor adventures, and the ever-present general household dust all contribute to a cocktail of particulates that inevitably find their way to your home’s air intake vents. While the HVAC system often operates out of sight and out of mind, neglecting its most vital component—the air filter—is a costly oversight. Maintaining a clean, properly functioning air filter is not just a recommendation; it’s a foundational practice for protecting your HVAC system, improving indoor air quality, and safeguarding your finances.
The Department of Energy provides compelling data, revealing that merely swapping a dirty, clogged filter for a clean one can boost your HVAC system’s energy efficiency by an impressive 5% to 15%. This translates directly into tangible savings on your monthly utility bills. However, the benefits extend far beyond energy conservation. Over years of home ownership and system maintenance, I’ve witnessed firsthand the detrimental effects of neglected filters. When filters become overly stressed or fail to seal correctly, dust and debris bypass them entirely, infiltrating critical internal components like the blower motor. This ingress causes undue wear and tear, forcing the system to work harder against restricted airflow, ultimately leading to costly repairs and a significantly shortened lifespan for your entire HVAC unit. This is precisely why a proactive approach, combining a smart schedule with vigilant visual checks, is essential for maintaining a healthy and efficient system.
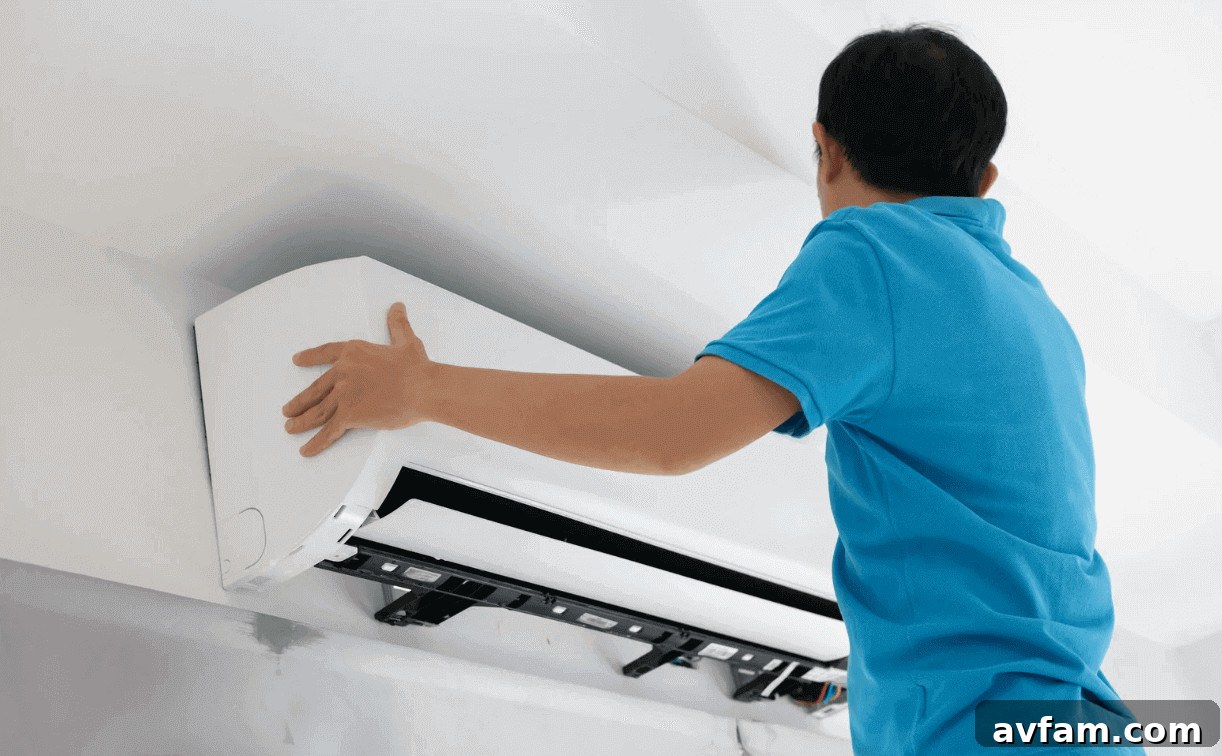
Understanding Your HVAC Filter: More Than Just a “Screen”
Before diving into specific schedules, it’s crucial to grasp a fundamental concept: the true determinant of how often you need to change your air filter is its surface area, not simply the passage of calendar days. Many homeowners vaguely adhere to a “every few months” rule, but the physical characteristics of your filter play a far more critical role in its longevity and effectiveness.
Decoding Filter Types and MERV Ratings
- 1-Inch Fiberglass Filters: These are often the most basic and least expensive options. Typically about one inch thick, they offer a very limited surface area. While they capture larger dust particles, they fill up quickly and become restrictive. Consequently, a fiberglass filter of this size usually requires changing every 30 days or so to maintain adequate airflow and filtration.
- Pleated Filters: In stark contrast, pleated filters offer a significantly expanded surface area due to their folded design. This increased surface allows them to capture a greater volume of dust and finer particles without immediately impeding airflow. A standard pleated filter can often last for 60 to 90 days, making them a more efficient and popular choice for most homes.
Beyond physical design, understanding the MERV (Minimum Efficiency Reporting Value) rating is vital. MERV ratings range from 1 to 20, indicating how effectively a filter can capture particles of various sizes. A higher MERV rating signifies greater filtration capability, trapping smaller particles like pollen, pet dander, mold spores, and even some bacteria and viruses. For residential use, MERV ratings between 5 and 13 are generally recommended. While a MERV 13 filter offers superior indoor air quality, it’s important to consider your HVAC system’s capabilities. Filters with very high MERV ratings (e.g., MERV 14+) can sometimes restrict airflow too much for older or less powerful systems, potentially causing strain on the blower motor and reducing overall system efficiency. The goal is to find a balance between effective filtration and healthy airflow for your specific unit.
Crafting Your Personalized HVAC Filter Change Schedule
While the “90-day rule” for pleated filters serves as a useful baseline, a truly effective filter change schedule is not a rigid standard. Instead, it’s a flexible framework that must be adjusted based on the unique environmental factors within your home. By identifying which “lane” best describes your household’s particulate load, you can establish a proactive and efficient maintenance routine.
The “Heavy Load” Lane: High Demand & Frequent Checks (20-45 Days)
If your household experiences high particulate rates or requires sensitive air quality management, a more frequent filter change schedule is imperative. Consider checking and potentially swapping your filter every 20-45 days if any of the following factors apply:
- Allergies or Asthma Sufferers: For residents with respiratory sensitivities, cleaner air is paramount. More frequent changes ensure finer particles like pollen, pet dander, and dust mites are consistently trapped.
- Pets & Smoking: Homes with furry friends generate significant amounts of pet dander and hair, which quickly clog filters. Similarly, indoor smoking introduces tar, nicotine, and other harmful particulates that can quickly overwhelm a filter.
- High Occupancy & Usage: A bustling household with many residents or frequent guests naturally produces more dust, skin cells, and overall particulates. If your HVAC system runs almost continuously, especially with the fan on high, it’s processing a greater volume of air and thus accumulating more debris.
- Indoor Fireplaces or Wood Burning: Burning firewood releases fine ash and smoke particles into the air, which are particularly taxing on filters.
- Ongoing Home Renovations or DIY Projects: Activities like sanding drywall, cutting wood, or demolishing structures release a massive amount of fine dust that can rapidly clog filters and compromise indoor air quality. During such periods, daily or weekly checks might even be necessary.
The “Moderate Load” Lane: Balanced Maintenance (Around 60 Days)
This lane represents the default for many active homeowners. If you have, for instance, a single pet, no one in the household suffers from severe allergies, and your home environment is otherwise typical, a check every 60 days is generally a good average interval. This schedule effectively manages the particulate load from general household activity and common environmental factors without over-stressing the filter or the system.
The “Light Load” Lane: Minimal Particulates (Around 90 Days)
This category applies to households with minimal environmental stressors. If you are a non-pet owner, live in a smaller household with fewer occupants, and use your HVAC system on an average basis, then a 90-day filter change schedule is likely appropriate. Fewer people and less activity naturally lead to less overall dust and particulate generation.
General Comment: Regardless of your designated lane, always be prepared to adjust your schedule. External factors like nearby construction, severe wildfire smoke events, or exceptionally high pollen counts can rapidly load filters. In such scenarios, increase your checking and changing frequency, potentially to monthly, to protect both your system and your indoor air quality.
Spotting the Warning Signs: Your HVAC System’s Urgent Calls for a Filter Change
While a scheduled approach is vital, it’s equally important to listen to your HVAC system and trust your instincts. Filters don’t always follow a calendar, and direct physical cues often provide the most reliable indication that an immediate filter swap is necessary. Here are five unmistakable signs that it’s time to change your air filter, regardless of your scheduled interval:
- The Light Test: This is a simple yet highly effective visual inspection. Remove your filter and hold it up to a light source. If it appears dark gray, matted, or heavily discolored instead of its original off-white hue, it’s likely saturated with dust and debris. If light struggles to pass through the filter, then air will also struggle, leading to restricted airflow. Swap it out immediately.
- Visible Dust Buildup & Reduced Airflow: Pay attention to your home environment. Is there more dust accumulating on surfaces than usual? This can be a tell-tale sign that your filter is no longer effectively capturing particles. Simultaneously, check the airflow coming from your vents. If it feels significantly weaker than normal, it indicates that a clogged filter is restricting the blower’s ability to push air effectively throughout your home.
- Unpleasant Odors: A musty, dusty, or even smoky smell emanating from your vents, particularly when the system first starts up or during/after smoke events (like wildfires), is a strong indicator of a dirty filter. Filters can become saturated with odor-causing particles, releasing them back into your home. A clean filter helps absorb and neutralize these smells.
- Uneven Temperatures / Hot & Cold Spots: If you notice distinct temperature variations within your home – some rooms feeling too warm while others are too cold – it could signal that the HVAC system is struggling to distribute conditioned air evenly. A severely restricted filter prevents proper airflow, making it difficult for the blower to reach all areas of your house, leading to noticeable temperature disparities.
- Increased Energy Bills & Longer HVAC Cycles: One of the most common and costly signs of a dirty filter is a noticeable spike in your energy bills without a corresponding change in usage. When a filter is clogged, your HVAC system has to work significantly harder and run for longer cycles to achieve and maintain the desired temperature setting. This constant struggle puts immense strain on the components, consumes more electricity, and directly impacts your wallet. If your system seems to be running non-stop, check the filter first.
Upgrading Your Filtration: The Benefits of 4-5 Inch Whole-House Media Filters
For homeowners seeking less frequent maintenance and superior indoor air quality, upgrading to a thicker, 4-5 inch whole-house media filter is an excellent consideration, provided your HVAC system is compatible. The core principle behind these filters is their substantially increased surface area. By offering many more pleats and a greater depth, these filters can capture a much larger volume of dust, allergens, and other particulates over an extended period without quickly restricting airflow. While typical 1-inch filters might need replacement every 30-60 days, their robust 4-5 inch counterparts can often last anywhere from 6 to 12 months, offering significant convenience and peace of mind.
However, the transition to these larger filters isn’t a simple swap. Your existing HVAC system must be equipped with a dedicated media filter cabinet specifically designed to accommodate these thicker, deeper filters. Attempting to force an oversized filter or installing one incorrectly can lead to improper sealing. When the filter doesn’t seal perfectly within its housing, air will simply bypass the filter through the gaps, rendering its advanced filtration capabilities useless and potentially allowing unfiltered dust to enter the sensitive internal components of your HVAC system. This defeats the entire purpose of the upgrade.
Therefore, the crucial first step is to accurately identify the specific dimensions of your existing media cabinet. Measure the housing depth by hand to verify the exact filter size it is meant to take. Then, procure a filter that is a tight, snug fit. If you find minor gaps around the edges of the filter frame or the filter door, you might need to use foam weatherstripping or HVAC-approved foil tape to create an airtight seal. Crucially, apply these sealing materials only to the frame and door, never across the filter face itself, as this would impede airflow. This meticulous attention to proper fit and sealing is a practice I always adhere to, ensuring maximum filtration effectiveness and system protection.
Your 5-Minute DIY Guide to a Proper HVAC Filter Change
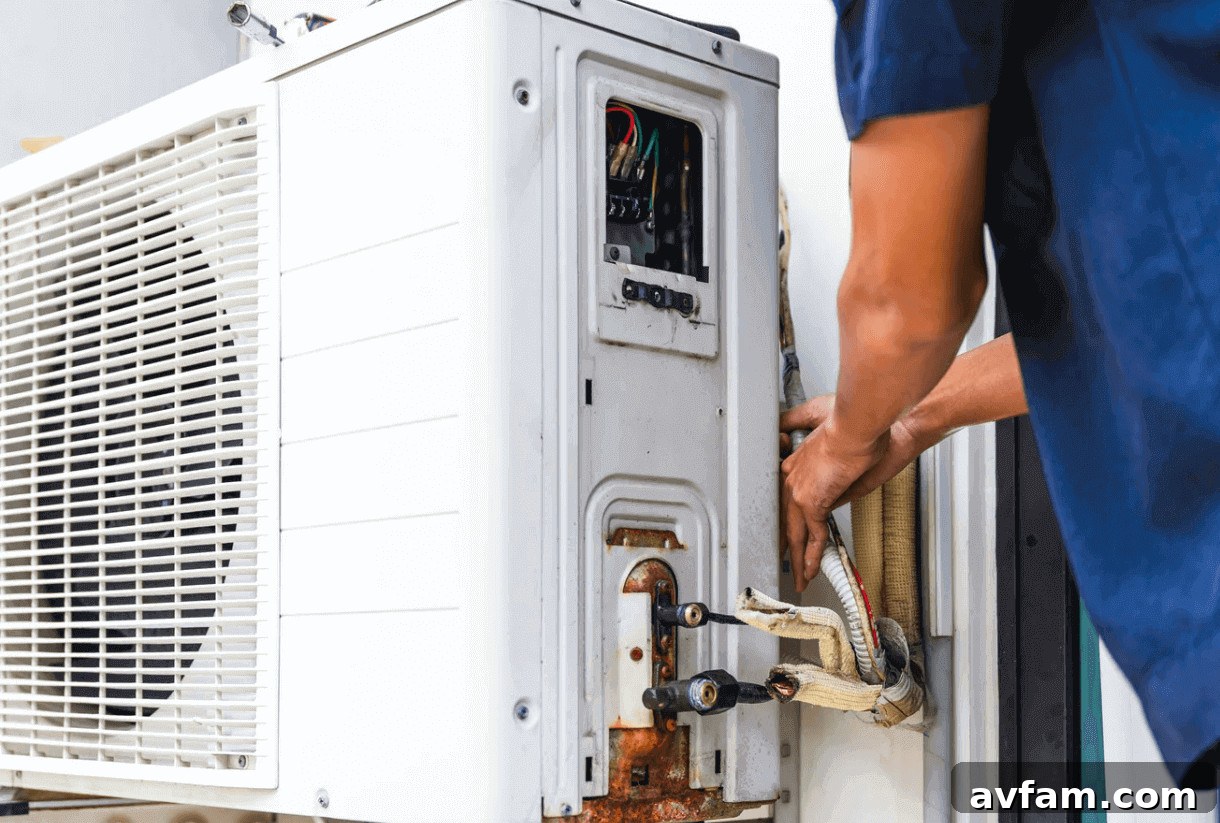
Changing your home’s air filter is a quick and straightforward task, but performing it correctly ensures system integrity and optimal performance. Follow this routine to minimize issues and keep your HVAC system properly sealed:
- Power Down for Safety: Before touching anything, always turn off your HVAC system at the thermostat or, ideally, at the furnace’s dedicated power switch. This crucial safety step prevents the blower from inadvertently pulling dust, debris, or even small filter fragments into the system during the swap, and protects you from moving parts.
- Locate the Filter Rack: Most residential filters are located in a dedicated slot on the return air side of your system, usually just before the blower motor or within the furnace unit itself. It’s designed for easy access and removal.
- Observe Airflow Direction: Before sliding out the old filter, take note of the airflow direction arrow printed on its frame. This arrow indicates the direction air flows through the filter, which should always point towards the furnace or blower motor (i.e., into the equipment). Ensure your new filter is installed with its arrow pointing in the same direction.
- Clean the Slot Thoroughly: Carefully slide the old, dirty filter out. Once it’s removed, use a vacuum cleaner to thoroughly clean the filter slot and the surrounding area. This removes any accumulated dust or debris that could otherwise impede a proper seal with the new filter. For situations involving fine dust from drywall, ash, or potent allergens, consider using a HEPA-filtered vacuum for enhanced safety and cleanliness.
- Ensure a Perfect Seal: Insert the new filter, ensuring it sits snugly and is well-seated within the rack. Even small gaps can allow surprising amounts of unfiltered air to bypass the filter, defeating its purpose. If the filter seems loose or you notice slight gaps, consider applying foam weatherstripping or approved HVAC foil tape around the edges of the filter frame or the access door. Remember, these sealing materials should never cover the filter media itself. A proper seal is paramount for effective filtration.
- Date and Document: As a final, essential step, use a permanent marker (like a Sharpie) to write the installation date prominently on the filter’s frame. This simple act provides an instant visual reference, making it easy to track its age and determine when the next replacement is due. Consider also noting the MERV rating on the filter for future reference.
Beyond the Basics: Pro Tips for Optimal Home Air Filtration
- Construction Zone Protocols: Home renovation, especially activities like drywall sanding, plastering, or heavy demolition, generates an extraordinary amount of fine dust that can rapidly clog filters. During such events, consider checking and swapping your filters even more frequently than your “heavy load” lane schedule. Proactive changes are crucial to protect your HVAC system and maintain acceptable indoor air quality.
- Smart Cleaning Practices Near Returns: When cleaning your home, particularly around air return vents, avoid simply blasting dust into the air with a duster or broom. Instead, use a vacuum cleaner with good filtration (ideally HEPA if dealing with ash, drywall dust, or pet dander) to effectively capture debris and prevent it from becoming airborne and drawn into your HVAC system.
- Surface Area is Queen: While calendar reminders are useful as a baseline, the visual condition of your filter’s pleats is the ultimate indicator. If the pleats start to look visibly gray, matted, or heavily packed with debris, swap the filter immediately, even if your scheduled change date is still weeks away. Trust your eyes over the calendar.
- Avoid Over-Restriction with High MERV: While higher MERV ratings generally mean better filtration, a filter that is too restrictive for your specific HVAC system and ductwork can be counterproductive. Very high MERV filters (e.g., MERV 14+) can significantly impede airflow, forcing your blower motor to work harder, increasing energy consumption, and potentially leading to premature system wear or even freezing of the evaporator coil. For most residential systems, a MERV rating between 8 and 11 or 13 strikes an optimal balance. Consult your HVAC manual or a professional if unsure about your system’s capabilities.
- Ductwork Integrity Matters: Even the best filter can’t fully compensate for leaky ductwork. Cracks and gaps in your duct system allow unfiltered air from attics, crawl spaces, or wall cavities to enter your conditioned air stream, introducing dust, allergens, and pollutants. Consider having your ductwork inspected and sealed by a professional to maximize the effectiveness of your air filtration.
- Leverage Smart Thermostats: Many modern smart thermostats offer programmable filter change reminders. Configure this feature to align with your personalized filter change schedule. These timely notifications serve as an excellent backup to your manual checks and ensure you never miss a crucial replacement.
Final Recommendations for a Healthier Home and HVAC System
- Pick Your Lane, But Stay Flexible: Adopt a personalized filter change schedule – approximately 30 days for heavy particulate loads (allergies, pets, smoking, construction), 60 days for moderate usage, and 90 days for light loads. Always be prepared to adjust based on environmental events.
- Trust the Visual Tests: Don’t rely solely on the calendar. Perform the “light test” regularly and visually inspect the filter’s pleats. If it looks gray, matted, or packed, swap it out without delay.
- Optimize MERV, Don’t Over-Restrict: Choose a MERV rating that offers effective filtration without unduly stressing your HVAC system. For most homes, MERV 8-11 or 13 is ideal. Prioritize regular changes over excessively high MERV ratings that can hinder airflow.
- Ensure a Perfect Seal: Whether you have a 1-inch or a whole-house media filter, proper sealing is critical. Make sure the filter fits snugly in its cabinet, and use weatherstripping or HVAC foil tape if necessary to prevent air bypass.
- Take Action Today: The single most impactful action you can take for your indoor air quality and HVAC system longevity is to check your filter right now. If it’s dirty, fuzzy, gray, or packed with debris, swap it out to protect your system, save energy, and breathe healthier air.