

Build Your Dream Backyard Fire Pit: The Ultimate DIY Guide
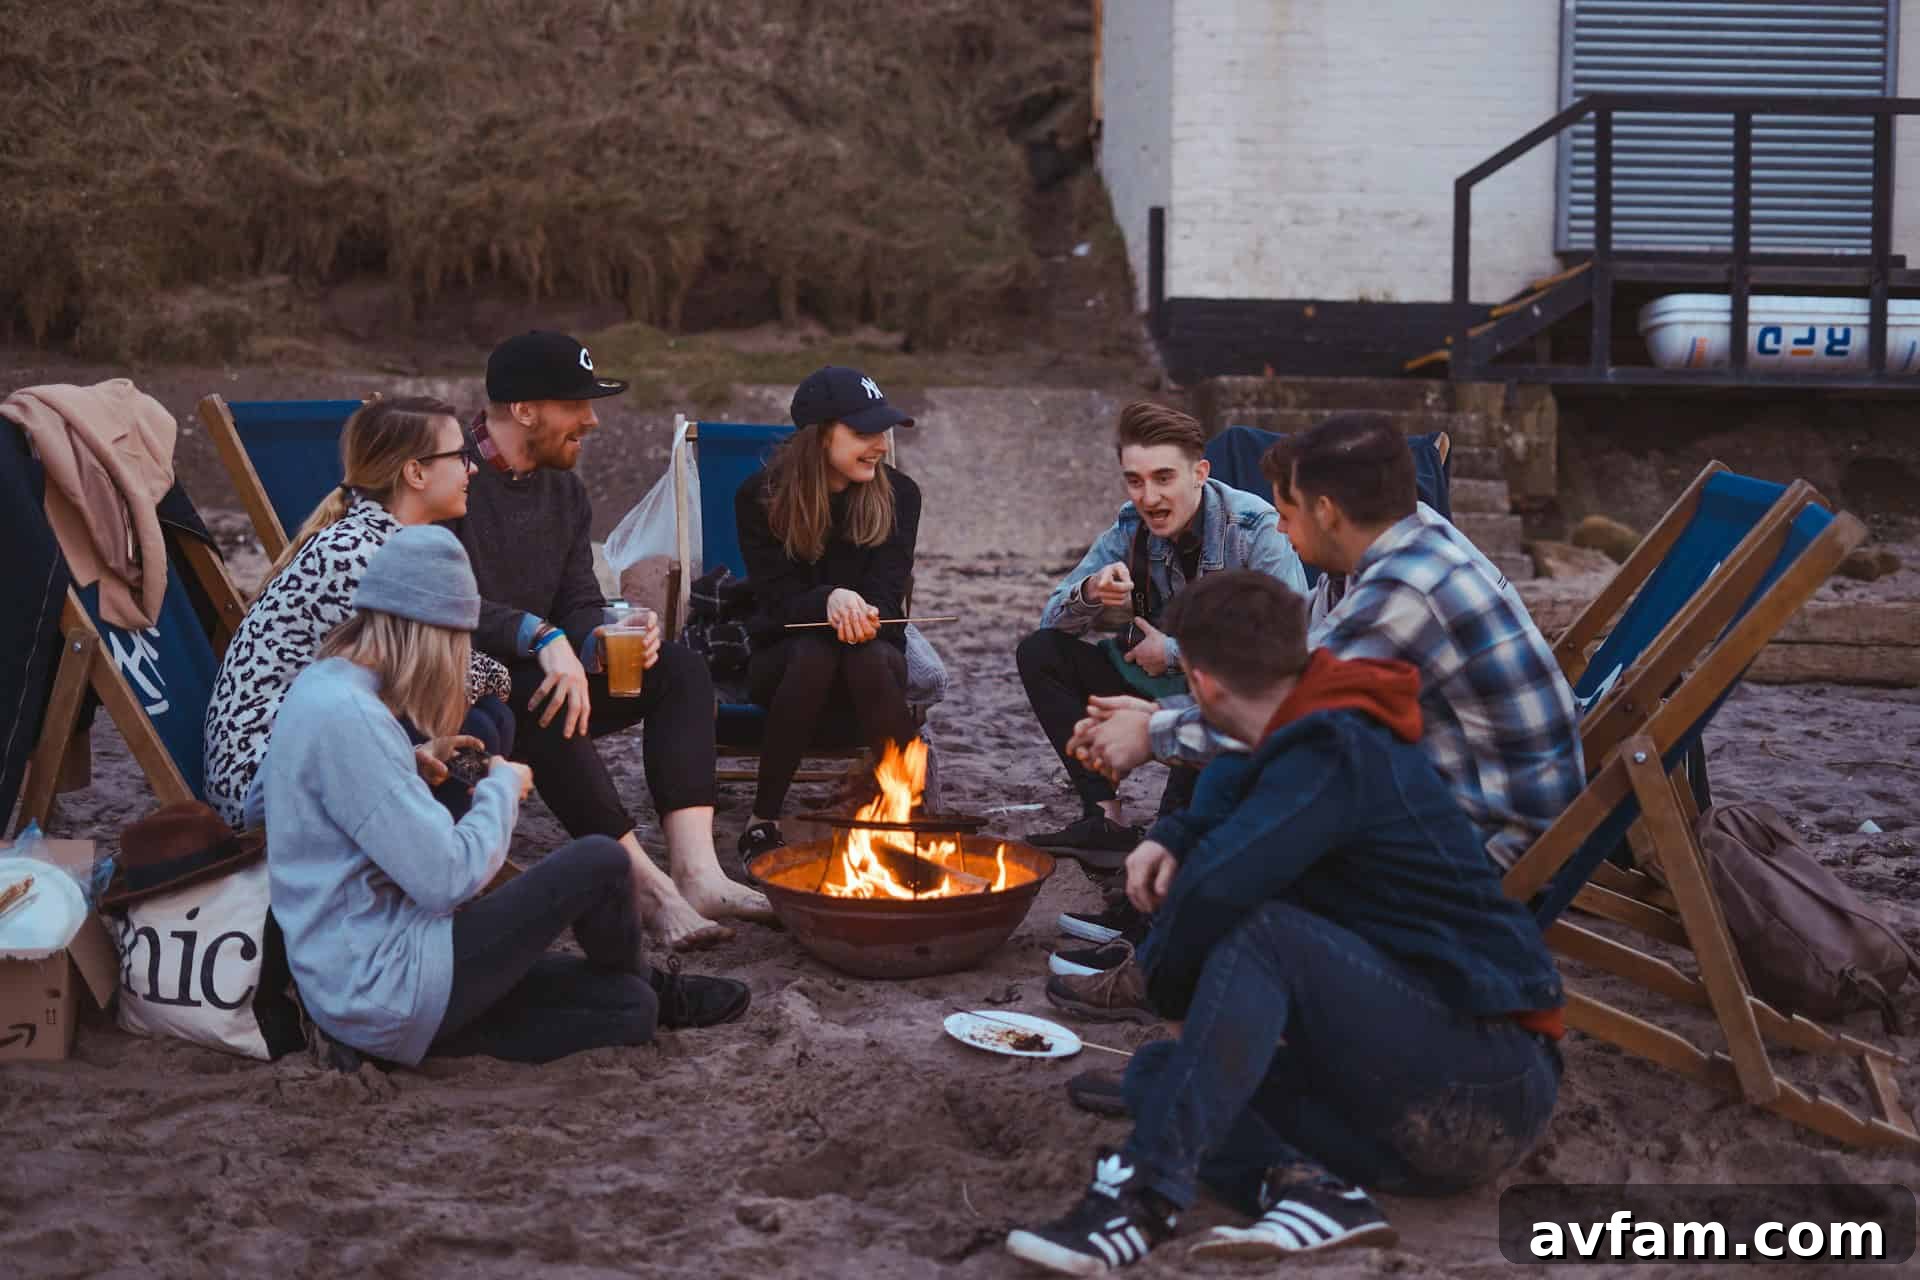
Imagine cool evenings spent gathered around a crackling fire, sharing stories, laughter, and making cherished memories with friends and family. A backyard fire pit is more than just a landscape feature; it’s a focal point for connection, relaxation, and extended outdoor enjoyment. Building your own DIY fire pit is a deeply rewarding project that not only enhances the beauty and functionality of your outdoor space but also adds significant value to your home. Whether you’re a seasoned DIY enthusiast or embarking on your first major outdoor project, this comprehensive guide will walk you through every essential step, from initial planning to lighting your first fire, ensuring you have the knowledge to create your very own backyard oasis.
This detailed guide will cover everything from understanding the benefits and crucial safety measures to selecting the right materials and executing the construction with confidence. Get ready to transform your backyard into the ultimate gathering spot with a custom-built fire pit that reflects your style and meets your needs.
Unveiling the Magic: Why a Backyard Fire Pit?
A backyard fire pit offers a multitude of benefits, transforming an ordinary outdoor area into an extraordinary living space. Understanding these advantages can inspire your project and help you tailor your fire pit to maximize its potential.
More Than Just a Flame: The Allure of a Fire Pit
At its heart, a fire pit creates an undeniable sense of ambiance and warmth. The hypnotic dance of the flames and the subtle scent of burning wood have a calming effect, fostering an atmosphere of tranquility and relaxation. It becomes a natural magnet, drawing people together for intimate conversations, joyful celebrations, or simply quiet contemplation under the stars. This central gathering spot elevates the entire outdoor experience, making your backyard feel more inviting and cohesive.
Enhancing Outdoor Living: Extended Seasons and Entertainment
One of the most practical benefits of a fire pit is its ability to extend the usability of your outdoor space. As temperatures drop in the evenings or during cooler seasons like spring and autumn, a fire pit provides a comfortable heat source, allowing you to enjoy your patio or garden for much longer. Beyond warmth, it’s a fantastic entertainment hub. Picture roasting marshmallows and making s’mores with children, enjoying a glass of wine with friends, or simply unwinding after a long day. It’s also perfect for casual outdoor cooking, providing a unique alternative to traditional grilling.
Boosting Property Appeal and Value
A well-designed and safely constructed fire pit can significantly enhance your home’s curb appeal and overall property value. It demonstrates thoughtful landscaping and an investment in outdoor living, which is highly sought after by potential homebuyers. As a permanent fixture, it adds a touch of luxury and functionality, making your backyard more attractive and enjoyable for years to come. It’s not just a feature; it’s an enhancement to your lifestyle and your property’s marketability.
Prioritizing Safety: Essential Fire Pit Guidelines
While the allure of a fire pit is strong, safety must always be your absolute top priority. Neglecting safety precautions can lead to dangerous situations, so it’s vital to understand and adhere to all guidelines before, during, and after construction.
Understanding Local Regulations and Permits
Before you even begin digging, it’s imperative to check with your local municipality, homeowner’s association (HOA), and fire department regarding any specific regulations or permit requirements for outdoor burning or fire pit construction. Rules vary widely by location and can include restrictions on size, proximity to structures, approved materials, and even specific burn bans during dry seasons. Ignoring these regulations could result in fines or, worse, dangerous incidents. Always obtain necessary permits and understand local ordinances.
Crucial Clearances: Protecting Your Home and Landscape
Establishing safe distances is non-negotiable. Your fire pit should be placed a minimum safe distance – typically 10 to 25 feet – away from your home, any wooden fences, decks, sheds, or other combustible structures. Additionally, ensure there are no overhanging tree branches or shrubs directly above or too close to the fire pit, as sparks can easily ignite foliage. Maintain a clear perimeter around the fire pit, free from dry leaves, grass, mulch, or any other flammable materials, extending at least 5 to 10 feet in all directions. This creates a critical buffer zone.
Fire-Safe Materials and Emergency Preparedness
The materials you choose for your fire pit are crucial. Always use non-combustible, heat-resistant materials like concrete blocks, natural stone, or fire bricks that are specifically rated to withstand high temperatures. Never use river rocks or wet stones directly in a fire pit, as trapped moisture can cause them to explode when heated. Furthermore, always have a fire extinguisher, a bucket of water, or a garden hose readily available and within reach whenever the fire pit is in use. These immediate resources are essential for quickly suppressing any stray sparks or small fires.
Responsible Usage: Supervision and Ash Disposal
A fire pit should never be left unattended, especially when children or pets are present. Always supervise the fire from the moment it’s lit until it’s completely extinguished. Keep a metal poker or shovel nearby to manage the fire safely. When extinguishing the fire, ensure all embers are thoroughly doused with water and cooled before leaving the area. Hot ashes can reignite hours later, so always transfer cool ashes into a metal container with a tight-fitting lid and store them away from any combustible materials, preferably on a concrete surface, for several days before disposal. Never dump hot ashes into plastic bins or directly into your garden.
The Perfect Spot: Choosing Your Fire Pit’s Location
Selecting the ideal location for your fire pit is a critical decision that impacts its safety, functionality, and how seamlessly it integrates into your overall backyard design. Take time to evaluate your space thoughtfully.
Analyzing Your Backyard’s Layout and Flow
Begin by considering your backyard’s existing layout and how people typically move through it. You want your fire pit to be easily accessible without obstructing pathways or creating bottlenecks. Think about its proximity to seating areas – it should be close enough for warmth and conversation, but far enough to allow comfortable movement. Evaluate the overall aesthetics and ensure the fire pit complements other features like patios, gardens, or swimming pools. A well-placed fire pit can anchor an outdoor living room, creating a cohesive and inviting zone.
Wind Direction and Smoke Management
Prevailing wind patterns in your area are a significant factor. Position your fire pit so that the prevailing wind carries smoke away from your house, seating areas, and any sensitive areas like windows or clotheslines. Observe wind patterns over a few days or weeks to get an accurate understanding. Good ventilation around the fire pit itself also helps minimize smoke, but strategic placement against the wind is key to ensuring a more enjoyable, smoke-free experience for your guests.
Distances to Structures, Trees, and Utilities
Reiterate and expand on the importance of clearance. In addition to homes and trees, also consider underground utilities like gas lines, septic systems, or electrical conduits. Before digging, always call 811 (or your local equivalent) to have utility lines marked. This crucial step prevents accidental damage and ensures safety. For overhead structures like pergolas or awnings, ensure even greater vertical clearance to prevent fire hazards from sparks or intense heat radiating upwards. A good rule of thumb is to allow for at least double the recommended horizontal clearance for anything overhead.
Preparing the Foundation: A Level and Stable Base
The ground beneath your fire pit needs to be level, stable, and non-combustible. Avoid installing a fire pit on a wooden deck or directly on a lawn unless specifically designed for such placement with adequate heat shielding. Opt for a dedicated pad of pavers, gravel, or concrete. A level surface is essential for the stability and integrity of your fire pit structure. If your chosen spot isn’t naturally level, you’ll need to prepare it by excavating and adding a compacted base layer, which we will discuss in the construction section.
Assembling Your Arsenal: Tools and Materials
Having the right tools and selecting appropriate materials are foundational to a successful and long-lasting DIY fire pit. Don’t cut corners on quality or suitability.
Essential Tools for a Smooth Construction
Before breaking ground, gather these fundamental tools to ensure an efficient and safe building process:
- Shovel and Pickaxe: For excavation and breaking up stubborn soil.
- Tape Measure: For accurate dimensions and marking.
- Level (Torpedo and 4-foot): Crucial for ensuring each course of blocks is perfectly level and plumb.
- Rubber Mallet: For gently tapping stones or bricks into place without damaging them.
- Wheelbarrow: For easily transporting soil, gravel, and building materials.
- Tamper: To compact the base material, ensuring a solid foundation.
- String Line and Stakes: For marking out the perfect circle or square.
- Safety Glasses and Work Gloves: Essential personal protective equipment (PPE) for eye and hand protection.
- Caulk Gun: If using landscape adhesive to secure your blocks.
- Chisel and Hammer (optional): For custom-shaping stones or bricks if needed.
Selecting Durable and Heat-Resistant Materials: Stones, Bricks, and Liners
The longevity and safety of your fire pit depend heavily on the materials you choose. Always select materials that are specifically rated for high temperatures and outdoor use.
- Concrete Blocks/Pavers: These are popular, affordable, and readily available. Look for “retaining wall blocks” or “pavers” that are solid and designed for outdoor use. While they are durable, they are not fire-rated, so an inner liner is highly recommended.
- Natural Stone: Offers a rustic and beautiful aesthetic. Ensure the stones are dense and free of excessive moisture or porous qualities that could lead to cracking under heat. Granite, basalt, and limestone are often good choices, but always verify their suitability.
- Fire Bricks: These specialized bricks are engineered to withstand extreme temperatures without cracking or spalling. They are typically used for the inner ring or lining of the fire pit, protecting the outer structural blocks from direct heat.
Understanding Fire Brick and Steel Ring Inserts
To significantly improve the safety, durability, and efficiency of your fire pit, consider using a metal fire pit ring insert or lining the interior with fire bricks. A steel fire pit ring acts as a barrier, protecting the outer blocks or stones from the intense heat of the fire, which prevents them from deteriorating over time. These inserts come in various sizes and are easily dropped into the finished structure. Alternatively, you can line the inside of your fire pit with fire bricks, which creates a highly durable, heat-resistant inner chamber. This method is more labor-intensive but provides superior thermal protection and insulation, reflecting heat more efficiently back into the fire.
Crafting Your Vision: Fire Pit Design Considerations
Designing your fire pit goes beyond simply picking a spot; it involves thoughtful planning to ensure it meets your functional needs, aesthetic desires, and safety requirements.
Size and Shape: Tailoring to Your Space and Needs
The size and shape of your fire pit should be dictated by the available space, the number of people you typically host, and its primary purpose. Common diameters for circular fire pits range from 30 to 48 inches (inside diameter), with the exterior being larger depending on the block size. A 30-inch interior is ideal for smaller groups, while a 48-inch pit can comfortably accommodate larger gatherings. Rectangular or square fire pits often offer a more contemporary look and can provide a larger burning area or integrate better with linear patio designs. Ensure there’s ample room for comfortable seating around the fire pit, typically leaving at least 3-5 feet between the fire pit edge and any seating arrangements for safety and comfort. Don’t forget to consider how the fire pit scale fits the overall scale of your yard.
Ensuring Longevity: Drainage and Ventilation Systems
Proper drainage and ventilation are critical for the longevity of your fire pit and the quality of your fires. Without adequate drainage, water can accumulate, leading to material degradation, cracking from freeze-thaw cycles, and a perpetually damp fire pit. You can ensure good drainage by:
- Gravel Base: Creating a substantial layer (4-6 inches) of crushed gravel beneath the fire pit allows water to percolate away.
- Weep Holes: Leaving small gaps or “weep holes” in the bottom course of blocks allows any trapped water to escape.
Ventilation is equally important for a strong, clean-burning fire. Fire needs oxygen to thrive. Without proper airflow, your fire will be smoky and difficult to maintain. Ensure ventilation by:
- Air Gaps: Leaving small, intentional gaps (e.g., 1/2 inch) between some of the blocks in the lower courses of your fire pit allows air to be drawn in.
- Grate: Using a metal grate at the bottom of the fire pit lifts the wood, allowing air to circulate underneath and improving combustion.
Plan these elements into your design from the start, as they are much harder to add later.
Aesthetic Integration: Matching Your Outdoor Style
Your fire pit should complement the existing aesthetic of your home and garden. Consider the colors, textures, and overall style of your house, patio, and landscaping.
- Rustic Look: Natural irregular stones create a rugged, earthy feel.
- Modern Look: Clean lines, uniform concrete blocks, or sleek metal inserts fit a contemporary design.
- Traditional Look: Standard red or gray bricks offer a classic, timeless appeal.
The capstones – the top layer of blocks or stones – also play a significant role in the finished appearance, providing a refined edge and often a place to rest drinks or feet (when cool). Choose materials and a design that enhance your outdoor living space rather than clashing with it.
Step-by-Step Construction: Building Your Fire Pit
With planning complete and materials gathered, it’s time to bring your fire pit vision to life. Follow these steps for a sturdy and safe construction.
Groundwork: Marking, Excavating, and Laying the Foundation
The success of your fire pit hinges on a solid foundation. Start by clearly marking the outline of your fire pit on the ground using spray paint, a garden hose, or string attached to a central stake. Ensure the marked area is slightly larger than the base of your intended fire pit to allow for your base material. Next, excavate the marked area to a depth of approximately 6 to 8 inches. This depth will accommodate a robust gravel base and allow the first course of blocks to sit partially below ground level for added stability. Once excavated, add 4-6 inches of crushed gravel or paver base material, spread it evenly, and compact it thoroughly using a hand tamper or plate compactor. A well-compacted base is essential to prevent settling and shifting over time. Check for levelness across the entire pad.
The First Course: Establishing a Solid Base
This is arguably the most critical step, as it dictates the levelness and stability of your entire fire pit. Begin by carefully laying your first course of stones or bricks directly onto the compacted gravel base, following your marked outline. Start at one point and work your way around, ensuring each block is snugly fitted against the next. Use your long level frequently to check that each block is perfectly level, both individually and in relation to its neighbors. A rubber mallet is useful for gently tapping blocks into final position. If using landscape adhesive for added stability, apply a bead to the bottom of each block before placing it. This first layer must be perfectly level and firmly seated; any imperfections here will be magnified in subsequent layers.
Layer by Layer: Building Up the Walls with Stability
Once the first course is complete, continue adding subsequent layers of blocks or stones. For maximum structural integrity, always “stagger” the joints – meaning the vertical seams of each new layer should not align with the seams of the layer below it, similar to how bricks are laid in a wall. This interlocking pattern significantly enhances the strength and stability of your fire pit. As you build upwards, apply a strong, outdoor-rated landscape adhesive between each layer of blocks for a permanent bond. Regularly check for levelness and plumb (vertical alignment) with your level as you go. Remember to leave the planned ventilation gaps in the lower courses, and if you are using an inner steel ring, ensure the internal dimensions allow it to fit snugly within the constructed walls. Build up to your desired height, typically 12-18 inches from the ground up to the top of the capstone.
Adding the Finishing Touches: Inserts and Capstones
After your main structure is built and the adhesive has had time to cure (check manufacturer instructions for curing times), you can install any fire pit inserts. If you’ve chosen a steel fire pit ring, simply place it inside the completed structure. If you are lining with fire bricks, carefully lay them inside the pit, using fire clay mortar to secure them if desired, creating a protective inner layer. The final step is to add your capstones. These are often larger, decorative stones that sit on top of the last course, providing a finished look and a smooth edge. Secure them with landscape adhesive as well, ensuring they are level and evenly spaced. Allow all adhesives to fully cure before lighting your first fire, as per product instructions.
Enjoying Your Fire Pit: Usage and Maintenance Tips
Your beautiful new fire pit is built! Now, learn how to use and maintain it responsibly to ensure years of enjoyment.
Safe Lighting and Fuel Choices
Always use appropriate fuel for your fire pit. Seasoned hardwood (like oak, maple, or hickory) burns cleaner, hotter, and produces less smoke than softwoods or green wood. Never burn trash, plastics, treated wood, painted wood, or construction debris, as these can release toxic fumes and harmful chemicals. Avoid using gasoline, kerosene, or other highly volatile liquids to start a fire; use natural fire starters, kindling, or a small amount of lighter fluid specifically designed for fires, applied before lighting, not to an existing flame. Light your fire carefully and incrementally, allowing it to build gradually.
Regular Cleaning and Care for Lasting Enjoyment
Routine maintenance will keep your fire pit looking great and functioning safely. After each use, once the ashes are completely cool, scoop them out and dispose of them properly as described in the safety section. Use a stiff brush to remove any soot or debris from the interior walls. Periodically inspect the blocks or stones for any signs of cracking or shifting. If you notice any damage, address it promptly with appropriate outdoor repair materials. Cleaning ensures efficient airflow for future fires and prevents residue buildup.
Winterizing Your Fire Pit (if applicable)
In regions with harsh winters, it’s wise to “winterize” your fire pit to protect it from the elements. Once the cold season truly sets in, give your fire pit a thorough cleaning. If your fire pit has a removable steel insert, you might consider storing it indoors to prevent rust. Cover the entire fire pit with a heavy-duty, waterproof fire pit cover. This protects the materials from rain, snow, and ice, which can lead to material degradation and freeze-thaw cracking over time. A good cover will significantly extend the lifespan of your DIY fire pit.
Building your own backyard fire pit is a gratifying project that provides a focal point for countless cherished moments. By following these detailed steps, prioritizing safety at every turn, selecting the right materials, and paying attention to thoughtful design, you’ll create a durable, beautiful, and functional outdoor feature. Soon, you’ll be gathering around the mesmerizing glow, enjoying the warmth and camaraderie with loved ones. Embrace the DIY spirit, and prepare to elevate your outdoor living experience!