
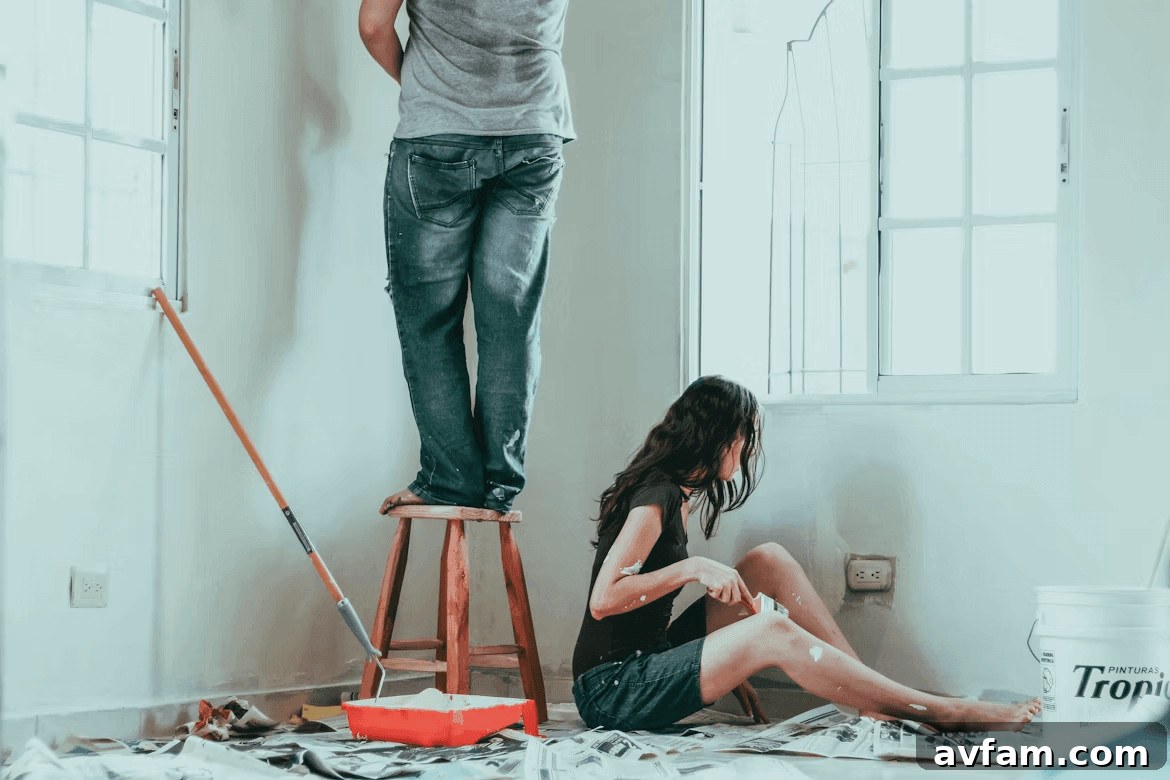
When you scroll through social media, it often seems like every DIY creator has a hidden production crew hiding behind the drywall. Angles are perfect, lighting is consistent, and the final reveal looks like it belongs on a renovation show. Meanwhile, your own footage can feel shaky, underlit, or recorded by someone who forgot to switch on the lamp. That gap isn’t about talent—it’s about technique.
This guide shows practical, accessible filming and editing techniques you can use with a smartphone and basic accessories to transform ordinary DIY documentation into videos people actually watch, share, and save. Focused composition, deliberate movement, consistent audio, and smart use of AI tools can lift your work to a professional standard without needing expensive gear or years of training.
What “Professional” Looks Like in DIY Video
Professional home-improvement videos share three qualities that many amateur clips miss: visual consistency, thoughtful pacing, and clear audio. Visual consistency means maintaining similar color temperature and exposure across shots so viewers don’t have to adjust their eyes. Thoughtful pacing follows a narrative arc—setting up the problem, building tension through the work, and delivering a satisfying reveal. Clear audio ensures dialogue, saws, brushes, and ambient sounds are crisp and balanced so the viewer feels immersed rather than distracted.
Until recently, achieving these qualities required expensive cameras, lighting kits, and advanced editing skills. Today, affordable software and AI-driven platforms automate many tedious aspects of production, letting builders and creators concentrate on the craft while the tools handle polish and continuity.
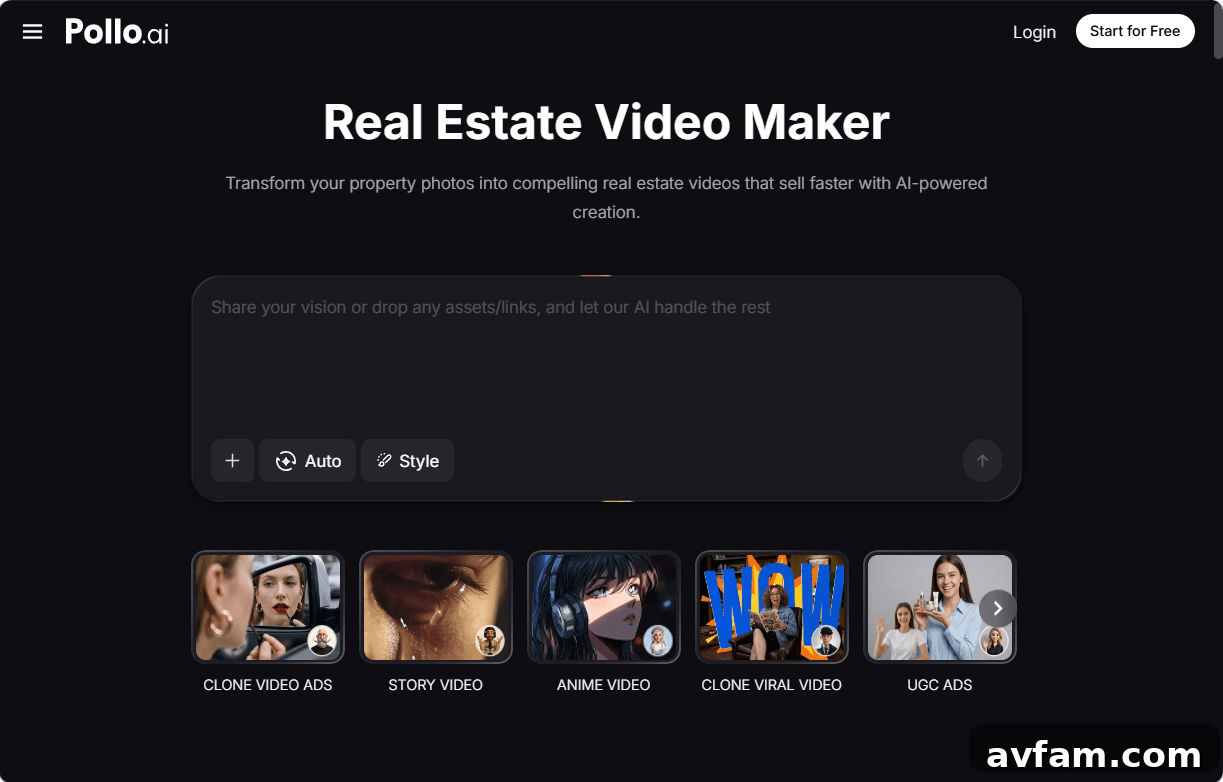
There are tools that convert finished-room photos into cinematic, narrated showcase videos. Originally used by contractors and flippers to market listings, this approach works equally well for creators who want to present a completed DIY project with production values that capture attention and build trust.
Shooting Methods That Improve Your Films
Work with the Rule of Thirds
Instead of centering everything, imagine a 3×3 grid and position your subject along those lines. Place the edge of a fresh accent wall on a vertical line, or frame your hands at an intersection when demonstrating a task. This simple change makes footage feel more intentional, balanced, and visually appealing.
Use Movement with Purpose
Static shots are useful, but subtle motion adds cinematic depth. Slide laterally past a row of cabinets or perform a slow push-in toward a finished surface. Lacking a slider? Place your phone on a towel on a flat countertop and nudge it gently for a smooth glide. For overhead workbench shots, mount your phone on a shelf or use a clamp arm to get stable, consistent top-down footage.
Capture the Five Essential Shots
Build each project phase around five shot types: an establishing wide that shows the whole room, a medium shot that frames you working, close-up detail shots to highlight craftsmanship, point-of-view shots that let viewers see through your eyes, and a reaction or reveal shot for emotional impact. Collecting these five types for every major step gives you maximum flexibility during editing.
Edit Like a Pro without Expensive Software
Professional non-linear editors offer control but can be costly and steep to learn. For many builders, AI-powered platforms remove that learning curve and consolidate tasks into a single workspace. These tools let you import clips, generate background music suited to the mood, create clear voiceover narration, and even produce thumbnail reference images—all within the same app. Keeping everything in one place prevents workflow fragmentation, which is a common reason creators abandon video after only a few attempts.
For creators who want a polished showcase from still photos, dedicated tools can compile room photos into cinematic presentations with smart voiceovers and stylized transitions. The output is optimized for social media, email, and portfolios, and the automated process saves hours compared to manual editing.
Fixing Clips That Are a Few Seconds Too Short
Even experienced filmmakers sometimes stop recording a beat too early, losing a perfect tracking shot or reveal. Reshooting can be time-consuming or impossible if lighting or conditions have changed. Intelligent video-extension tools solve this by analyzing the existing frames and generating additional seconds that match color grading, motion, and spatial logic. Extensions typically range from one to several seconds and offer modes prioritizing speed or quality, with common resolutions that fit into standard timelines.
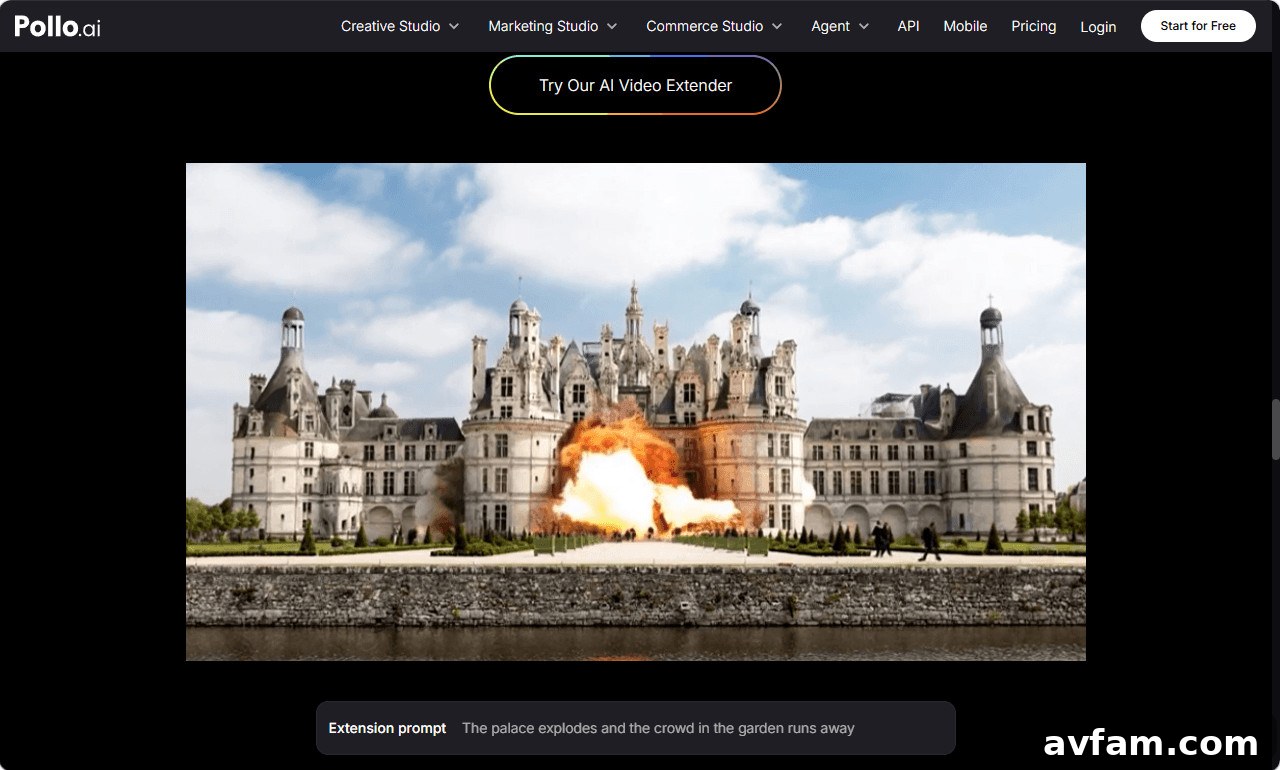
Using an AI-assisted extender changes how you shoot: instead of overshooting every moment, you can film confidently knowing you can extend a scene later. When the generated frames align smoothly with your originals, the result feels like a natural continuation rather than a stitched fix, saving time and reducing reshoots.
Advanced Tips to Stand Out
Tell Micro-Stories Within the Build
Break larger projects into smaller arcs—each with its own conflict and resolution. A surprising patch of water damage becomes a mini-drama; hunting for the perfect paint introduces a mini-journey. These micro-stories keep viewers engaged and create natural breakpoints for ads, chapters, or short-form clips.
Use Before-and-After Frames Strategically
Introduce a split-screen or match-cut comparison early in the video rather than saving all reveals for the end. An early payoff signals that the transformation will be worth the watch and reduces drop-off. Reserve the full emotional reveal for the finale for maximum impact.
Create Multiple Outputs from One Project
Plan your shoot to serve multiple formats: a long-form tutorial for YouTube, several vertical short clips for TikTok and Reels, a photo-based showcase video for visual platforms, and a set of stills for blog posts. Knowing required angles and moments in advance ensures you capture everything needed for multi-channel distribution.
Conclusion
Professional-quality DIY videos are less about expensive gear and more about purposeful methods and smart tools. Shoot with a narrative in mind, gather the five essential shot types for each phase, maintain consistent visuals and clean audio, and use AI-driven platforms to handle repetitive or technical editing tasks. Tools that turn still images into cinematic showcases and extend short clips solve two of the biggest production pain points. Apply these techniques on your next project, and you’ll close the gap between your footage and the polished content you admire far more quickly than you might expect.