
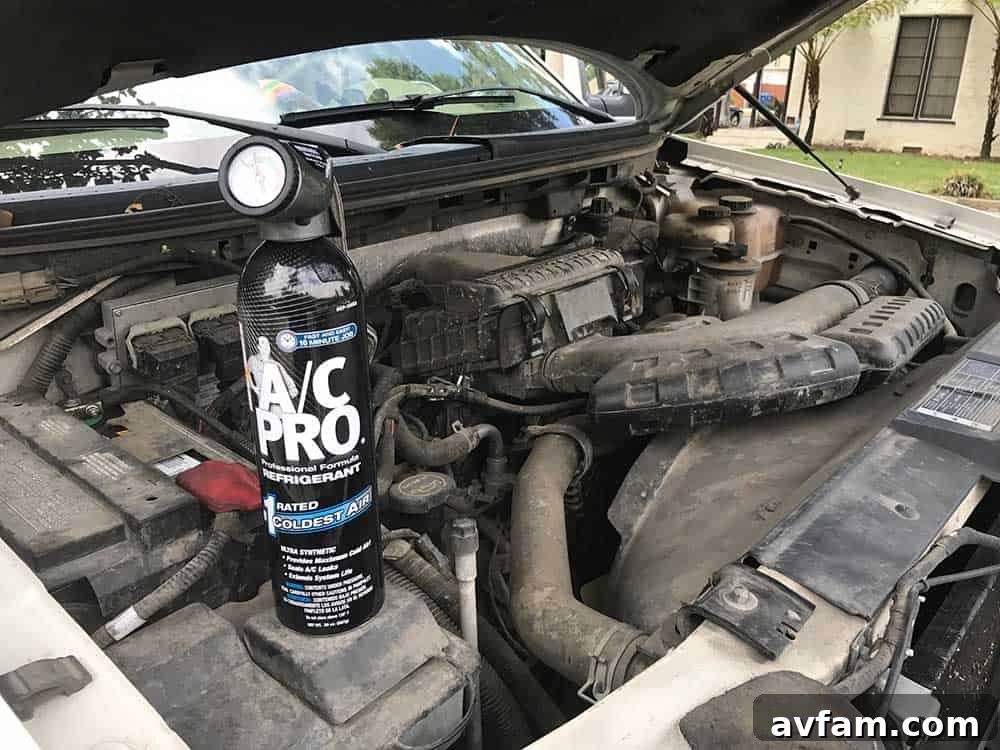
This is a sponsored post written by me on behalf of A/C Pro. All opinions are 100% mine.
Restore Your Car’s Ice-Cold Air: A Comprehensive DIY Guide to A/C Pro Recharge
There’s nothing quite as frustrating as stepping into your car on a sweltering day, turning on the air conditioner, and being greeted by nothing but warm, stale air. A malfunctioning car AC system doesn’t just make your commute uncomfortable; it can turn any journey into a truly miserable experience. Before you resign yourself to expensive repair bills from a mechanic, consider a straightforward, cost-effective, and highly efficient solution: the A/C Pro Recharge kit. This all-in-one product is specifically designed to replenish lost refrigerant and oil in your R-134a automotive air conditioning system, bringing back that much-needed icy blast.
The thought of a DIY car repair might seem daunting to some, but recharging your vehicle’s air conditioning system with A/C Pro is surprisingly simple, typically taking less than 10 minutes from start to finish. It’s a solution that saves both time and money, empowering you to tackle a common automotive issue right in your driveway.
Why Is Your Car’s AC Blowing Warm Air? Understanding the Problem
A car’s air conditioning system is a closed loop, but over time, it’s common for a small amount of refrigerant to leak out. This natural depletion often manifests as reduced cooling performance, with the AC blowing less cold air or eventually only warm air. While major leaks, faulty compressors, or electrical issues can also cause AC problems, a low refrigerant level is by far the most common culprit for a gradual decrease in cooling efficiency.
Our own truck recently experienced this exact problem. After a memorable family trip to Sandy Valley Ranch, the air conditioner, which once delivered crisp, cold air, suddenly struggled, only producing lukewarm gusts. The compressor seemed to be functioning, but the lack of actual cooling was undeniable. Facing potentially high diagnostic and repair costs from our mechanic, we sought a more budget-friendly alternative. That’s when we discovered the A/C Pro solution, costing around $35 – a fraction of what a professional service would demand. This simple purchase proved to be a game-changer.
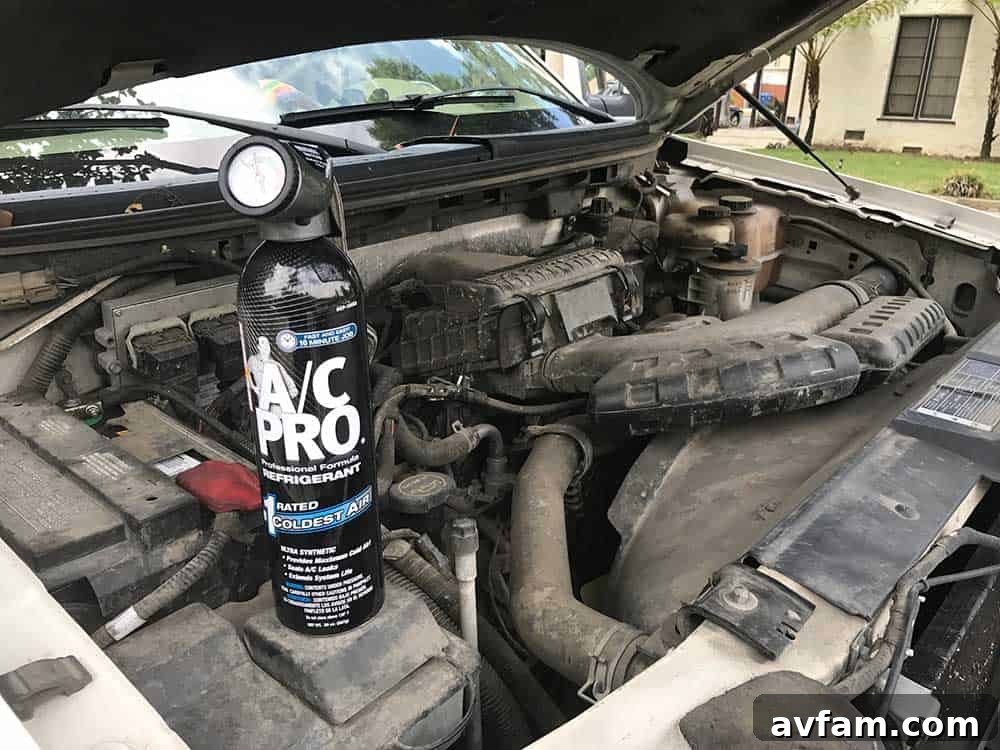
The A/C Pro Advantage: DIY Convenience and Professional Results
The A/C Pro recharge kit isn’t just about adding refrigerant; it’s engineered to provide colder, drier air by restoring the optimal pressure and lubricating the AC system’s components. This comprehensive approach means you’re not just getting a temporary fix, but a revitalization of your car’s cooling capability. The product’s innovative formula includes properties that help seal minor leaks, further extending the life and efficiency of your AC system.
Key Benefits of Choosing A/C Pro:
- Significant Cost Savings: Avoid hefty labor charges and diagnostic fees typically associated with professional AC services. A/C Pro offers an affordable alternative.
- Time Efficiency: The entire process can be completed in under 10 minutes, allowing you to get back on the road quickly without waiting for a mechanic’s appointment.
- User-Friendly Design: No specialized tools or extensive automotive knowledge are required. The kit comes with everything you need, including a built-in gauge for accurate readings.
- Enhanced Comfort: Enjoy noticeably colder and drier air, transforming your driving experience, especially during hot weather.
- Preventative Maintenance: By restoring refrigerant and oil levels, A/C Pro helps protect your compressor and other vital AC components from wear and tear.
- Leak Sealing Technology: Many A/C Pro formulations include sealants designed to address common small leaks, which are often the cause of refrigerant loss.
Getting Started: Essential Preparations for a Successful Recharge
Before you begin the recharge process, a few crucial steps will ensure safety and optimal results. Always prioritize reading the product label and following the instructions meticulously. Each vehicle can have slight variations, and being informed is key.
1. Consult the A/C Pro Port Finder
One of the most valuable resources A/C Pro offers is their online Port Finder tool. This brilliant feature allows you to input your vehicle’s make, model, and year, and it will then provide a precise visual guide to the location of your low-pressure service port. This is absolutely critical because the A/C Pro kit *must* be connected to the low-pressure port, not the high-pressure one, to avoid damage to the system and ensure safe operation. The visual aid makes finding the correct port extremely straightforward, eliminating guesswork.
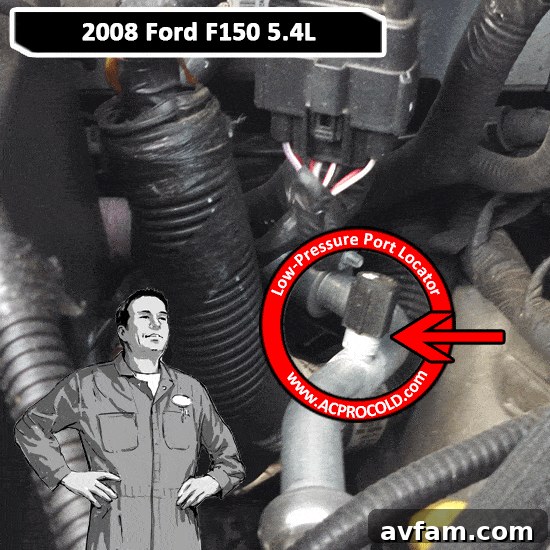
2. Read All Instructions and Safety Warnings
Even if you’re familiar with DIY tasks, always take the time to read the instructions on the A/C Pro label very carefully. Refrigerants are chemicals and should be handled with respect. Understanding the proper procedure and safety warnings will ensure a smooth and safe recharge. For detailed instructions, you can often find a comprehensive guide on their website, such as this example of a product label:
A/C Pro Product Label Example (PDF)
The Three Simple Steps to Recharging Your Car’s AC
Once you’ve prepared and familiarized yourself with the instructions, the actual recharge process is remarkably quick and straightforward. Just follow these three easy steps:
Step 1: Connect the Hose to the Low-Pressure Port
Begin by ensuring your vehicle is running. Turn on your car’s air conditioner to its maximum cold setting and set the fan to its highest speed. It’s vital to confirm that your AC compressor is engaged; you’ll typically hear it click on and off. If the compressor isn’t engaged, the refrigerant won’t be drawn into the system, and the A/C Pro product won’t function effectively.
Next, thoroughly shake the A/C Pro can for about a minute. Locate the low-pressure service port on your vehicle’s AC system (as identified by the Port Finder tool) and carefully remove its protective cap. Then, position the quick-connect end of the A/C Pro hose over the port and press down firmly until you hear a click, ensuring a secure connection. Once connected, the gauge on the A/C Pro kit will likely register in the red zone, clearly indicating that your air conditioning system is undercharged and requires refrigerant.
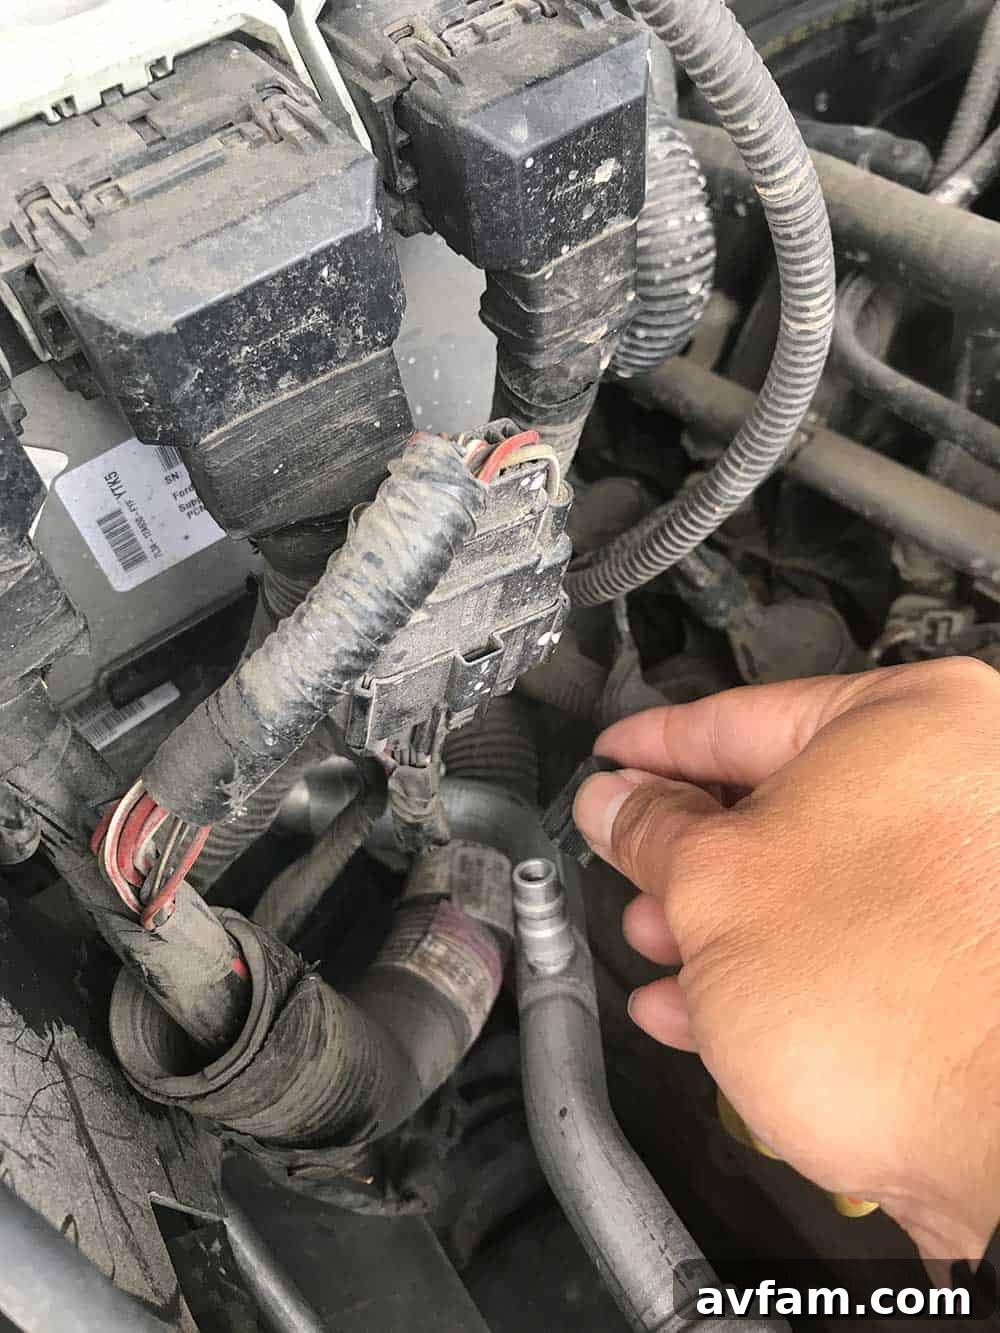
Step 2: Administer the Refrigerant by Pulling the Trigger
With the hose securely connected, it’s time to release the refrigerant. Pull the trigger on the A/C Pro can to activate the flow of the product into your AC system. Administer the refrigerant in short, controlled bursts, typically 10 to 20 seconds long. Between each burst, release the trigger and gently rock the can to ensure consistent flow and allow the system pressure to equalize. This pulsed approach allows the gauge to provide more accurate readings as you progress.
Crucial Safety Note: During the entire recharge process, it is extremely important to keep the A/C Pro bottle away from any moving engine components, such as the cooling fan or accessory belts. Never rest the bottle on the running engine. There is a serious risk that the bottle could fall into moving parts, causing significant damage to your vehicle, personal injury, or even causing the can to rupture. Always hold the bottle securely in your hand or place it on a stable, safe surface that is clear of any moving parts.
Step 3: Monitor the Gauge and Finalize the Recharge
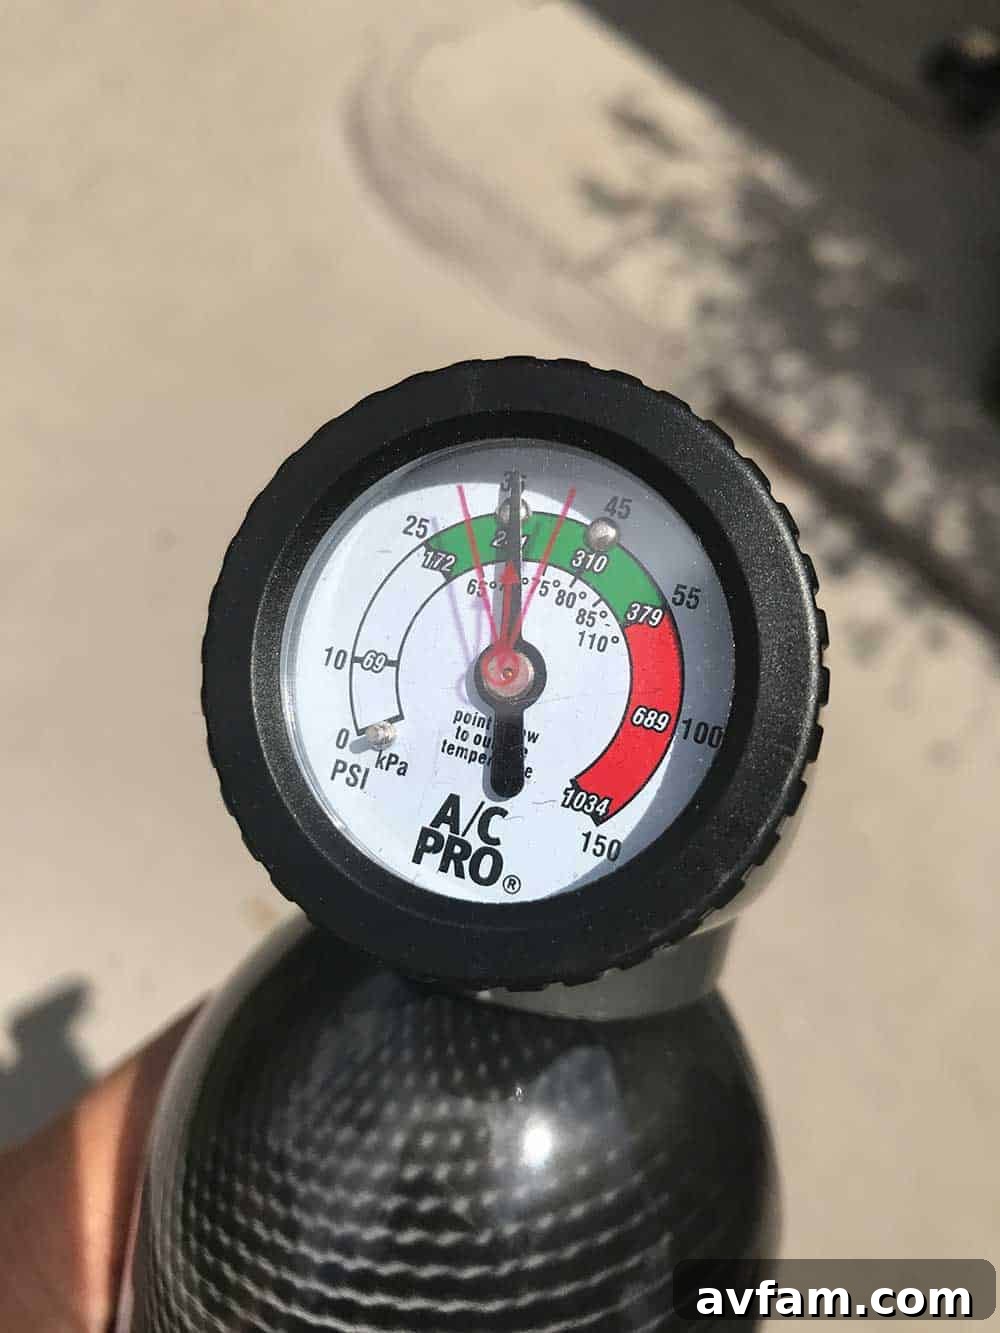
As you administer the refrigerant in bursts, continuously monitor the pressure gauge on the A/C Pro kit. You should observe the needle slowly but steadily rising from the red zone towards the green range. The green zone indicates the optimal pressure level for your AC system. Continue applying refrigerant in short bursts until the needle comfortably settles within this recommended green zone. Once the correct pressure is achieved, release the trigger completely.
In our experience, we used the entire contents of the bottle to bring our truck’s AC system into the appropriate operating range, which is a common scenario for systems that are significantly low on refrigerant. After reaching the desired pressure, simply disconnect the hose from the low-pressure port by pulling it straight off and replace the protective cap. Turn off your vehicle, and then enjoy the refreshing blast of cold air from your revitalized AC!
Troubleshooting and When to Seek Professional Help
While A/C Pro is an incredibly effective solution for most low refrigerant issues, there are instances where it might not solve the problem, indicating a deeper issue. If, after following all instructions, your gauge doesn’t move, or your AC still blows warm air, you might be facing a more complex problem. This could include a significant leak in the system, a completely failed compressor, a blockage, or an electrical fault. In such cases, it’s best to consult a certified automotive AC technician. They have specialized tools and expertise to diagnose and repair these more intricate issues safely.
A/C Pro is designed for systems that are simply low on refrigerant due to normal seepage, not for systems with large holes or severe component failures. A visual inspection for obvious leaks (e.g., oily residue around AC components) before using A/C Pro can sometimes give you an idea of the problem’s severity.
Maintaining Your Car’s AC for Lasting Comfort
Once you’ve restored your car’s AC to its peak performance, a little ongoing maintenance can help ensure you enjoy cold air for years to come. Regularly run your AC system, even in cooler weather, for at least 10 minutes every couple of weeks. This helps keep the compressor seals lubricated and prevents them from drying out, which can lead to leaks. Additionally, keeping your condenser coils clean (located usually in front of the radiator) can improve efficiency. Consider an annual check-up of your AC system or re-evaluating refrigerant levels if you notice any decline in cooling.
Conclusion: Reclaim Your Driving Comfort Today!
Gone are the days of enduring hot, uncomfortable drives. With the A/C Pro Recharge kit, you have a powerful, accessible, and affordable tool to bring back the refreshing cold air to your vehicle’s interior. Our experience, like many others, proves that this DIY solution truly works, saving you valuable time and money while drastically improving your driving comfort. No more arriving at your destination drenched in sweat or dreading long commutes in the heat.
Take control of your car’s climate control today. Visit the A/C Pro website, use their convenient Port Finder, and pick up a recharge kit. You’ll be amazed at how simple and effective it is to restore your car’s AC to its optimal cooling performance. For a visual demonstration of the process, check out this helpful YouTube video of A/C Pro in action:
Watch the A/C Pro Recharge Video Here