

Are you a passionate DIY enthusiast who loves the satisfaction of creating something with your own hands? While the joy of a completed project often outweighs the initial mess and challenges, there’s a way to make your DIY journey smoother, safer, and more professional. Think about the meticulous planning and execution involved in a large-scale construction project. Nothing is left to chance; every single task, no matter how small, is systematically organized and planned long before the first shovel breaks ground.
This stark contrast between spontaneous DIY and structured construction holds invaluable lessons. Whether you’re building a simple bookshelf or renovating an entire room, the principles of precision, efficiency, and safety practiced in the robust construction sector can significantly elevate your home projects. This article delves into four fundamental habits and practices from construction zones that every DIYer should integrate into their routine to achieve outstanding, professional-grade results.

1. Meticulous Project Setup: The Blueprint for DIY Success
On any professional construction site, the success of a project isn’t merely a result of hard work; it’s often determined well before any physical labor even begins. Teams invest significant time in pre-construction phases: thoroughly mapping out the site, conducting precise measurements, reviewing architectural blueprints, securing necessary permits, and meticulously planning material deliveries and staging. This early, comprehensive planning phase is critical for organizing the entire workflow, identifying potential hurdles, and setting realistic timelines.
The construction industry frequently grapples with supply chain disruptions, which are often exacerbated by inadequate planning of material delivery and on-site staging. Logistical complexities, such as navigating congested urban areas, ensuring access for large vehicles, and managing the precise timing of various material arrivals, pose considerable challenges. Poor coordination between delivery routes and access points can lead to significant road transport disruptions, delays, and even accidents. In regions experiencing rapid growth, like Rogers, Arkansas, where residential and commercial developments are constantly expanding, such logistical risks are inherently heightened.
Accidents during material transport can have severe consequences, ranging from minor injuries to serious ones like lacerations, severe burns, broken bones, and whiplash, as noted by legal experts. Beyond personal injury, these incidents also frequently result in damaged or lost materials, incurring substantial financial losses and project setbacks. While DIY home projects operate on a smaller scale, the underlying principle remains the same: starting with proper setup is paramount. Poor planning in your home projects can lead to inefficient movement, misplaced tools and materials, and avoidable delays, turning a simple task into a frustrating ordeal.
To infuse construction-level precision into your DIY endeavors, focus on these critical setup areas:
- Define the Project Scope and Layout: Before making any cuts or purchases, clearly define the project’s layout, dimensions, and desired outcome. Sketch out your design, create a detailed plan, and visualize the finished product. Consider mock-ups for complex elements.
- Confirm Measurements and Reference Points: Accuracy is key. Double-check all measurements multiple times. Establish clear reference points that you can consistently return to throughout the project. This prevents cumulative errors.
- Plan Material Deliveries and Staging: Even for smaller DIY projects, consider where materials will be delivered, unloaded, and stored. Ensure easy access to your workspace while keeping materials protected from weather elements and potential damage.
- Maintain a Clear Path of Movement: Organize your workspace to allow for safe and efficient movement of yourself, tools, and materials. Cluttered spaces are not only inefficient but also significant safety hazards.
- Budget and Timeline Creation: Outline a realistic budget that accounts for all materials, tools, and potential contingencies. Similarly, establish a clear timeline for each phase of your project to stay on track.
- Tool and Equipment Acquisition: Before starting, ensure you have all the necessary tools and equipment, and that they are in good working order. Renting specialized tools for specific tasks can often be more cost-effective and efficient than buying.
Embracing a thorough setup phase transforms a chaotic undertaking into a streamlined process, saving you time, money, and frustration in the long run. It’s the foundational step for any successful project, big or small.
2. Outdoor Work Demands a Slower Pace and Enhanced Vigilance
Construction sites are far from uniform; outdoor working conditions introduce a layer of unpredictability that indoor projects rarely face. Ground conditions can be dynamic, and weather elements are constantly changing, impacting everything from visibility to material integrity. The Centers for Disease Control and Prevention (CDC) highlights that nearly one in five workplace fatalities occur in the construction sector, largely attributable to the inherent risks of unpredictable outdoor environments. These risks include falling from heights, being struck by falling objects or materials, and getting caught between heavy structures or machinery.
For DIY home projects, especially those involving outdoor structures like fences, sheds, decks, patios, or landscaping, the critical takeaway is to consciously reduce speed and significantly increase control. Hasty execution in outdoor environments is a primary reason why many DIY outdoor structures fail prematurely or result in suboptimal finishes, more so than the inherent complexity of the task itself. Impatience can lead to foundational flaws, structural weaknesses, or cosmetic imperfections that are difficult to rectify later.
To mirror the enhanced level of caution and precision practiced on professional construction sites, integrate the following strategies into your outdoor DIY work:
- Thoroughly Check Ground Leveling: Ground conditions are rarely uniform. Use spirit levels, laser levels, or string lines to check leveling at multiple points, ensuring a stable and true foundation for any structure. This is crucial for preventing future settling or structural instability.
- Re-measure After Material Placement: Materials can shift during installation. Re-measure and confirm alignment after placing components, especially before making permanent fixes. This helps maintain squareness and true dimensions.
- Stabilize Materials Against Elements: Wind, uneven surfaces, or even slight bumps can cause materials to move unexpectedly. Always keep materials steady using clamps, temporary bracing, or assistance, especially on windy days or when working with large, unwieldy pieces.
- Work in Manageable Sections: Break down larger outdoor projects into smaller, distinct sections. Complete one part meticulously before moving on to the next. This allows for better focus, easier error correction, and more consistent quality.
- Respond to Changing Weather Conditions: Weather is a major factor in outdoor work. If wind speeds pick up, temperatures become extreme, or moisture levels rise, take a break. High winds can make cuts inaccurate and objects unstable; heat can cause fatigue and affect material properties; and moisture can damage materials or impact paint/adhesive drying times.
- Utilize Temporary Bracing: Employ temporary bracing to support components during installation. This is invaluable for securing newly installed fence posts, deck joists, or framing members, preventing movement until permanent fasteners are in place.
- Prioritize Personal Safety Gear: Beyond the project itself, ensure you are wearing appropriate safety gear. This includes sturdy footwear, sun protection (hat, sunscreen), hydration, and eye/hearing protection, especially when operating power tools outdoors.
Adopting a slower, more deliberate approach to outdoor DIY work is not just about reducing the instances of accidents and mistakes; it’s about achieving superior craftsmanship. By maintaining safer working conditions and exercising greater control, you will not only get cleaner, more durable results but also minimize material wastage, leading to a more satisfying and successful project outcome.
3. Cultivating Good Tool Habits for Enhanced Safety and Precision
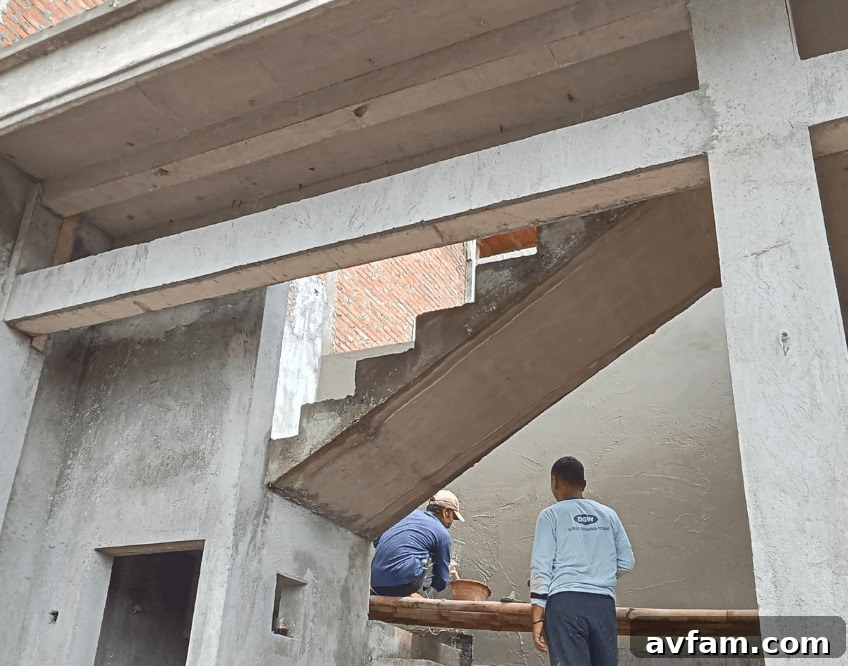
In the demanding environment of a construction site, tools are not used arbitrarily. There’s a stringent discipline governing their use, maintenance, and storage, which extends to handling materials and taking measurements. Data consistently shows that falls remain the leading cause of fatalities on construction sites, with a significant percentage linked directly to the improper positioning of ladders or the careless handling of tools. This underscores how seemingly minor habits around tool usage can literally be a matter of life and death in a professional setting.
For DIY home projects, while the stakes might not always be as extreme, the principle holds true: small habits around tools have significant consequences. Most mistakes, injuries, and unsatisfactory results in DIY stem from skipping crucial steps—whether it’s cutting materials without proper securing, using a dull saw blade, or operating a power tool without confirming its condition or understanding its proper use. Ignoring these details can lead to inaccurate cuts, damaged materials, personal injury, and ultimately, a frustrating project experience.
To develop the discipline of a seasoned professional and ensure both safety and superior results in your DIY projects, adhere to these essential practices:
- Secure Materials Firmly: Before any cutting, drilling, sanding, or fastening, ensure your material is securely clamped or held in place. This prevents movement, ensures accuracy, and significantly reduces the risk of kickbacks or slippage that can cause injury.
- Pre-mark All Cuts for Accuracy: Never eyeball a cut. Always mark your cut lines clearly and accurately using a pencil, marker, and a reliable straightedge or square. This simple step ensures precision and reduces material waste.
- Use the Right Tool for the Job: Resist the temptation to use a tool for a purpose it wasn’t designed for. Using a screwdriver as a chisel, or pliers as a hammer, can damage both the tool and your material, and is a significant safety hazard. Invest in or rent the correct tool for each specific task.
- Inspect Tools Before Every Use: Make it a habit to quickly inspect each tool before you begin. Check power cords for damage, blades for sharpness, guards for proper function, and moving parts for looseness. Dull or damaged tools not only yield poor results but also require more force to operate, increasing the risk of accidents.
- Maintain a Steady and Controlled Grip: A steady, firm grip on your tools is essential for precision and safety. Understand the balance and weight of your tools. When operating power tools, adopt a stable stance and use both hands where appropriate to maximize control.
- Wear Appropriate Personal Protective Equipment (PPE): Always use safety glasses, hearing protection, and appropriate gloves. Depending on the task, a dust mask or respirator might also be necessary. PPE is your first line of defense against injury.
- Clean and Store Tools Properly: After each use, clean your tools to remove dust, debris, or sap. Store them in a dry, organized manner. Proper storage prevents rust, keeps them accessible, and extends their lifespan, ensuring they are ready and reliable for your next project.
Adopting good tool habits is not solely about preventing accidents; it’s also about optimizing your workflow, enhancing your confidence, and ensuring the longevity of your tools. Consistent application of these practices guarantees fewer mistakes, superior long-term performance, and a much more enjoyable and productive DIY experience, mirroring the efficiency and safety of a well-managed construction site.
4. Strategic Material Handling: The Backbone of Project Efficiency
A professional construction site never operates on guesswork or a “wing it” philosophy, especially when it comes to materials. From the precise timing of deliveries to the strategic placement and storage location, every aspect of material handling is meticulously planned. Consider the sheer scale of the global construction industry, which generated an astounding $11.39 trillion in 2024 and is projected to reach $16.11 trillion by 2030. This growth signifies increasingly complex projects, where efficient material management becomes paramount.
At such a grand scale, materials are constantly moved, processed, and utilized across multiple stages of construction. Poor material handling—whether through inefficient storage, inadequate protection, or careless movement—can not only disrupt the entire workflow but also severely hinder progress, compromise safety, and ultimately degrade the quality of the final outcome. Therefore, proper material handling isn’t just a logistical task; it’s a critical component of project success that impacts every single stage.
When applying this principle to DIY home projects, only the scale changes; the fundamental importance remains. Materials that are stored without proper planning, left exposed to the elements, or mishandled are susceptible to damage, warpage, or loss. This can lead to unexpected costs, frustrating delays, and a compromised finished product, whether it’s warped lumber for a deck, paint ruined by freezing temperatures, or lost screws delaying an assembly.
To ensure all materials in your DIY projects are handled with professional care and efficiency, implement the following strategies:
- Map Out Storage Locations: Before materials arrive, clearly designate specific storage areas for each type of material. A simple layout sketch can help. Group items by project phase or type (e.g., lumber, hardware, paint) to reduce unnecessary movement and facilitate easy retrieval.
- Protect Materials from Elements: Keep all materials off the ground to prevent moisture absorption and damage. Utilize pallets, sawhorses, or shelving. Cover vulnerable materials like wood, drywall, or fabrics with tarps or plastic sheeting to protect them from rain, sun, and humidity, ensuring their integrity until use.
- Organize Similar Items Together: Store screws with screws, nails with nails, and specific hardware in labeled containers. This organization minimizes time spent searching for items, reduces clutter, and ensures you always know what you have and what you might need to restock.
- Use Proper Lifting Techniques and Aids: Heavy materials require careful handling. Always lift with your legs, not your back, and seek assistance for large or awkward items. Utilize dollies, hand trucks, or panel carriers to transport materials safely, preventing both injury and damage.
- Minimize Repeated Handling: Plan your workflow to reduce how many times a material needs to be moved. Stage materials as close as safely possible to their point of use, without obstructing your workspace or safety pathways. Each extra move increases the risk of damage or injury.
- Conduct Regular Inventory Checks: Periodically check your stored materials. This helps you monitor quantities, identify any damage, and plan for replenishments before they become urgent, preventing last-minute runs to the hardware store.
- Manage Waste and Leftovers: Plan for the disposal of waste materials and the storage of usable leftovers. Proper waste management keeps your site tidy and safe, while organized leftovers can be useful for future small projects or repairs, minimizing waste and saving money.
By implementing a clear, thoughtful plan for material handling, you eliminate unnecessary effort, reduce the likelihood of costly damages, and minimize interruptions midway through your project. This systematic approach transforms your DIY experience, making it more efficient, cost-effective, and ultimately, more rewarding.
Have your DIY projects often felt like a series of improvisations and last-minute decisions? It’s time to move beyond merely “going with the flow.” Just as a ship cannot navigate turbulent waters without a sturdy compass and a detailed map, your projects need a robust plan. Understand that no successful construction site, regardless of its size, could ever thrive on a laid-back, reactive approach. Precision, foresight, and meticulous execution are not merely aspirations; they are fundamental requirements.
So, the next time you embark on a DIY home improvement project, don’t start by instinctively grabbing a tool. Instead, begin with a well-thought-out plan firmly etched in your mind and perhaps even on paper. The moment you transition from winging it to strategic planning is the exact moment your DIY home projects will not just improve, but truly excel, bringing you greater satisfaction, better results, and a newfound confidence in your abilities.